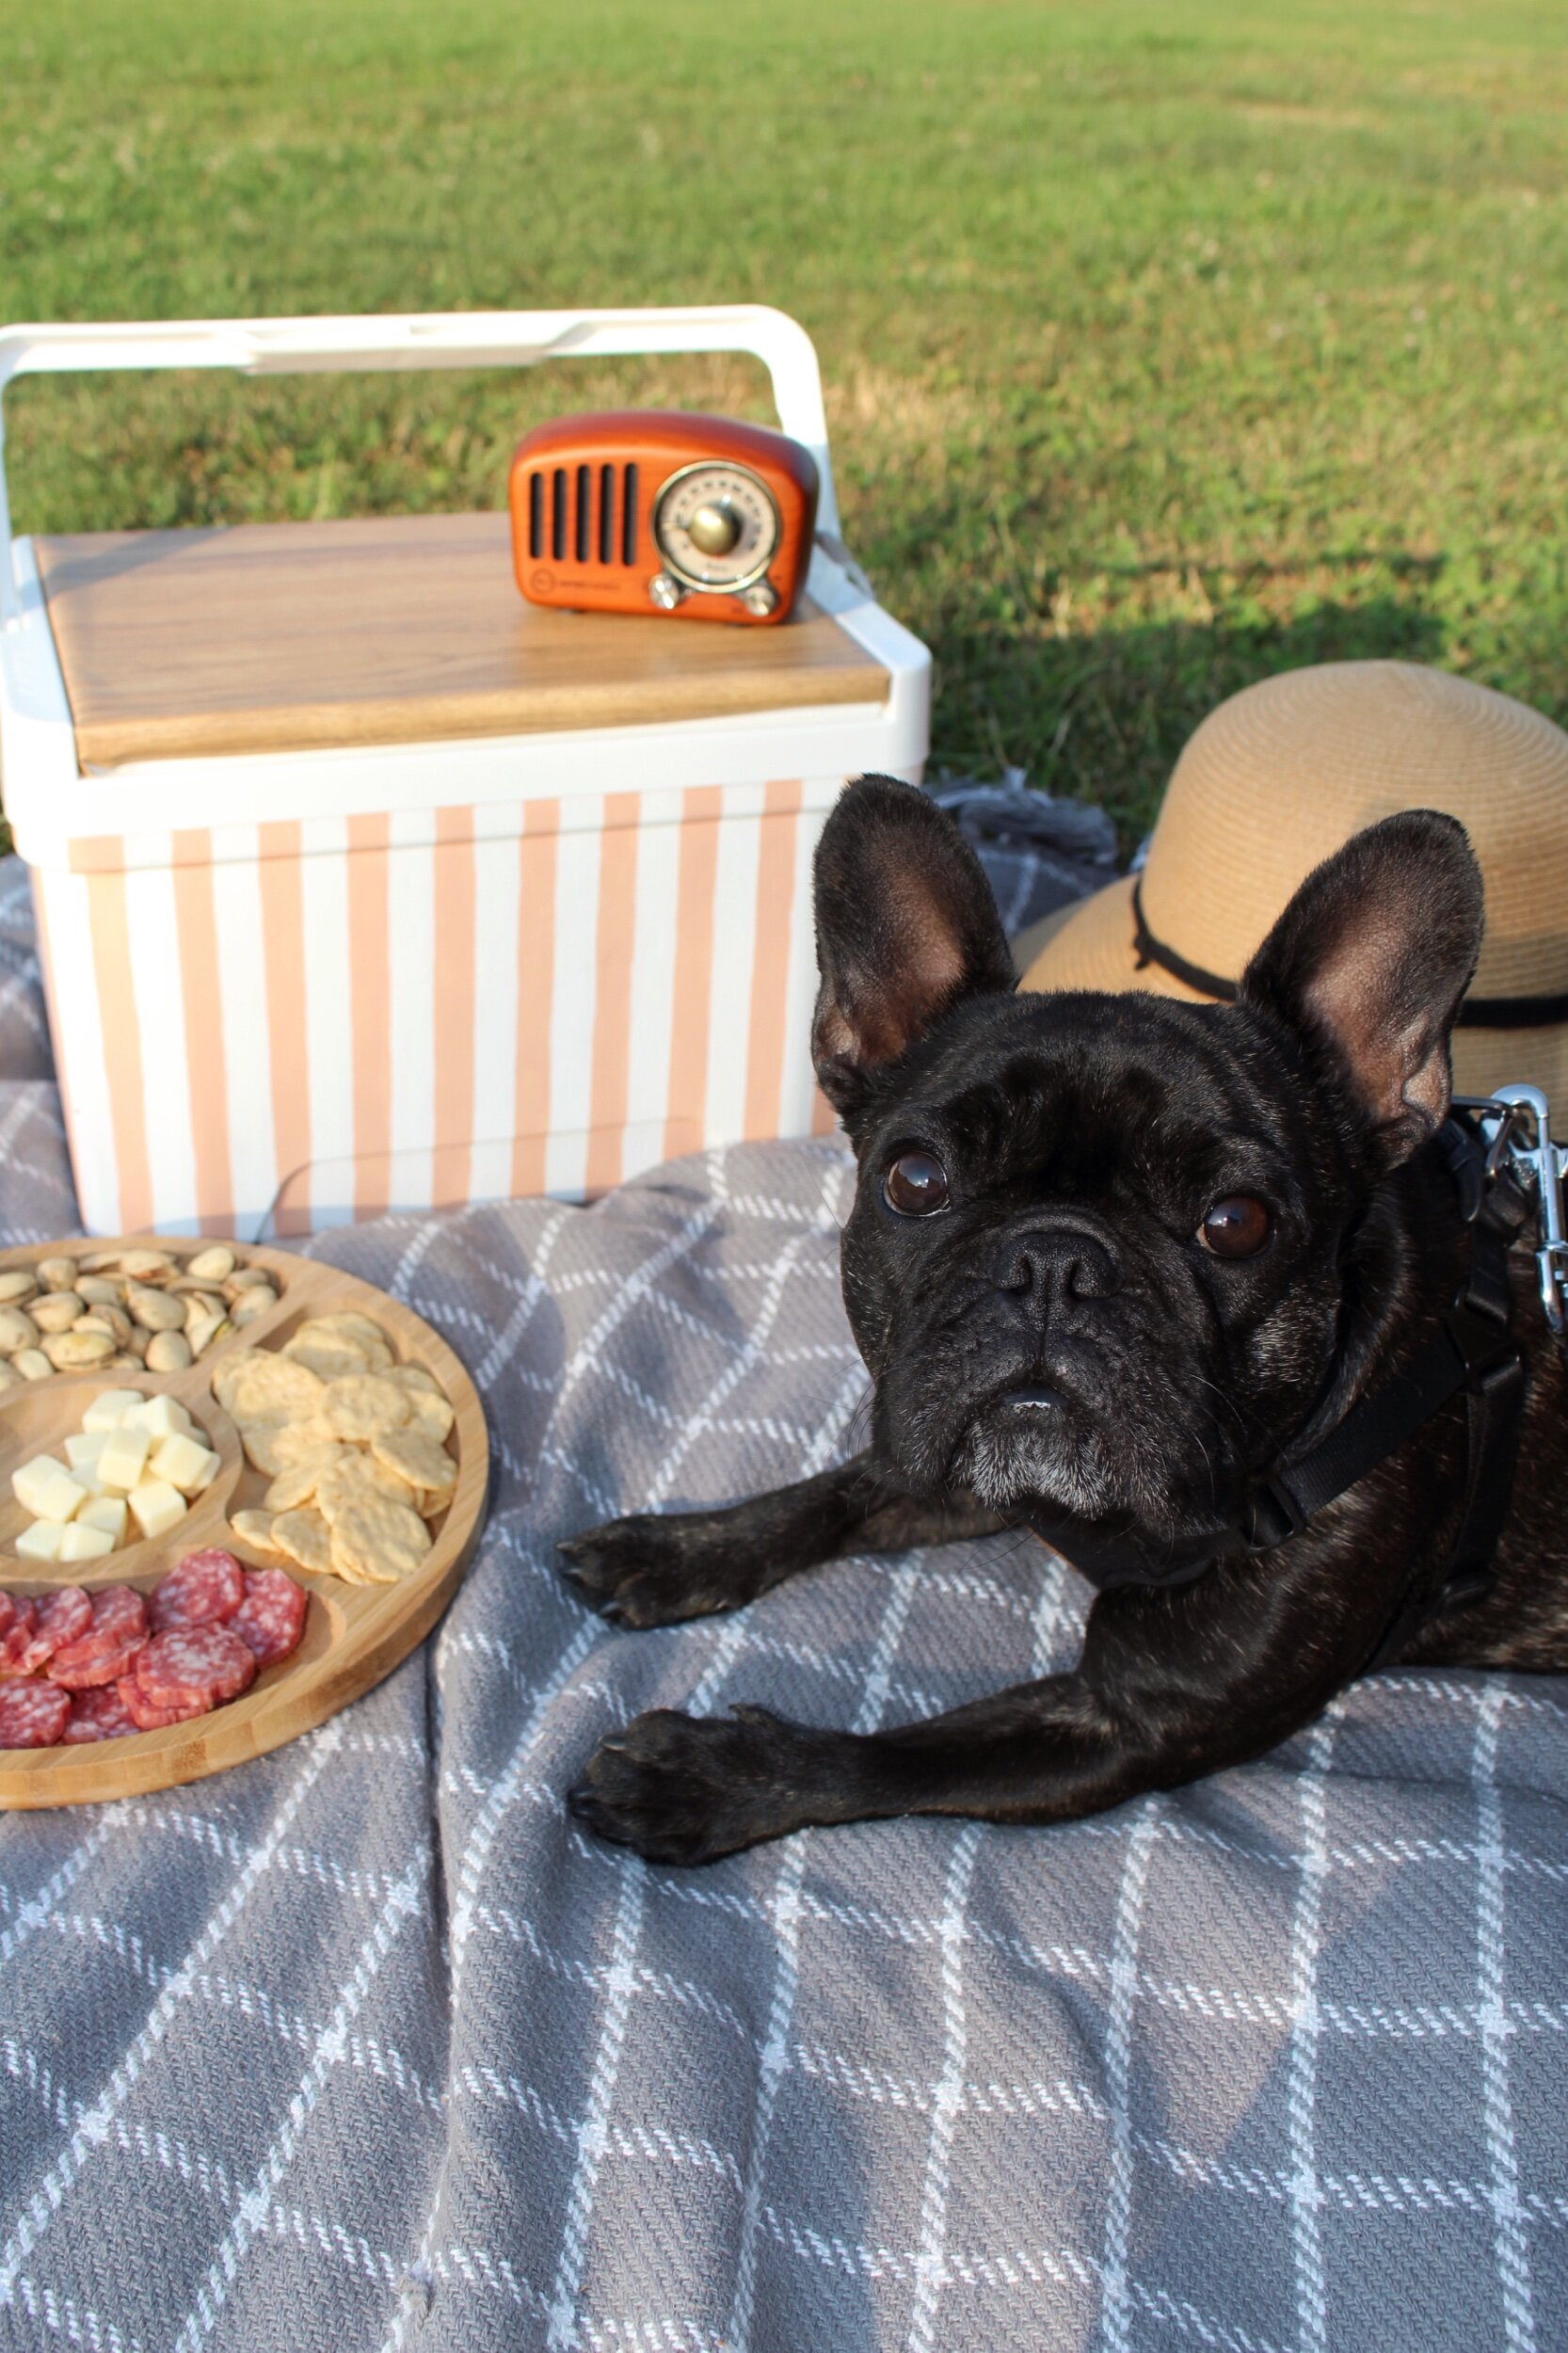
DIY Picnic Cooler Makeover
In the spirit of the summer season upon us, we are bringing you today a fun DIY weekend project to get your creativity flowing and to makeover something that actually serves a useful summer purpose — a picnic cooler! Whether you’re traveling to your local park, the beach, or the neighborhood pool, a cool beverage is a MUST this time of year. And while I’m definitely loving the new collection of retro Igloo coolers that are out on the market these days, your standard plastic fluorescent cooler is NOT the vibe.
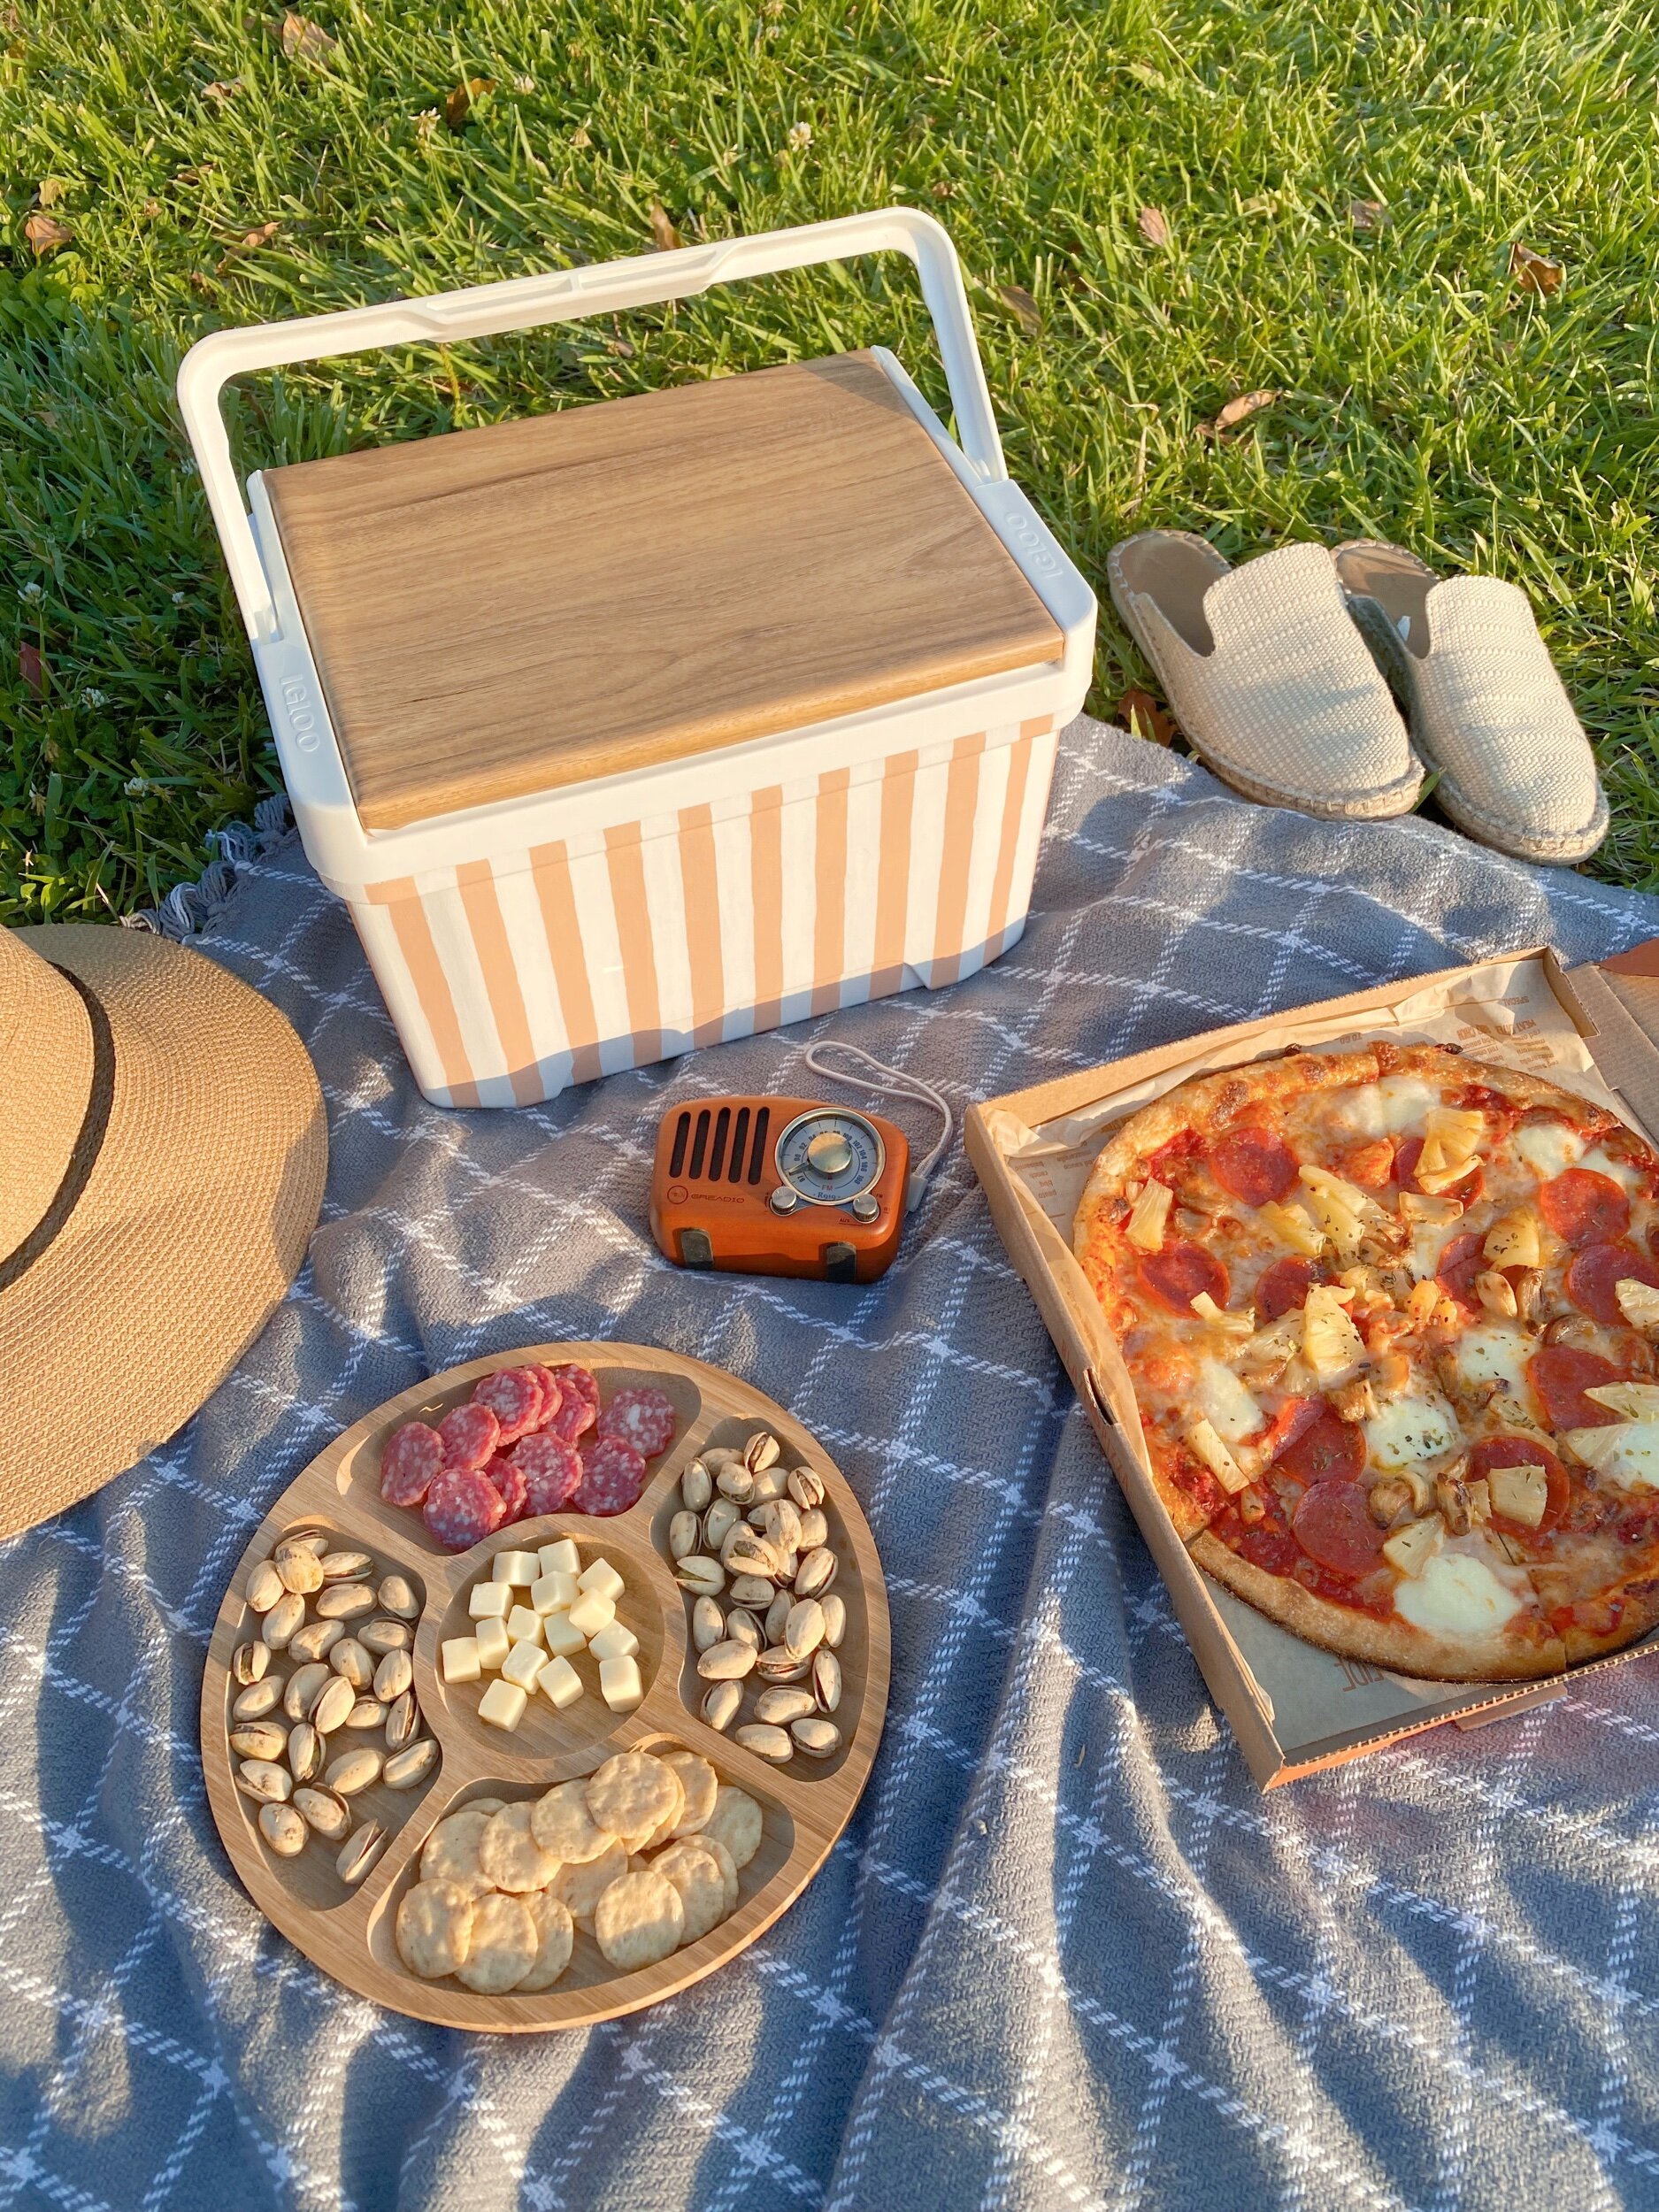
My inspiration for this project was this image that I found on pinterest that screams summer to me — the perfectly pink and white striped classic beach umbrella and beach chairs that look straight out of a vintage postcard from the French Riviera. Ahh vacation goals! So this is my attempt at channeling that Mediterranean coastal aesthetic into my local LA public park.
Once you have your blanket, your cooler, your picnic snacks, and your chilled bottle of rosé, the only thing that’s missing for the perfect picnic is… the perfect picnic playlist! Chrissy here at Entertain the Idea has put together the ultimate picnic Spotify playlist for your listening pleasure — enjoy :)
Supplies:
- 9 Qt Chest Igloo Cooler
- Scotch Brite pads
- Spackling
- Painter’s Tape
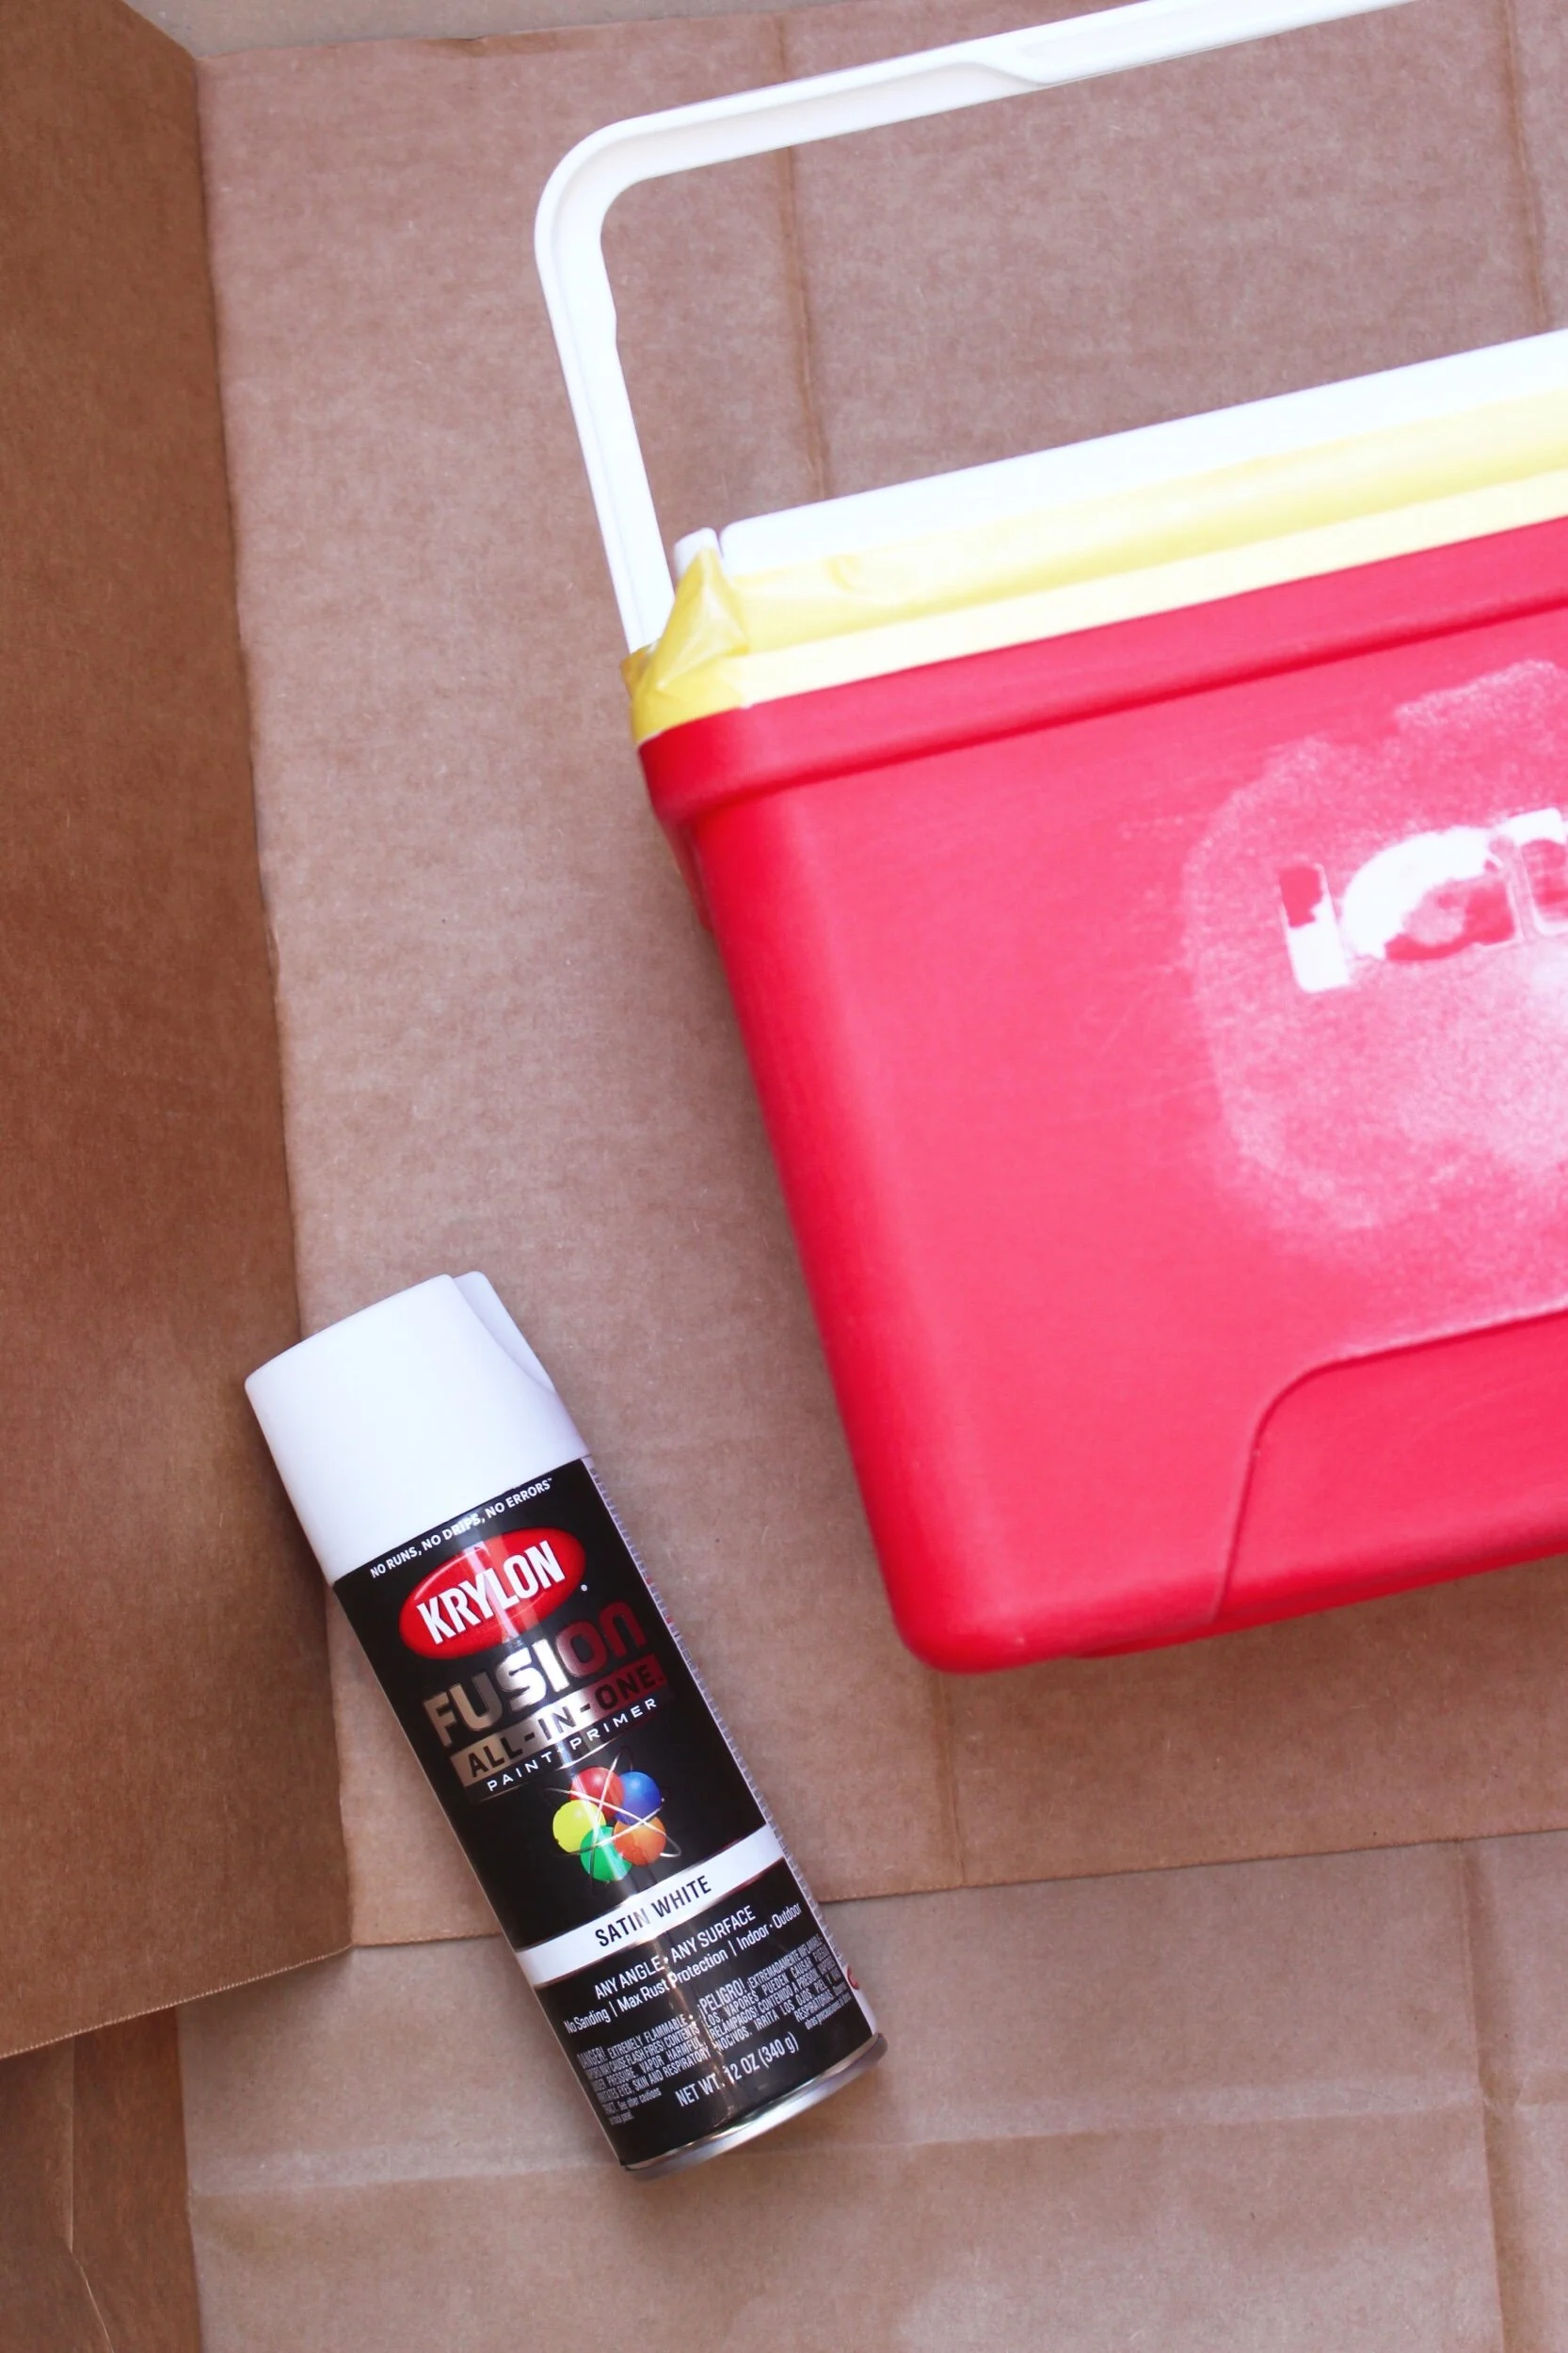
- Krylon Fusion Satin White Spray Paint
- Acrylic Paint
- Matte Mod Podge (*affiliate link)
- Wood Grain Contact Paper (*affiliate link)
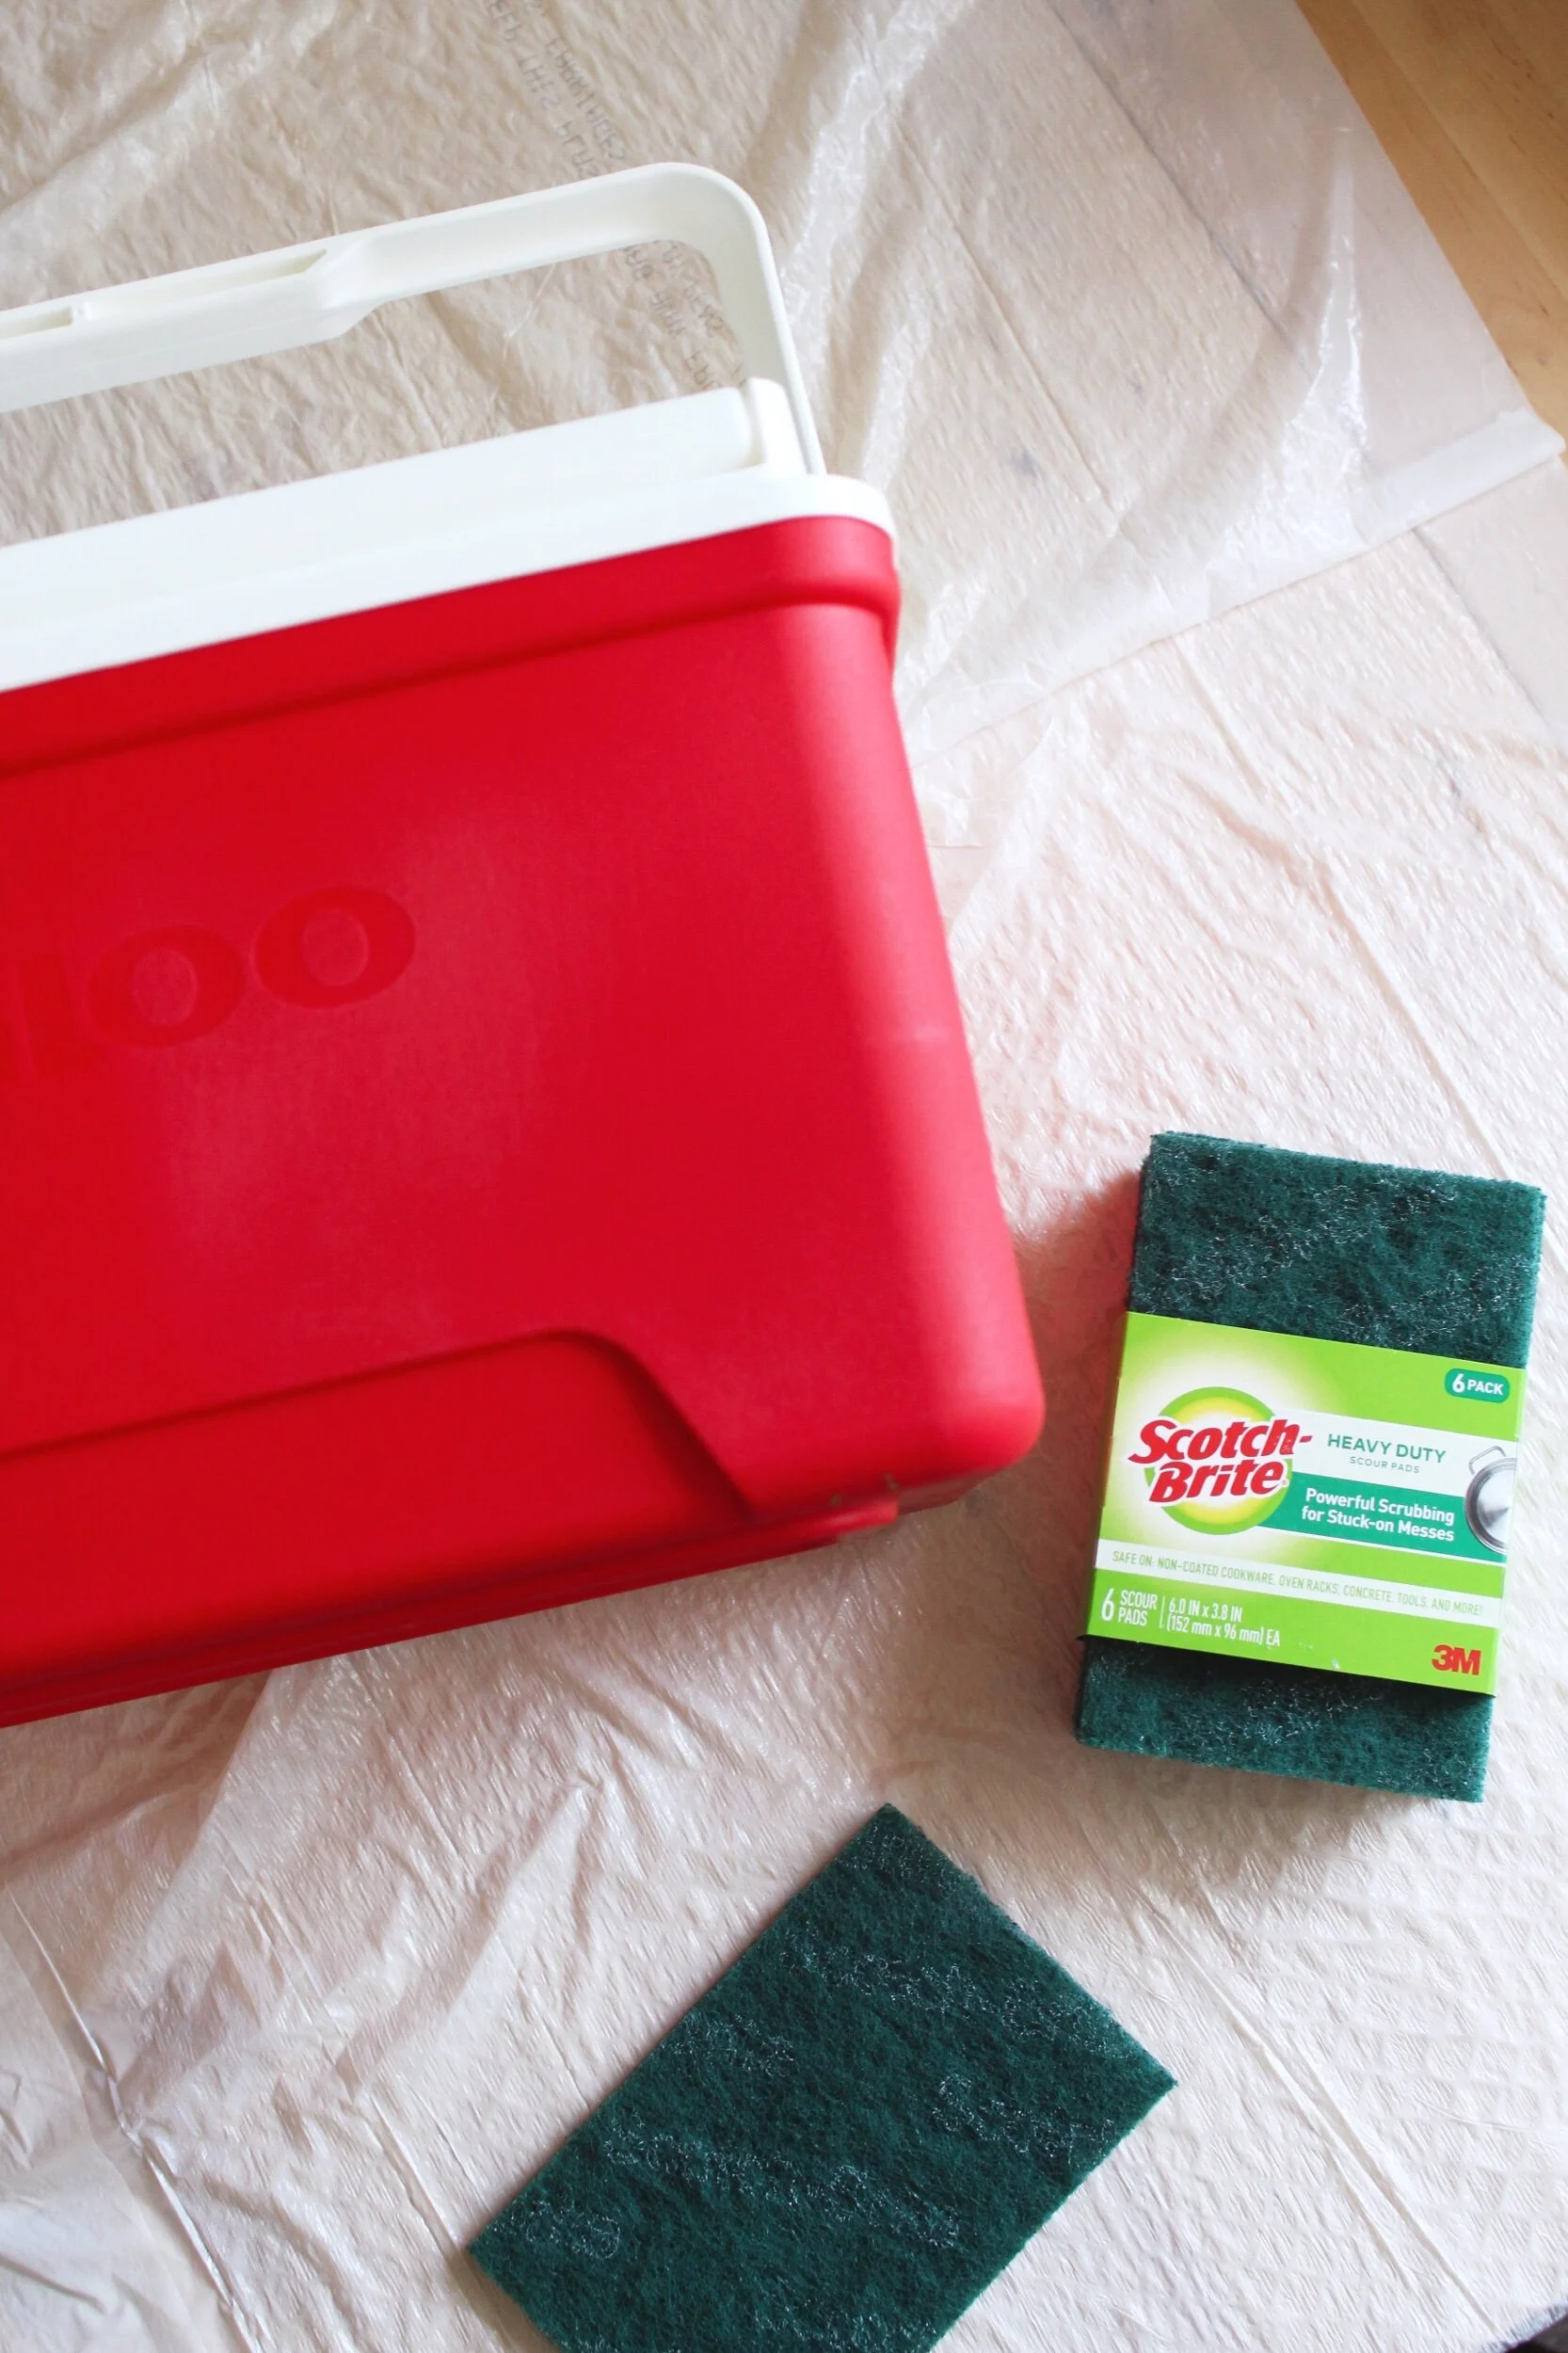
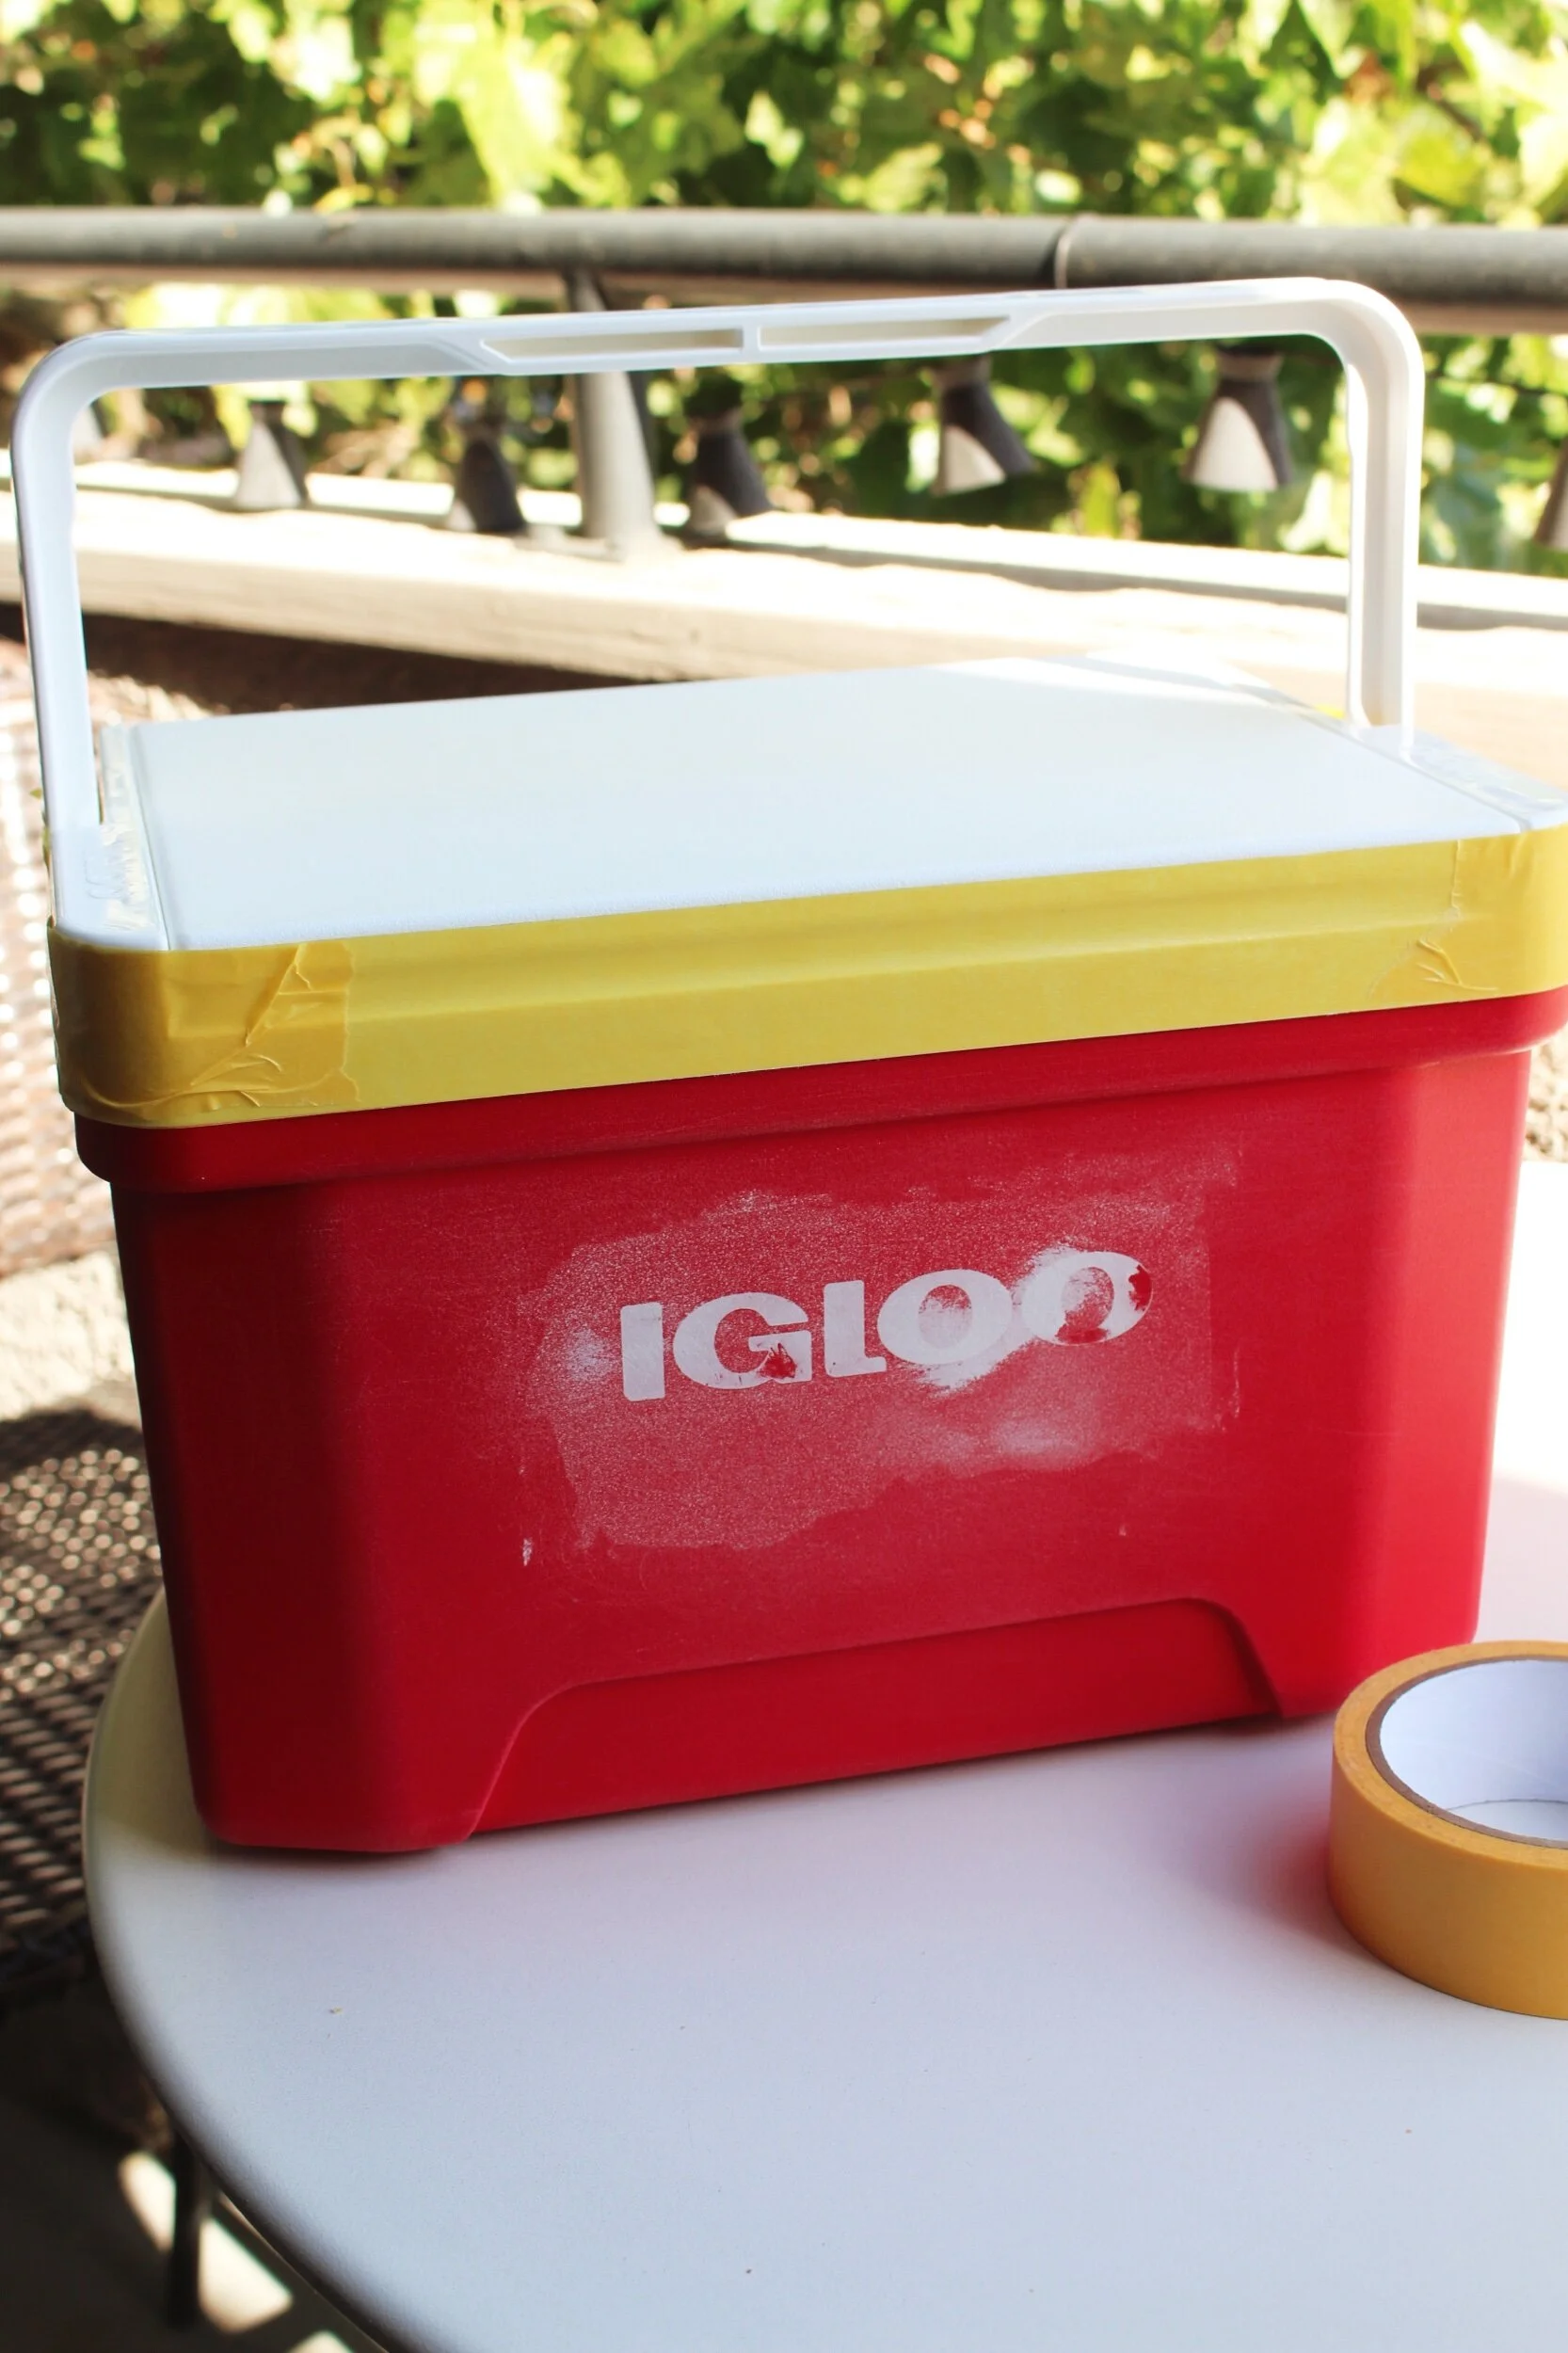
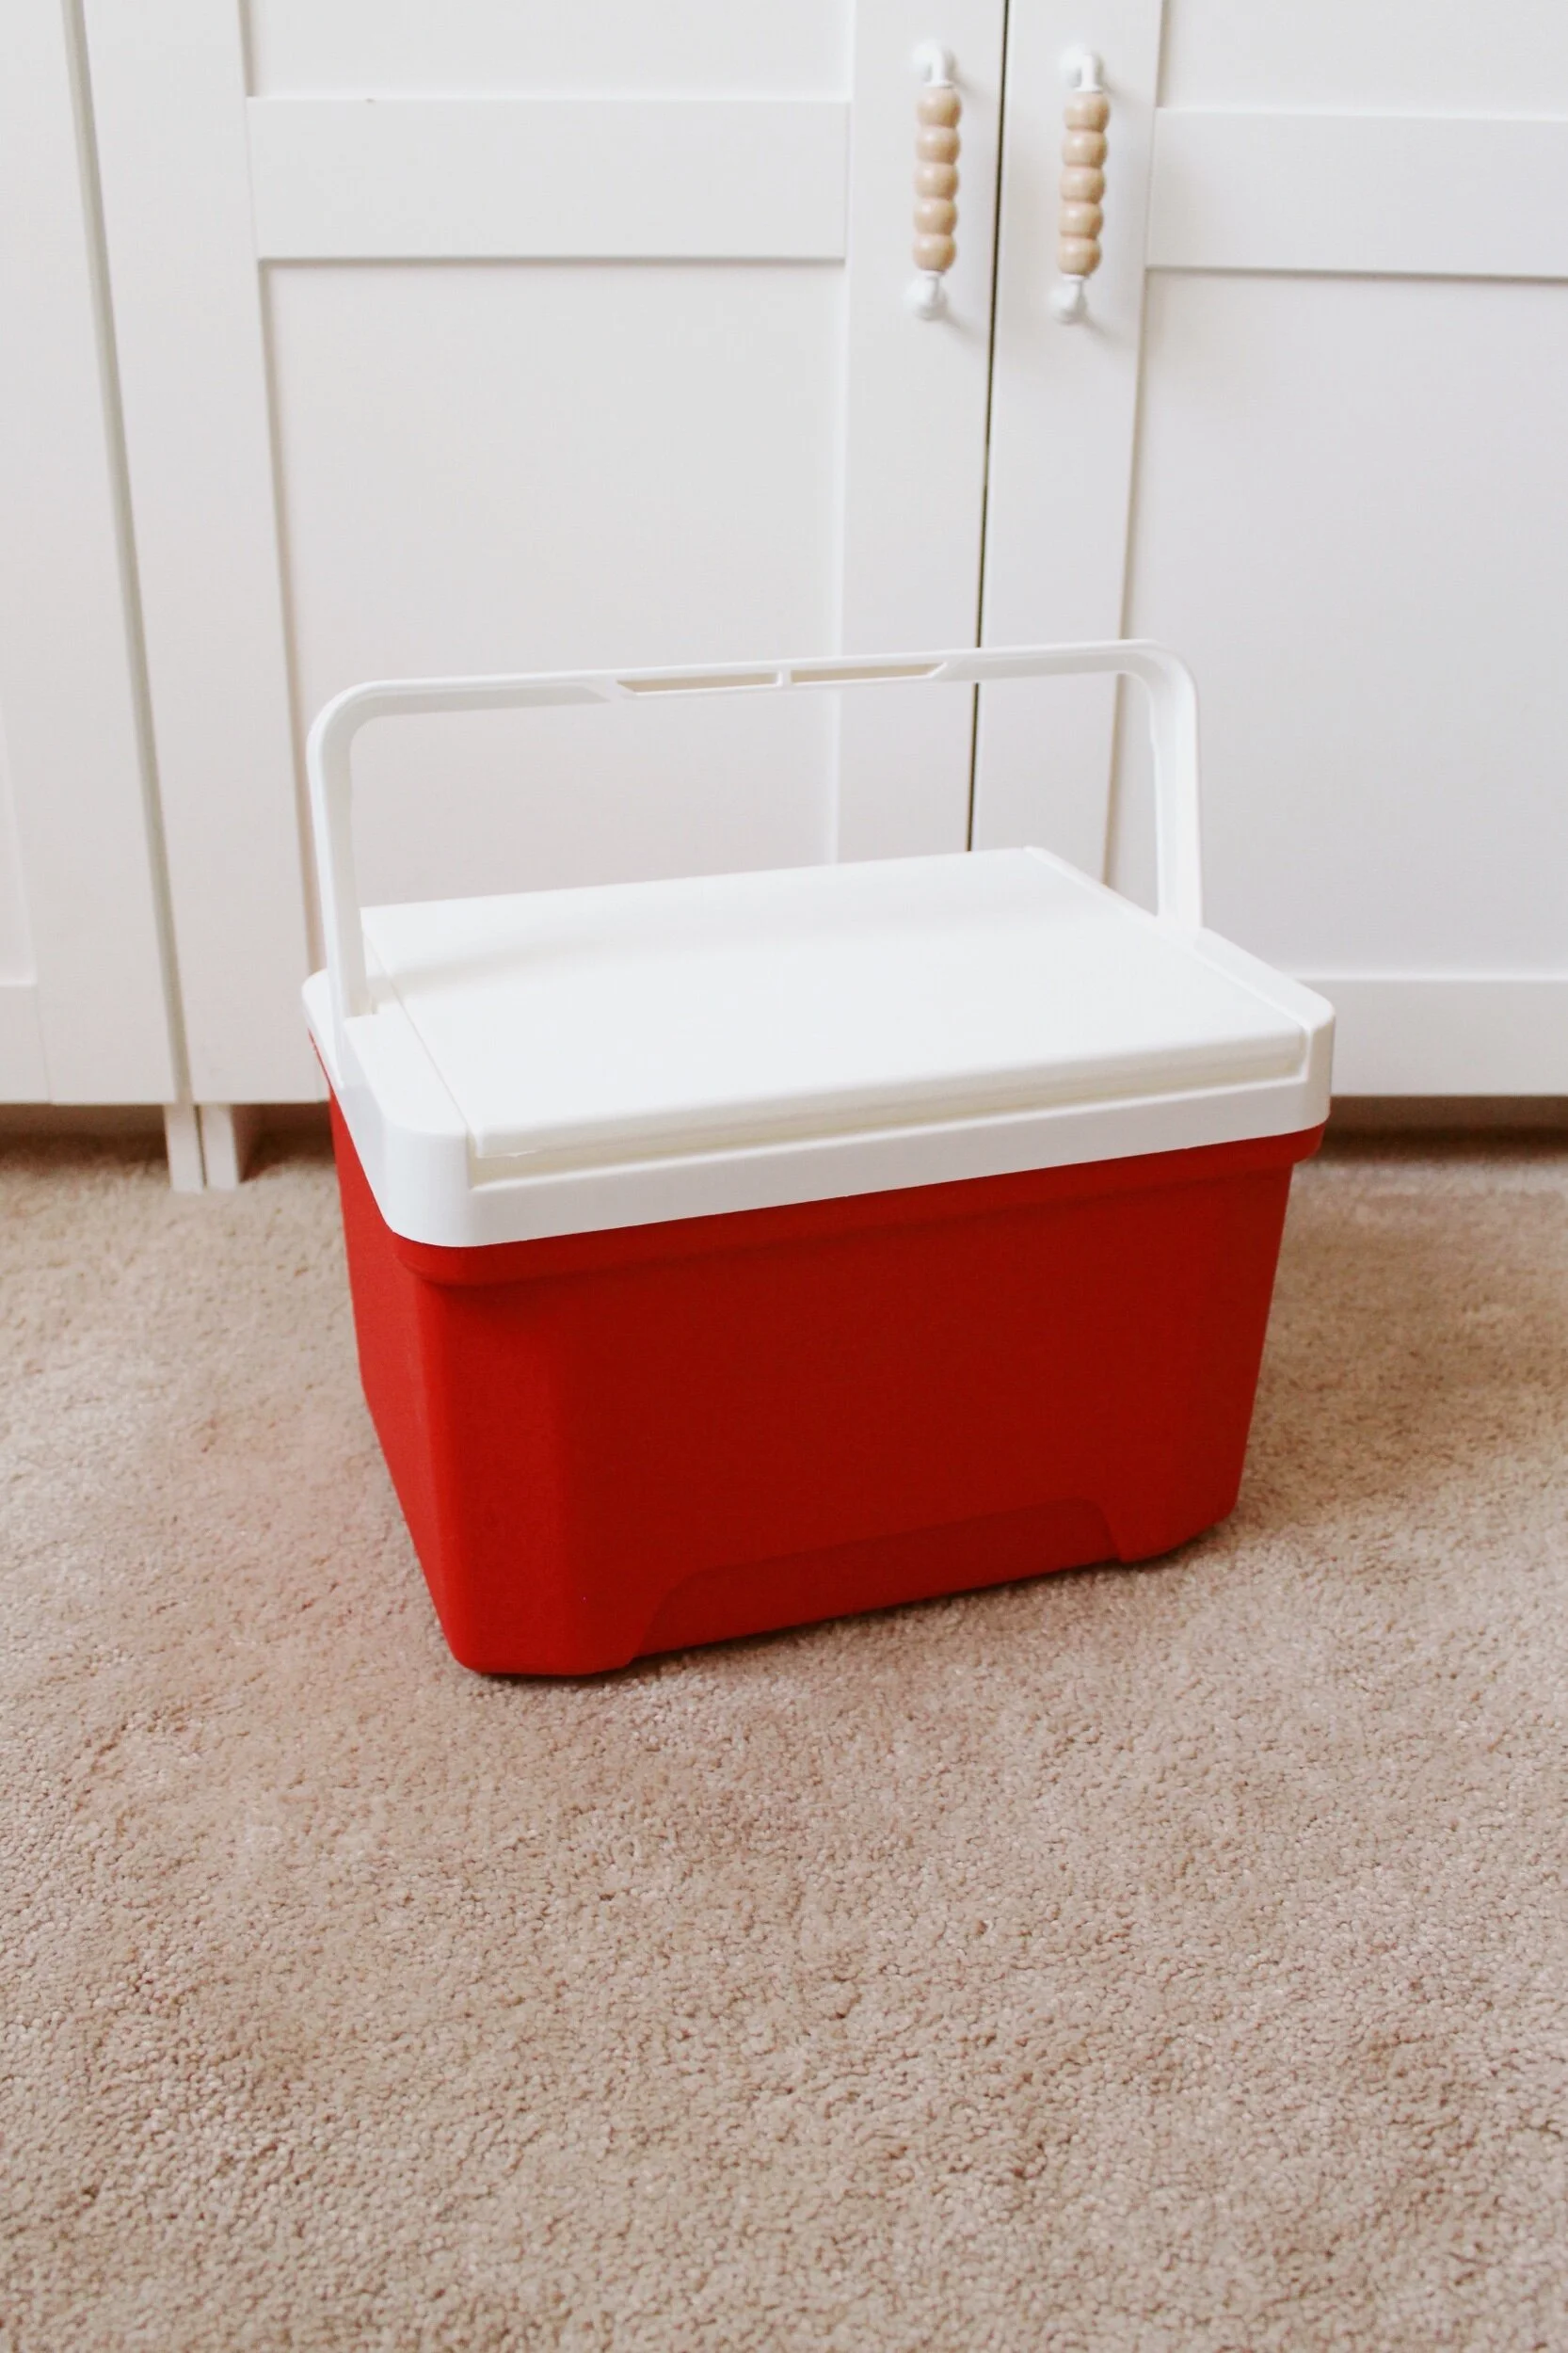
Step 1: The best way to paint a plastic object is to begin by sanding down the smooth top layer to give the paint some texture in which to attach. I watched several tutorials before beginning this step, some people used sand paper, others used an electric sander, and some recommend scotch brite pads (which I thought was cool since many of us already have these in our pantry at home!) and they definitely did the trick! I gave the entire red portion of the cooler a sanding to rough up the surface. You can slightly see the difference in the right image above.
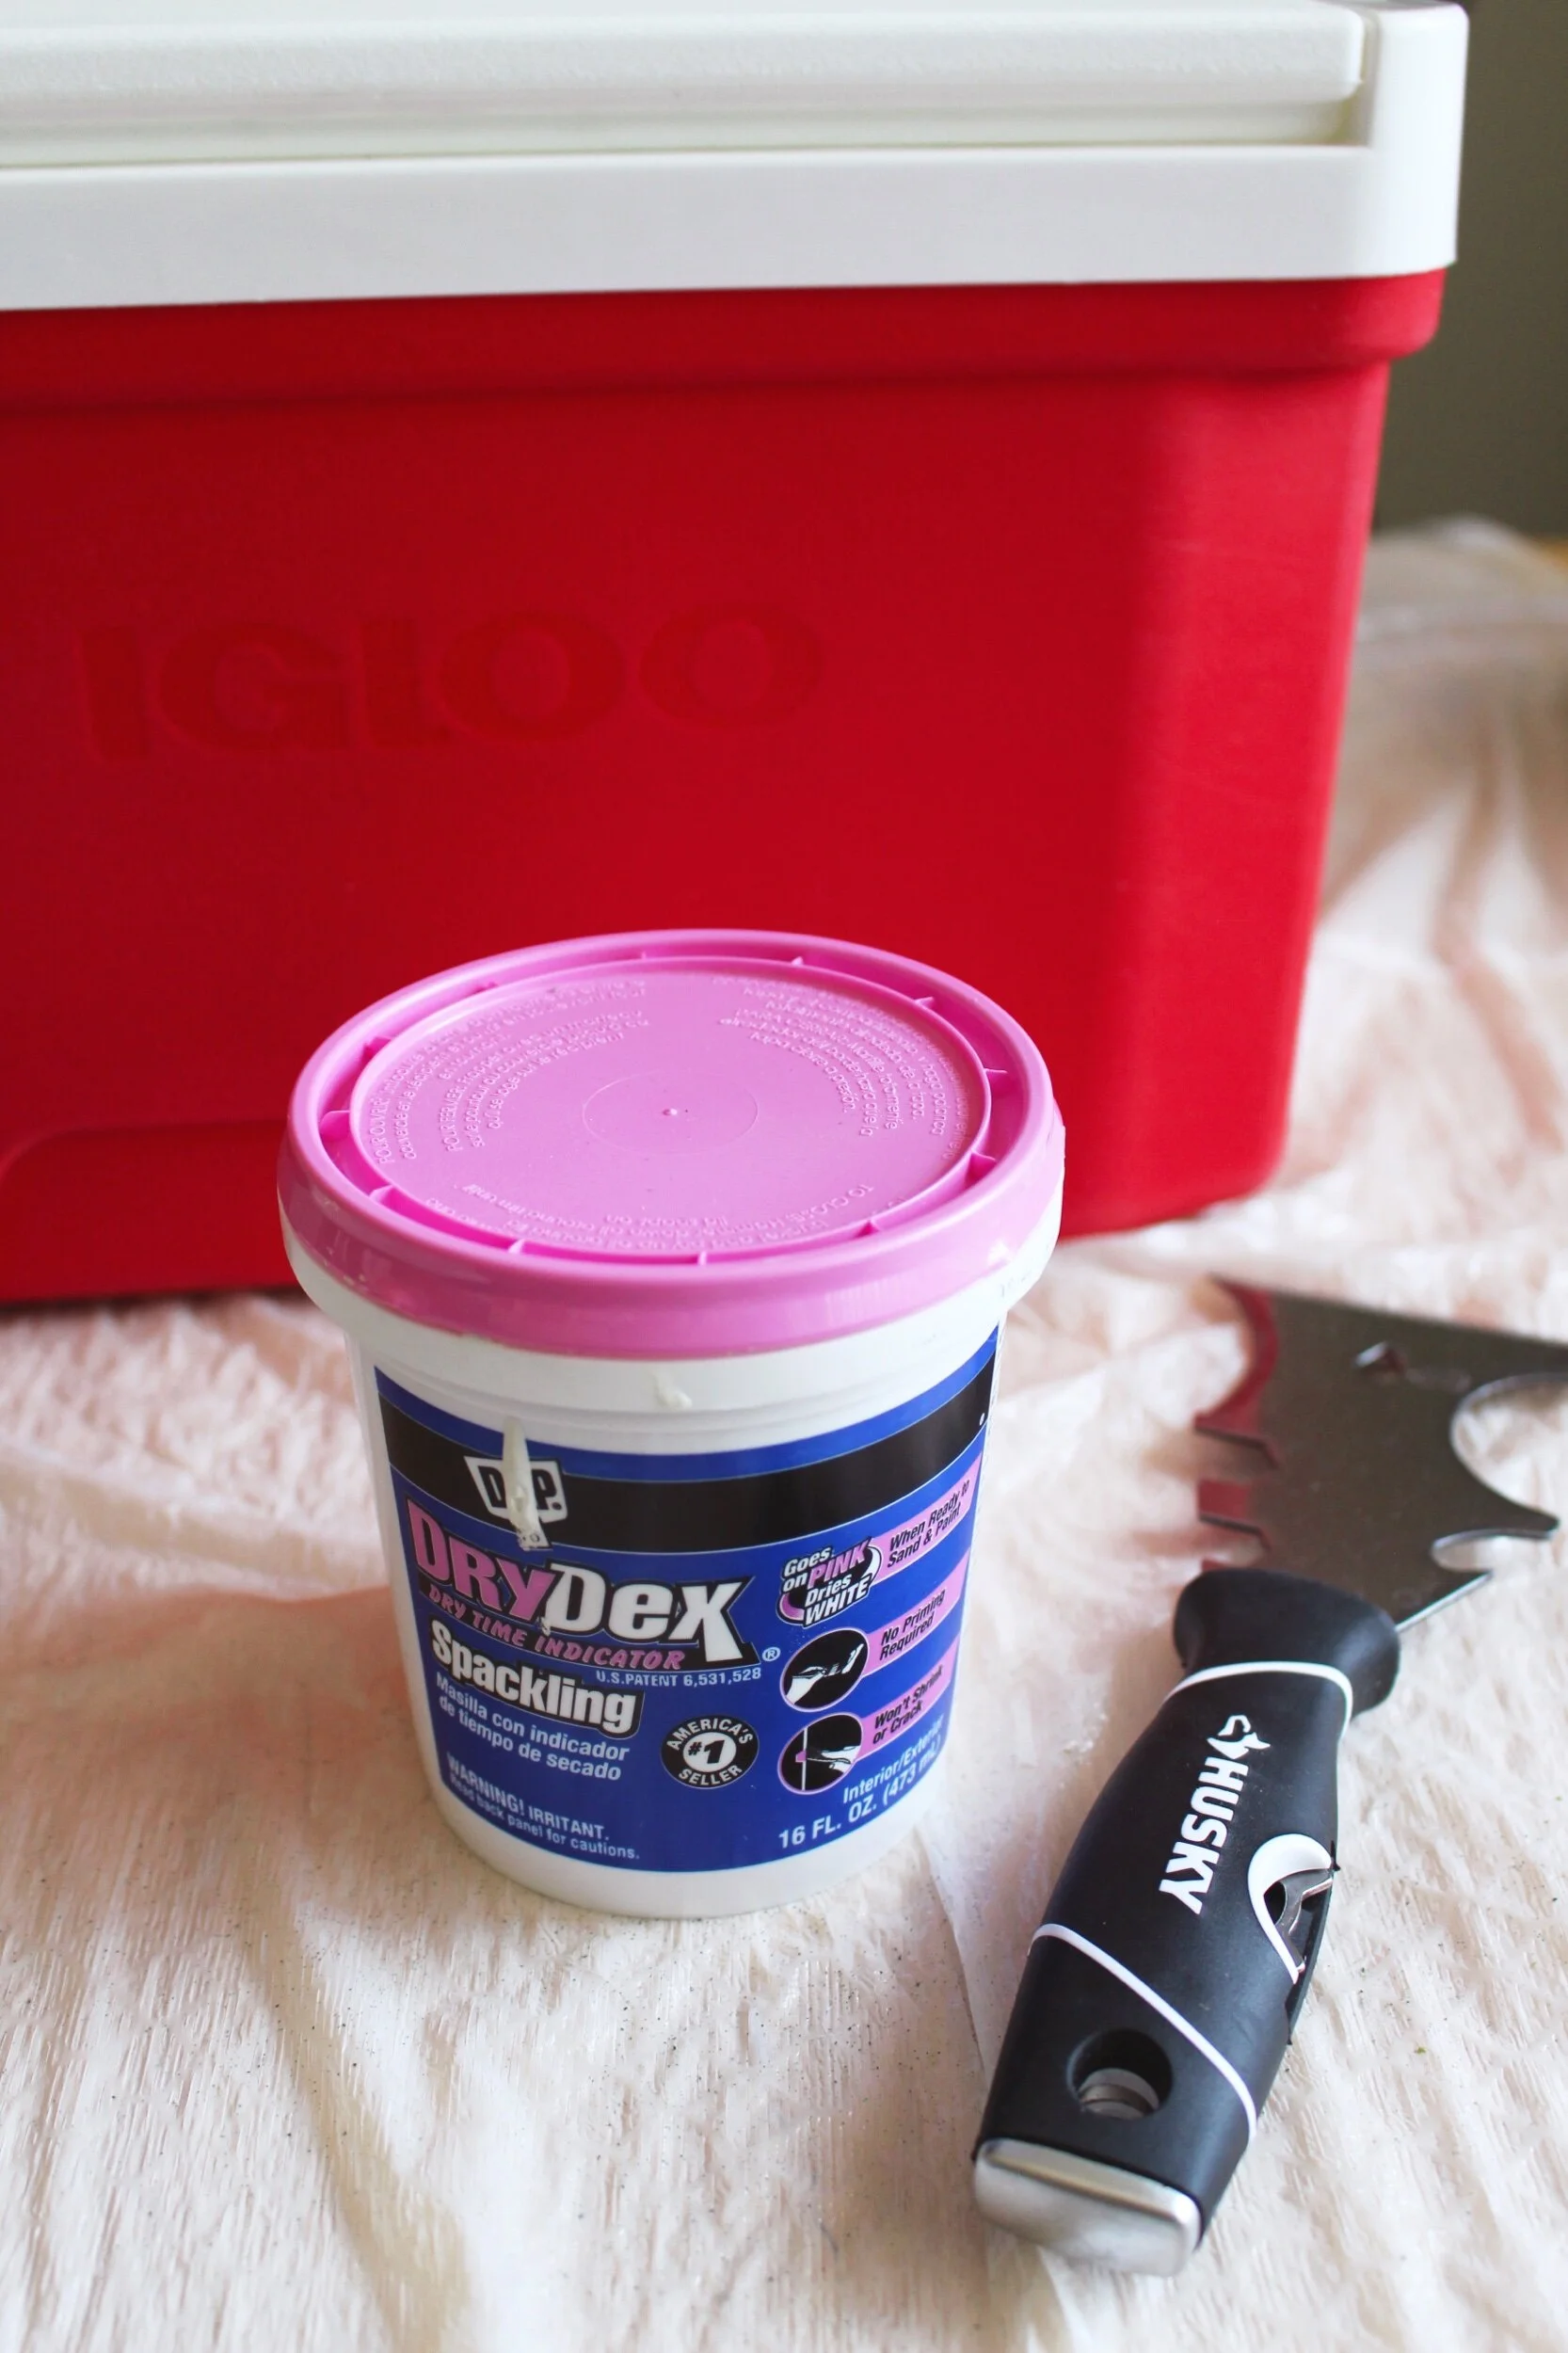
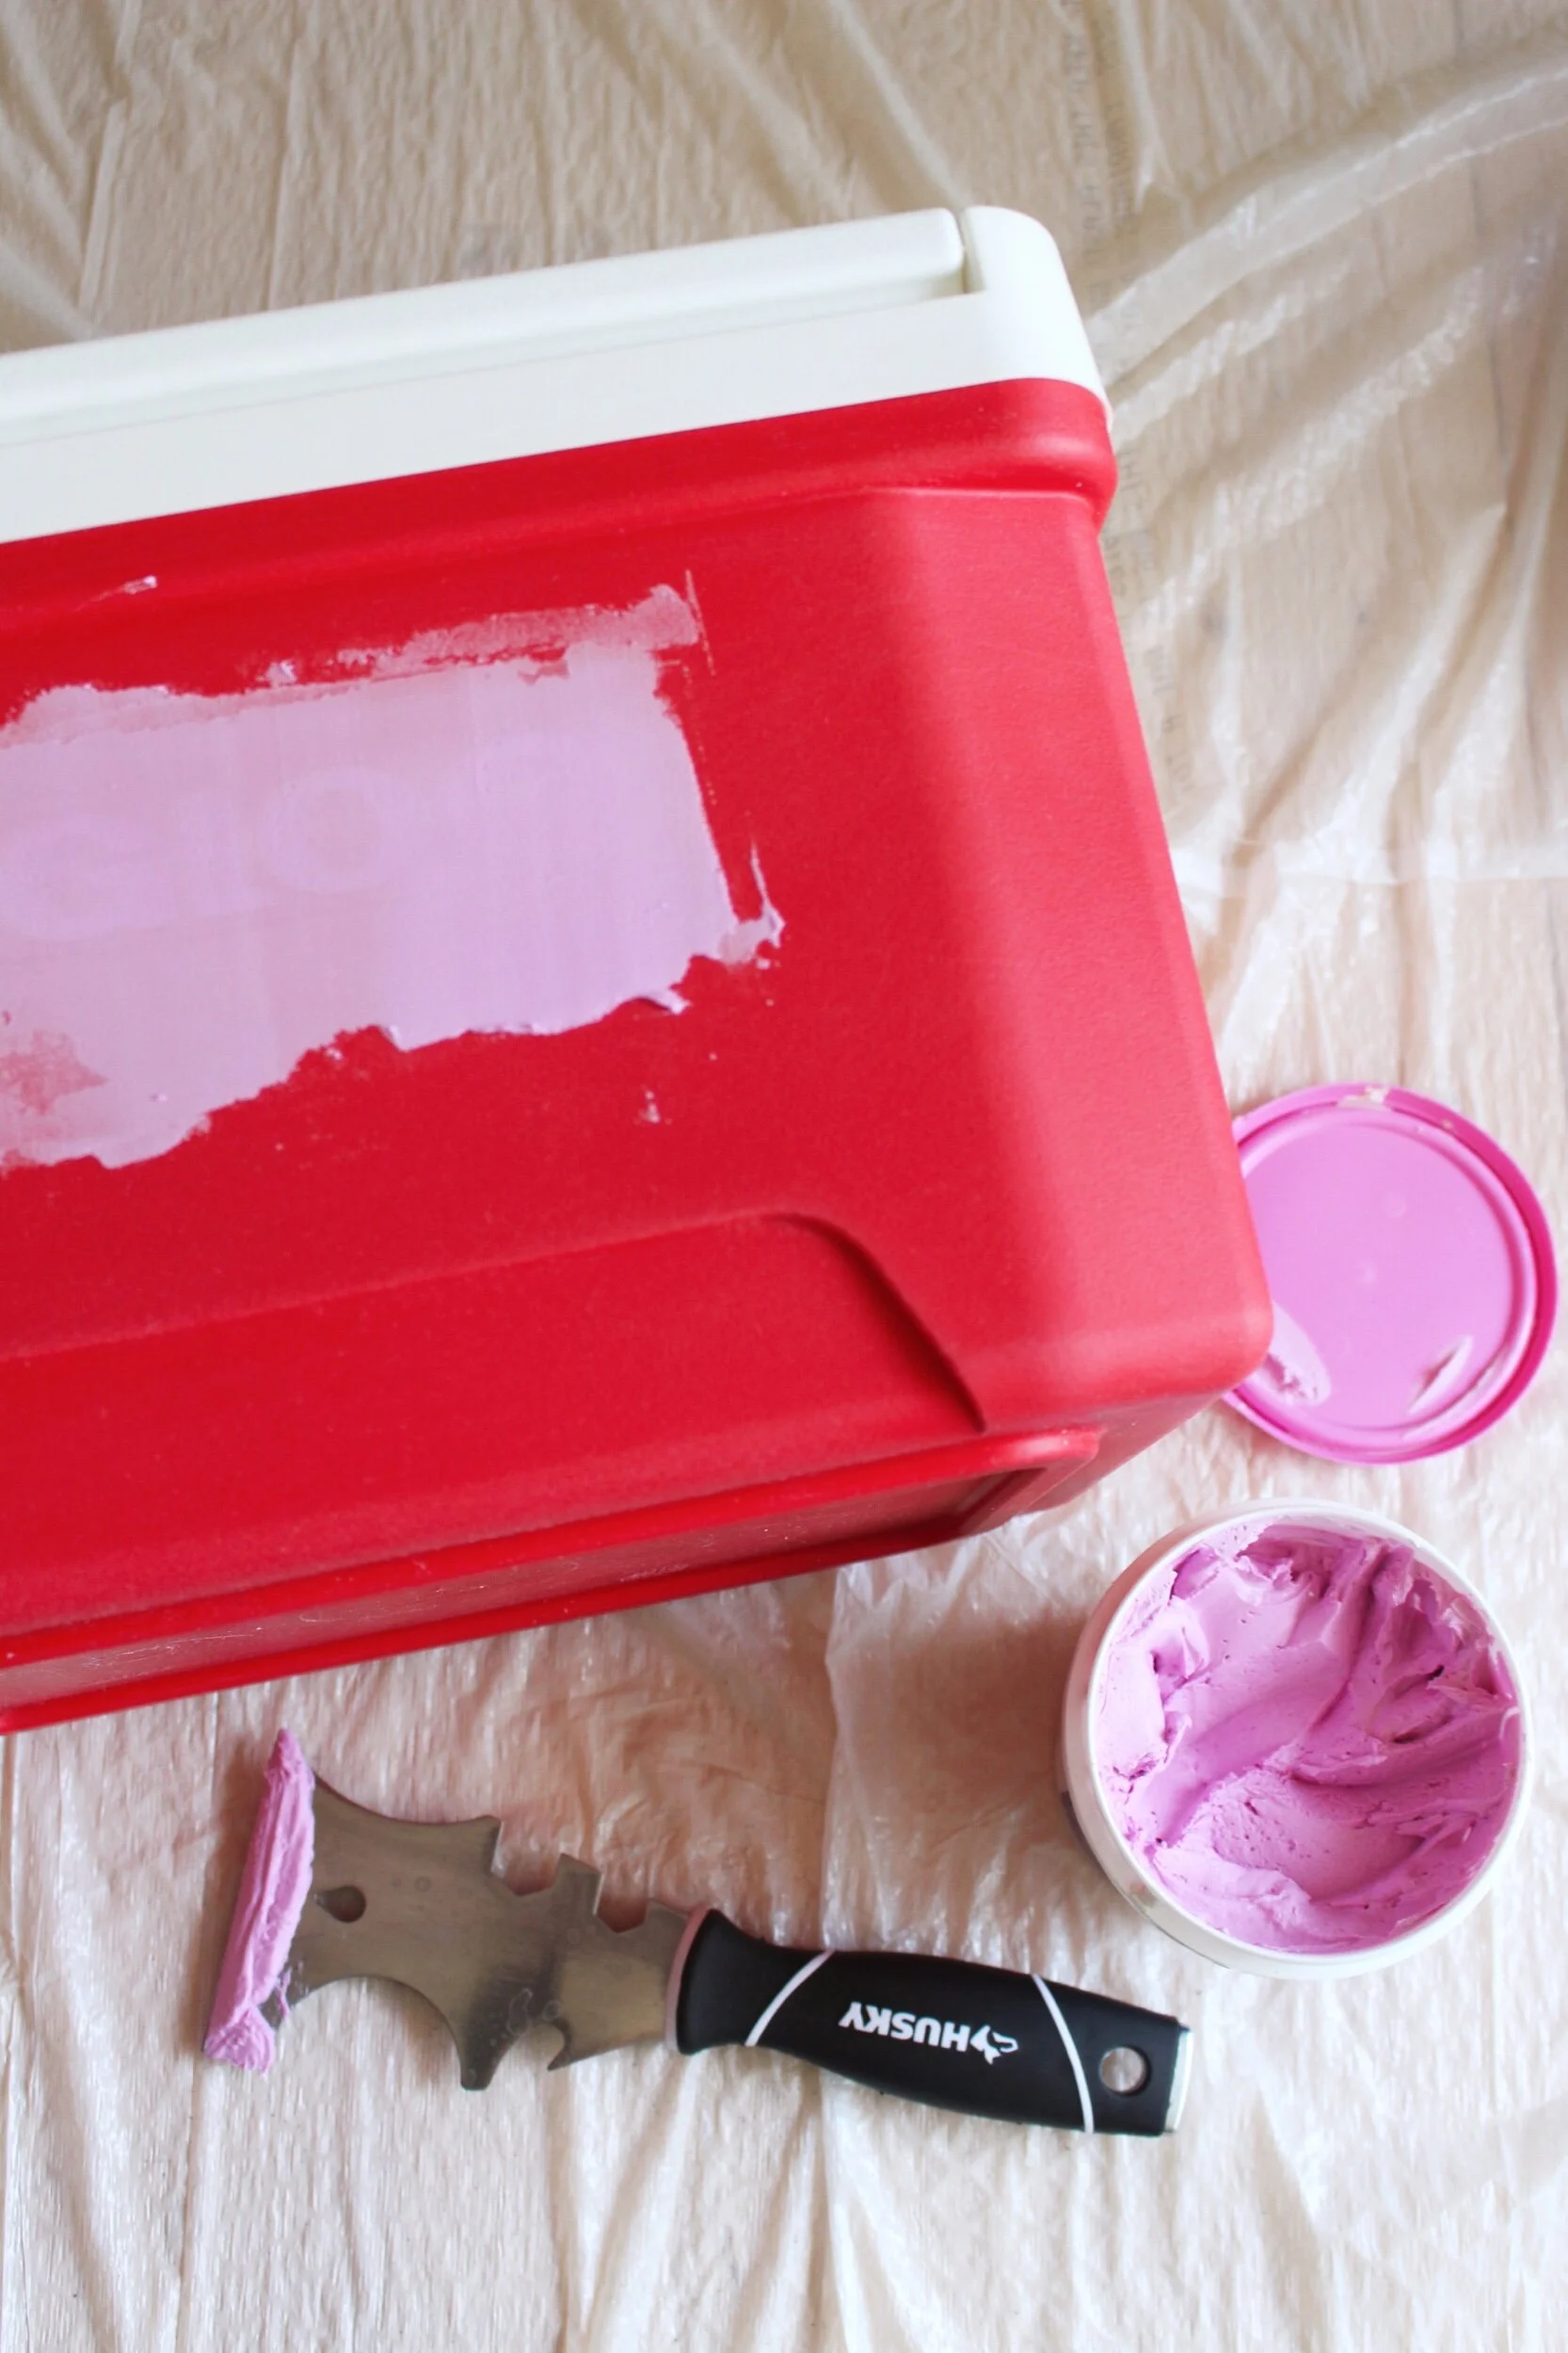
Step 2: Next, I wanted to smooth out the slight indentation of the Igloo logo on the cooler just to give the outside a smoother more minimal design. I pulled out my trusty spackling (used to fill many-a-holes in our paper thin apartment drywall) and I brushed on a layer over the debossed IGLOO letters.
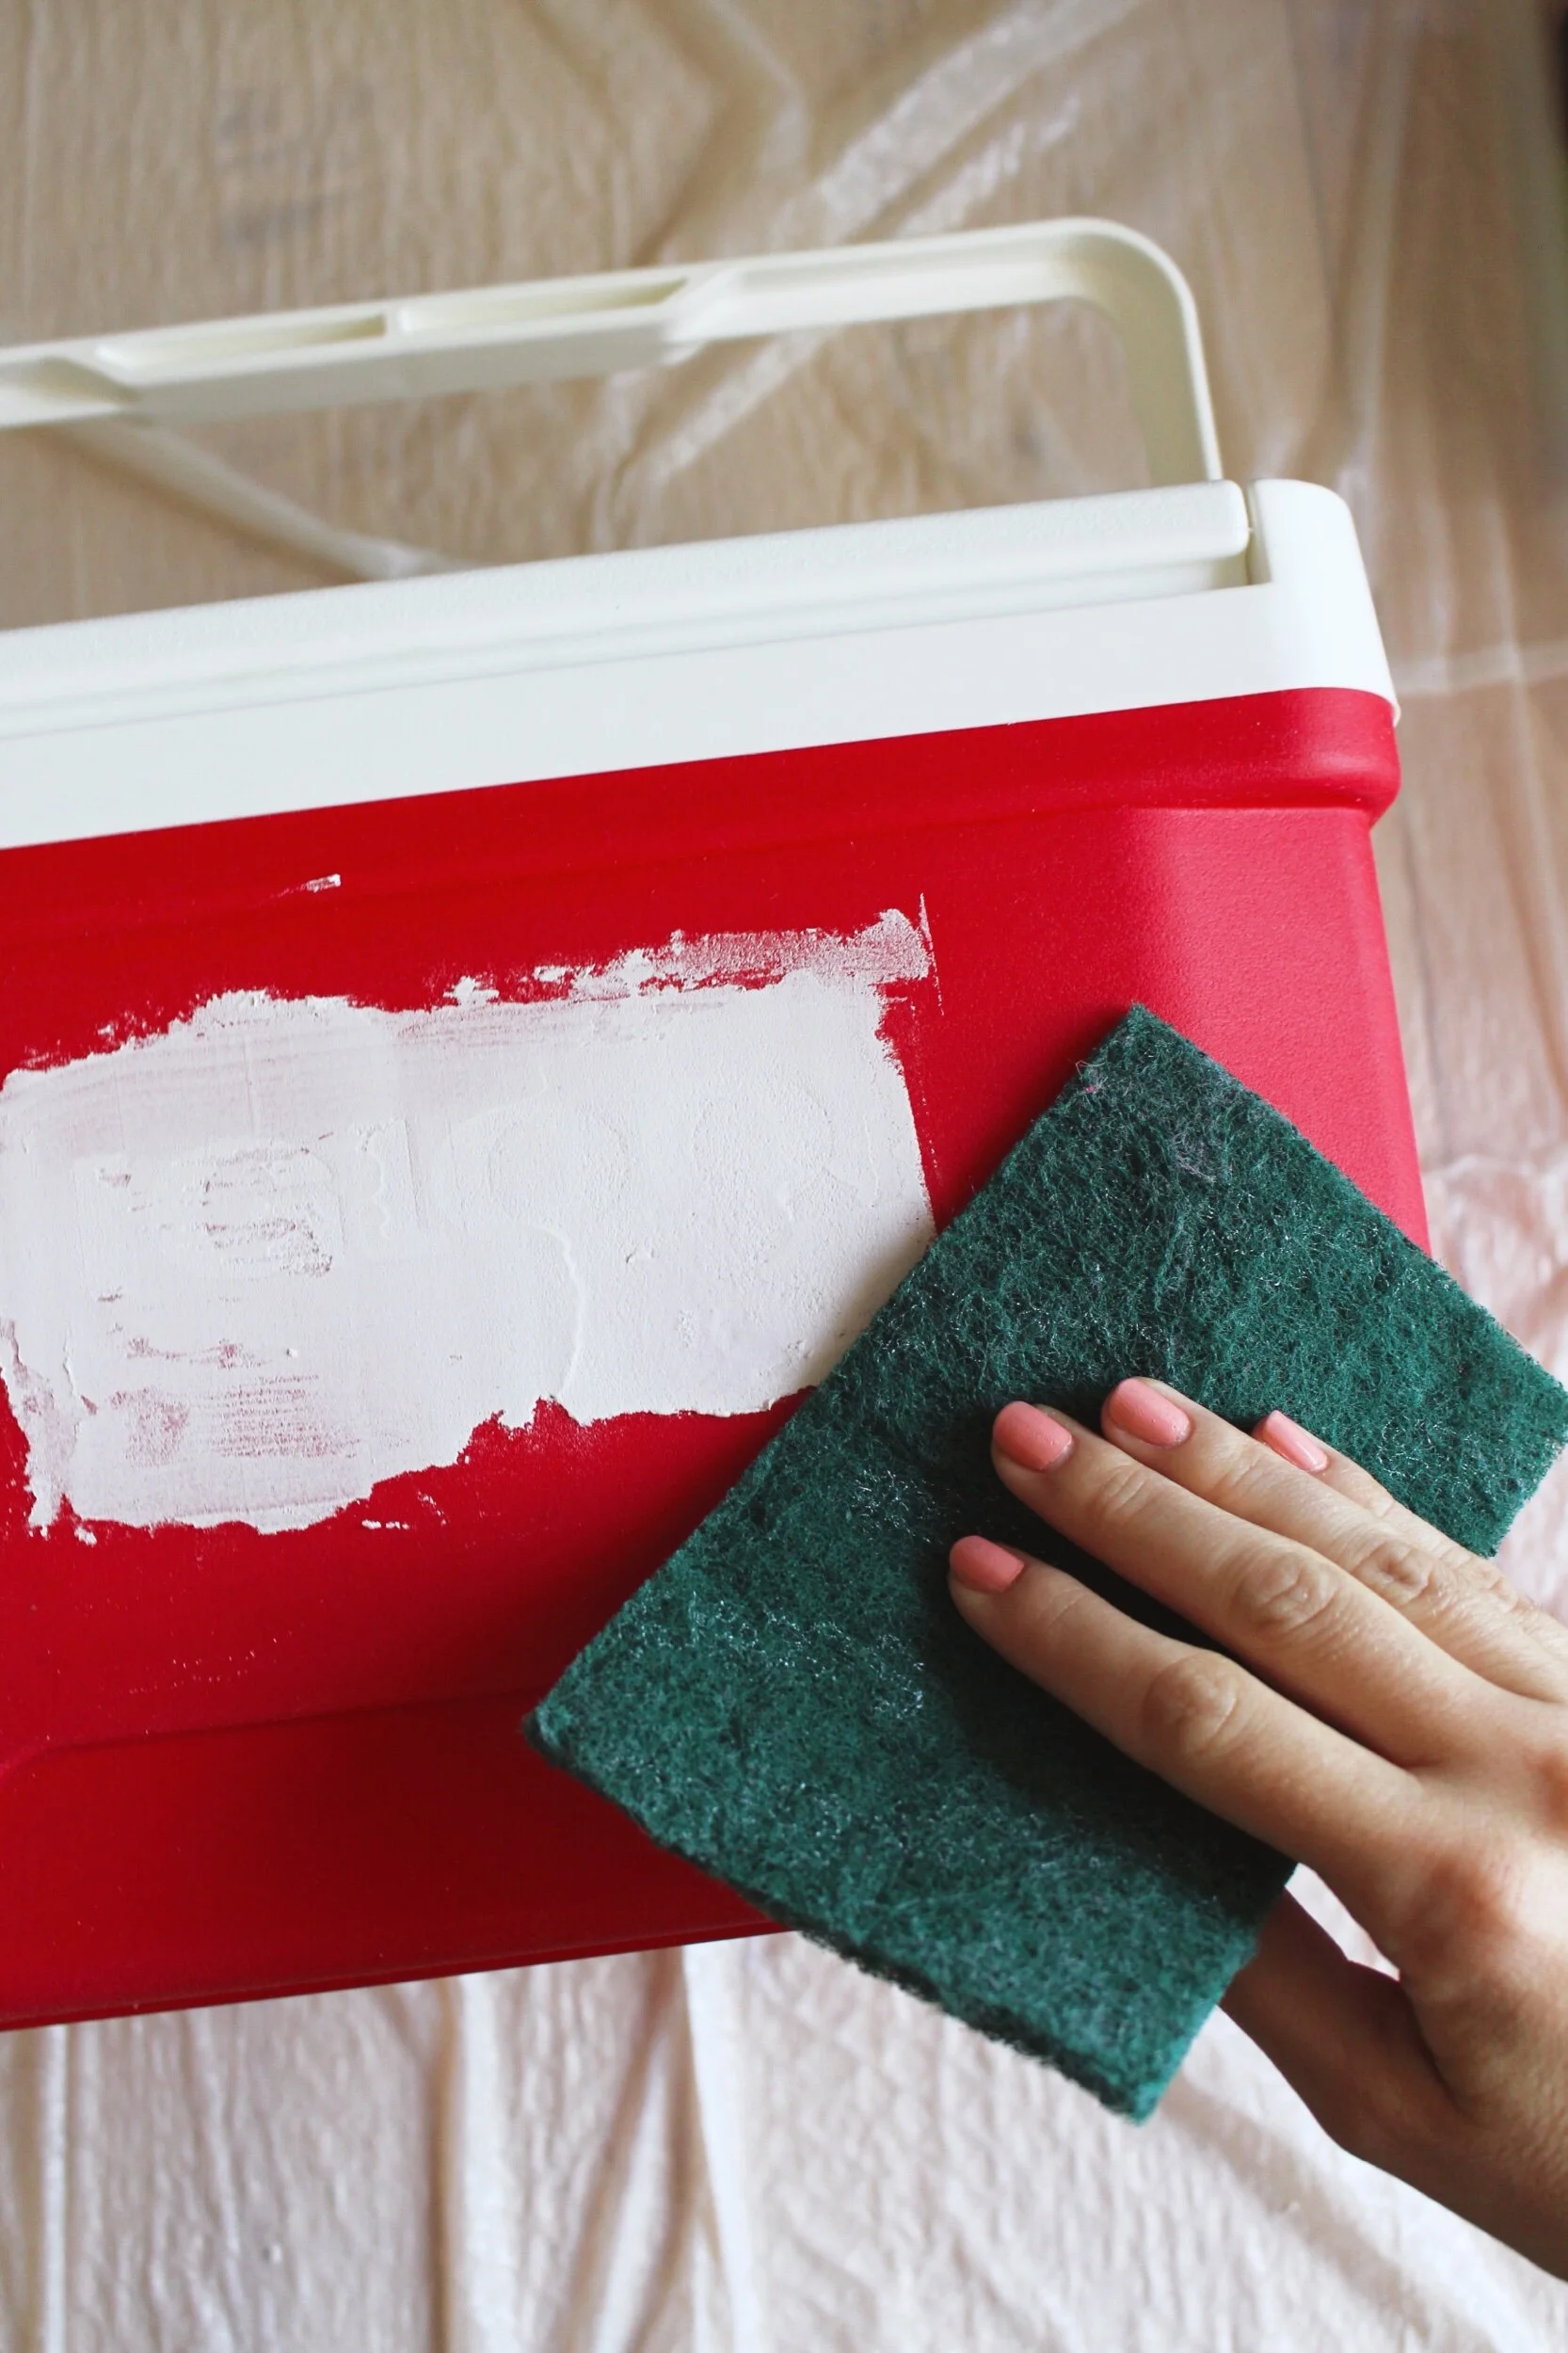
Step 3: Once my spackle turned from pink to white, I knew it was dry, and I began to lightly sand off any extra spackle that would cause any visible bumps on the cooler surface (trying to make this area as smooth and flat as possible). I will admit though, I was not entirely successful with this step and if I could go back and redo anything it would be to sand a bit more lightly because you will see in the photos below that a good portion of my spackle was pulled off in the sanding process so some letters slightly showed through. But have no fear if this happens to you too, it wasn’t too visible once the cooler was painted!
Step 4: Time to paint! I knew I only wanted to paint the red portion of the cooler, the white handle and lid could stay just as it was, so I taped off the area that I didn’t want the spray paint to reach. Then I setup my cooler in a cardboard box on my balcony and gave all four sides and the bottom about 3 light coats of the Krylon Fusion satin white spray paint. I chose this product specifically because it was designed to be used on many surfaces including plastic and no prime coat was necessary, it is all in one. I will say the vibrant red color required more coats than a more neutral color might, but this paint definitely attached well to the plastic cooler surface and dried super fast!
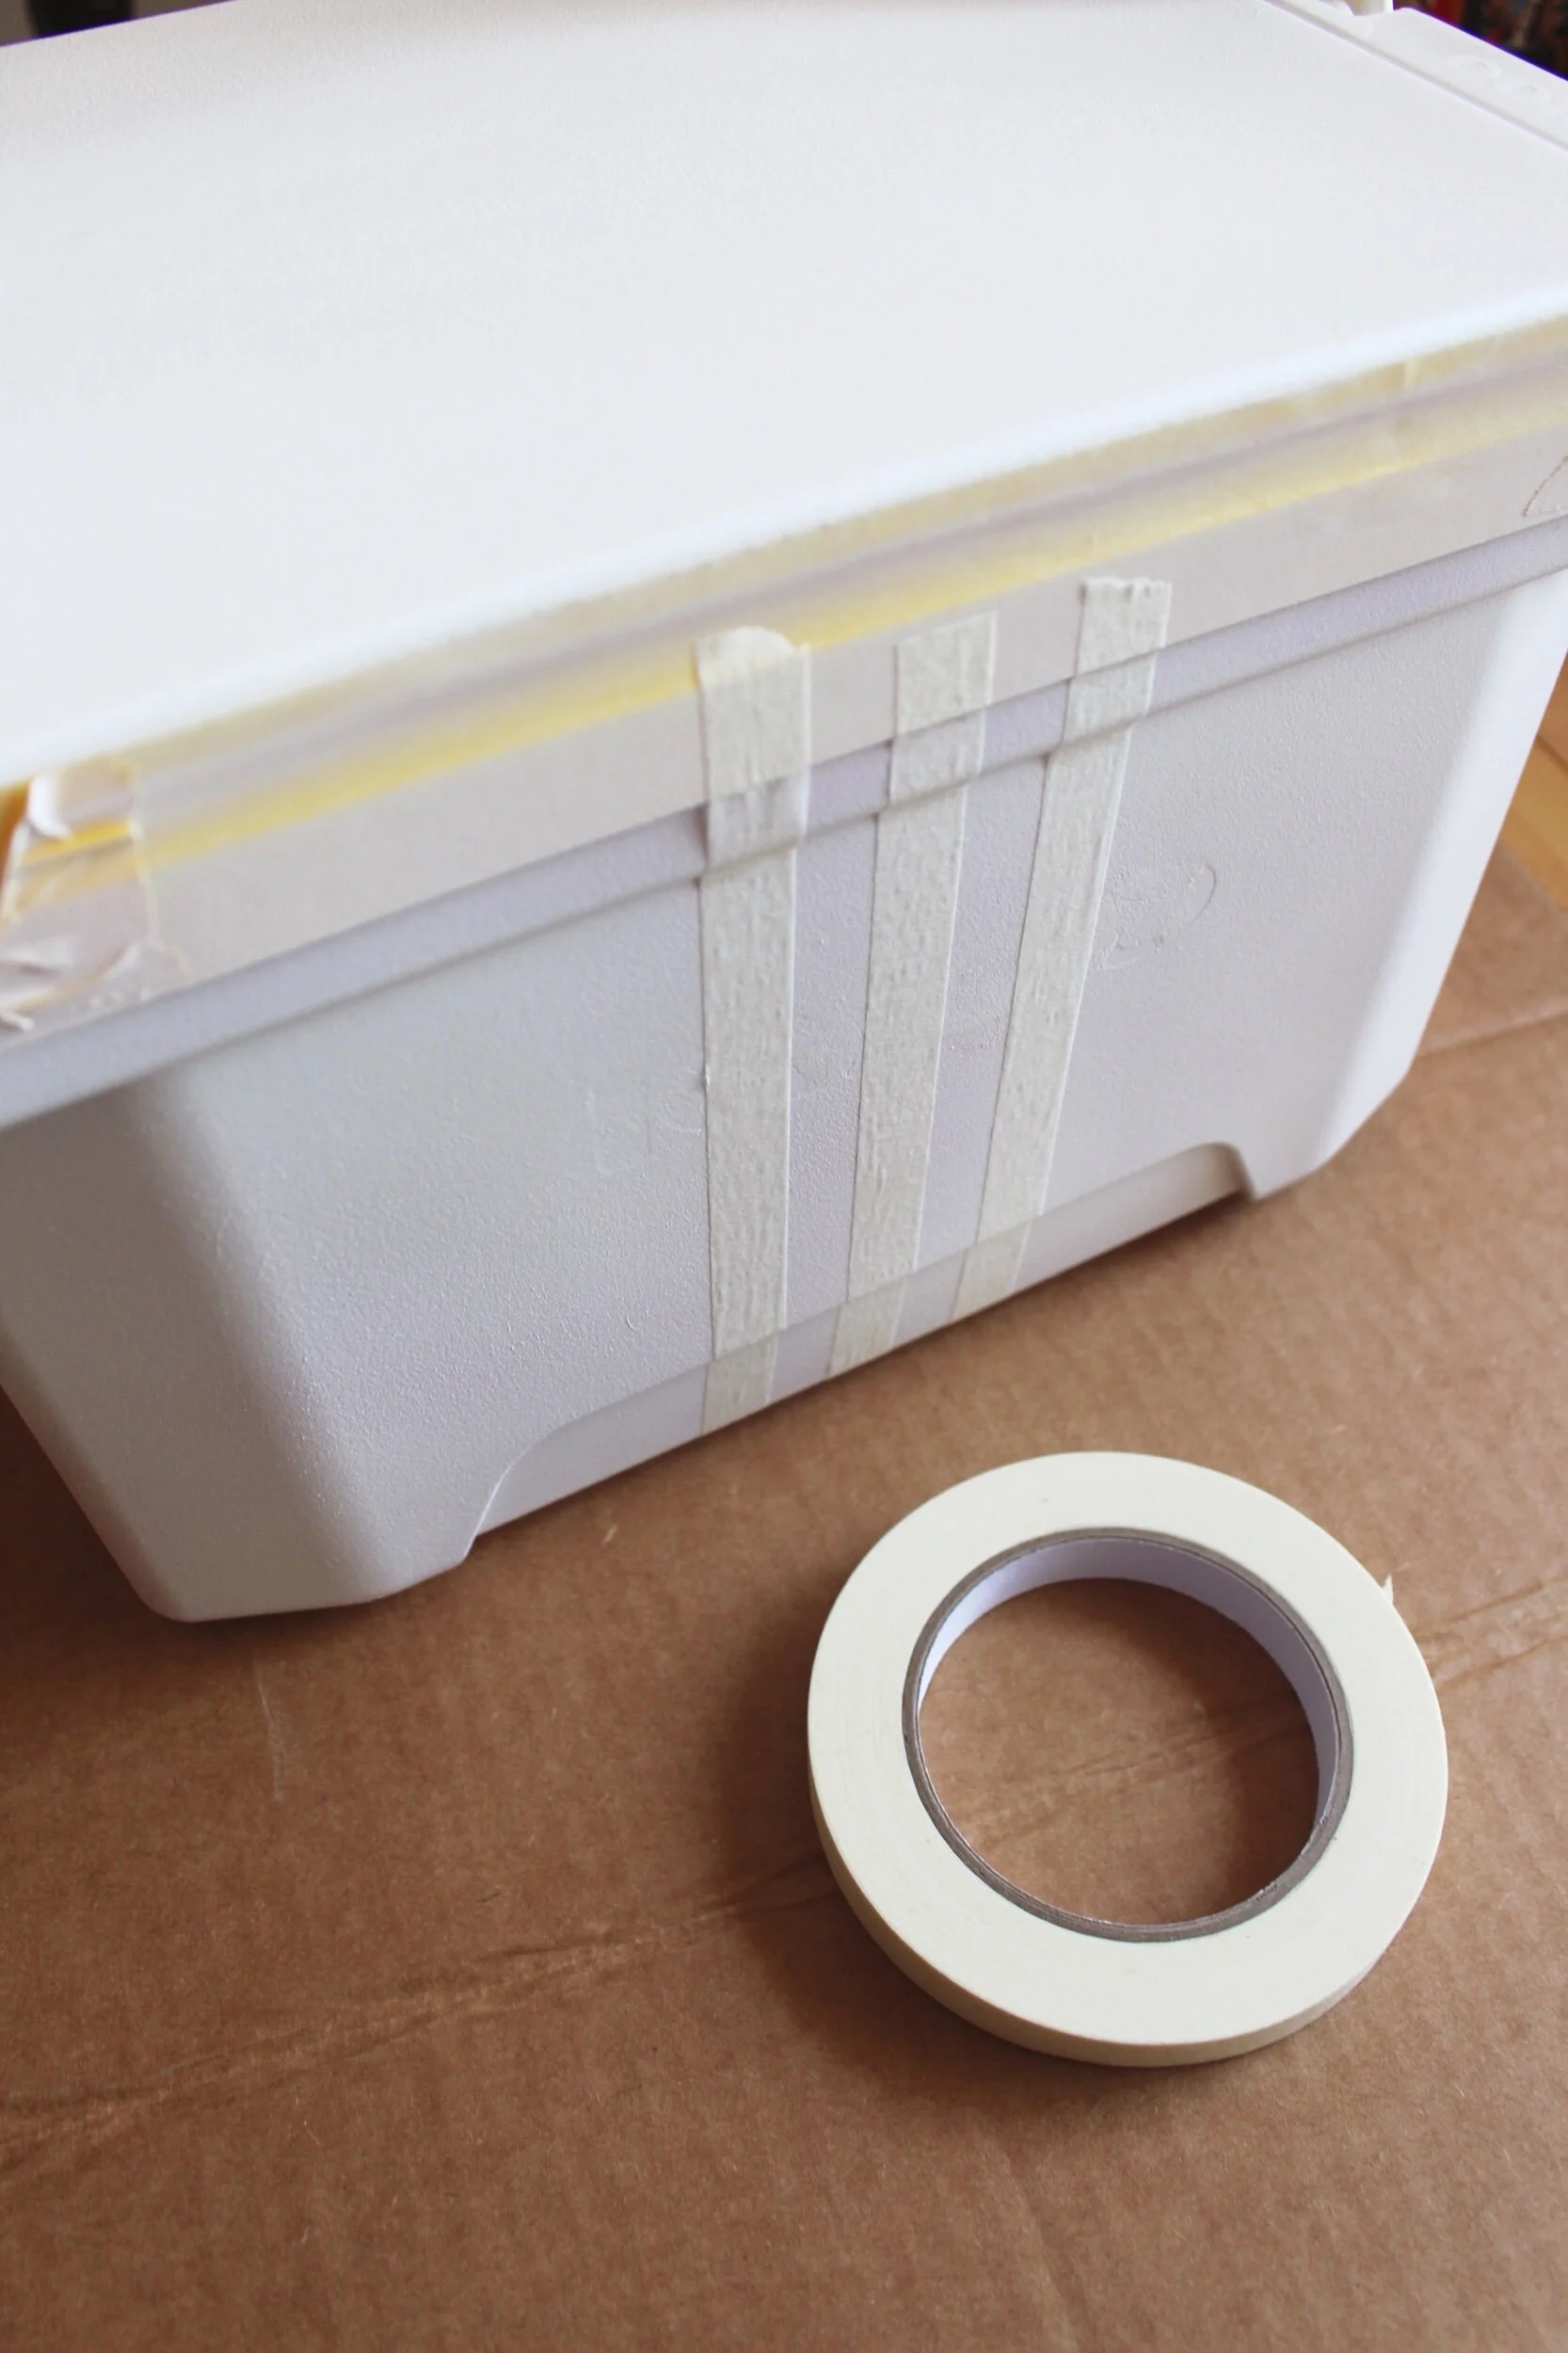
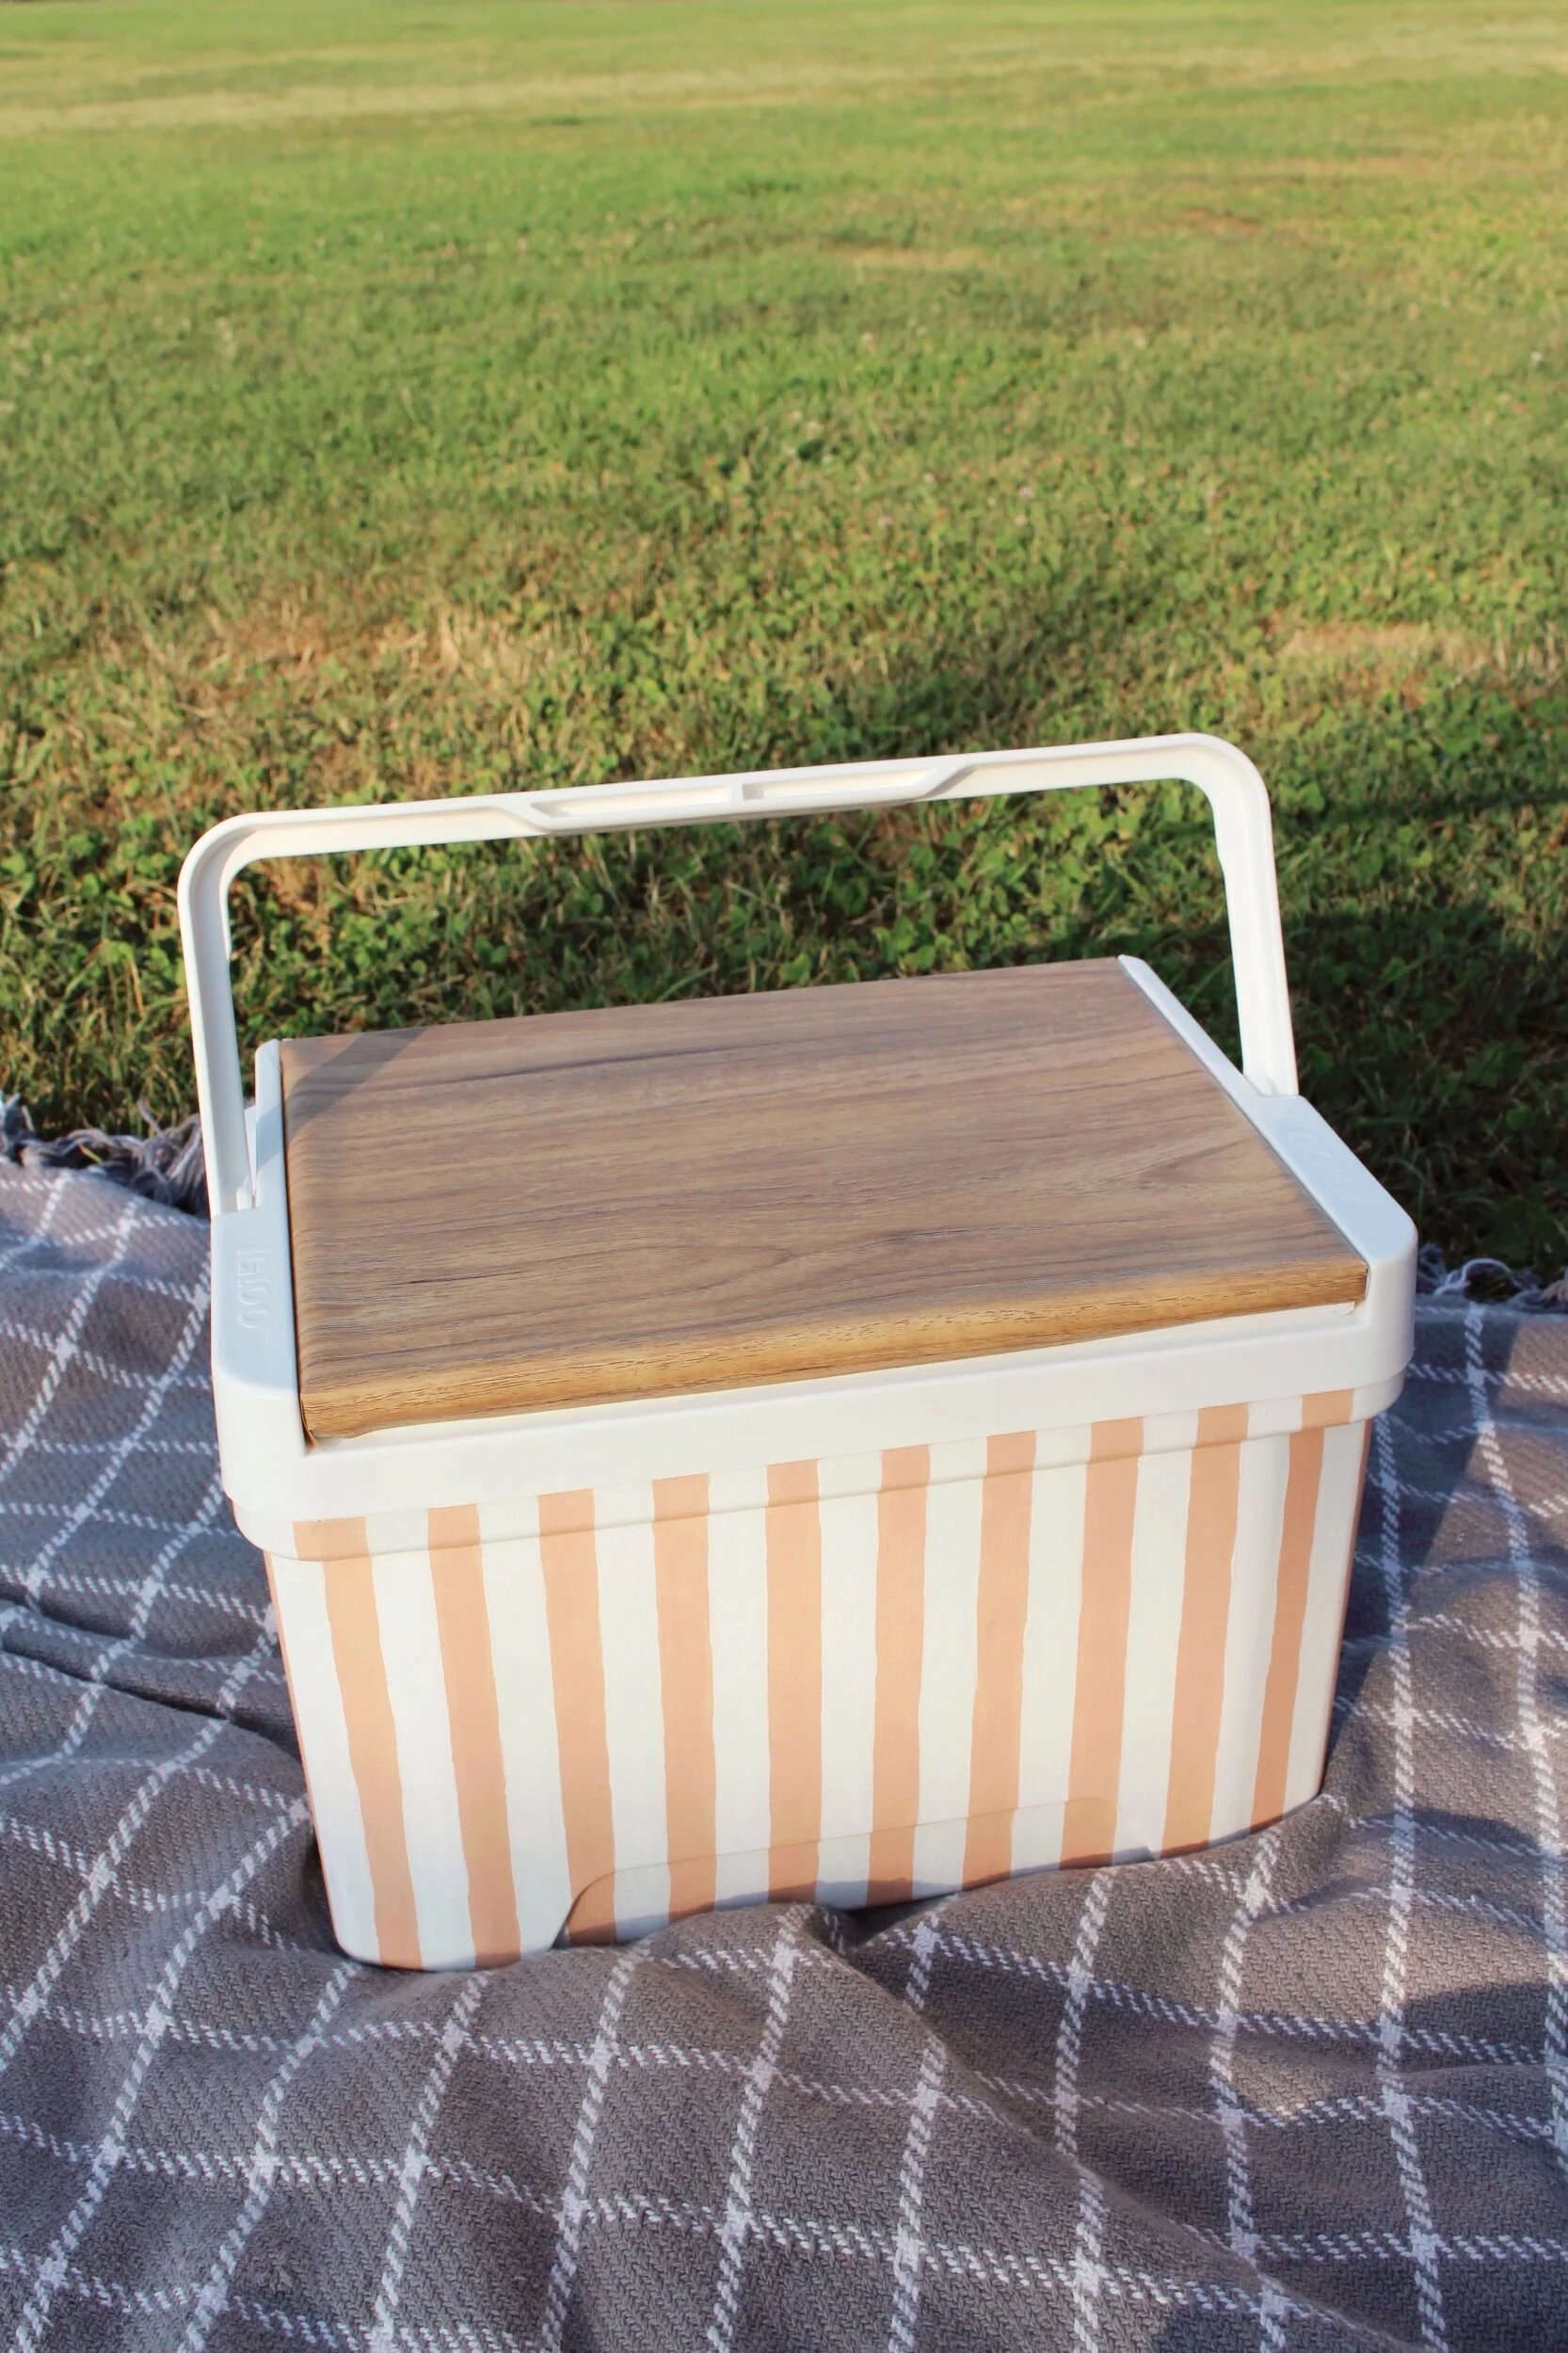
Step 5: Once my base layer of white paint covered the whole cooler, I went in with some thin drafting tape that I had on hand (about 0.6 in width) and I attached strips of the tape about every half inch apart from the next. If you want to get precise lines right off the bat, I would probably recommend using a trusted painters tape brand for this step, but I didn’t have any the right thickness for the cooler size so I just used what I had in my supply cabinet. I didn’t bother adding any stripes to the bottom of the cooler since it wouldn’t be visible.
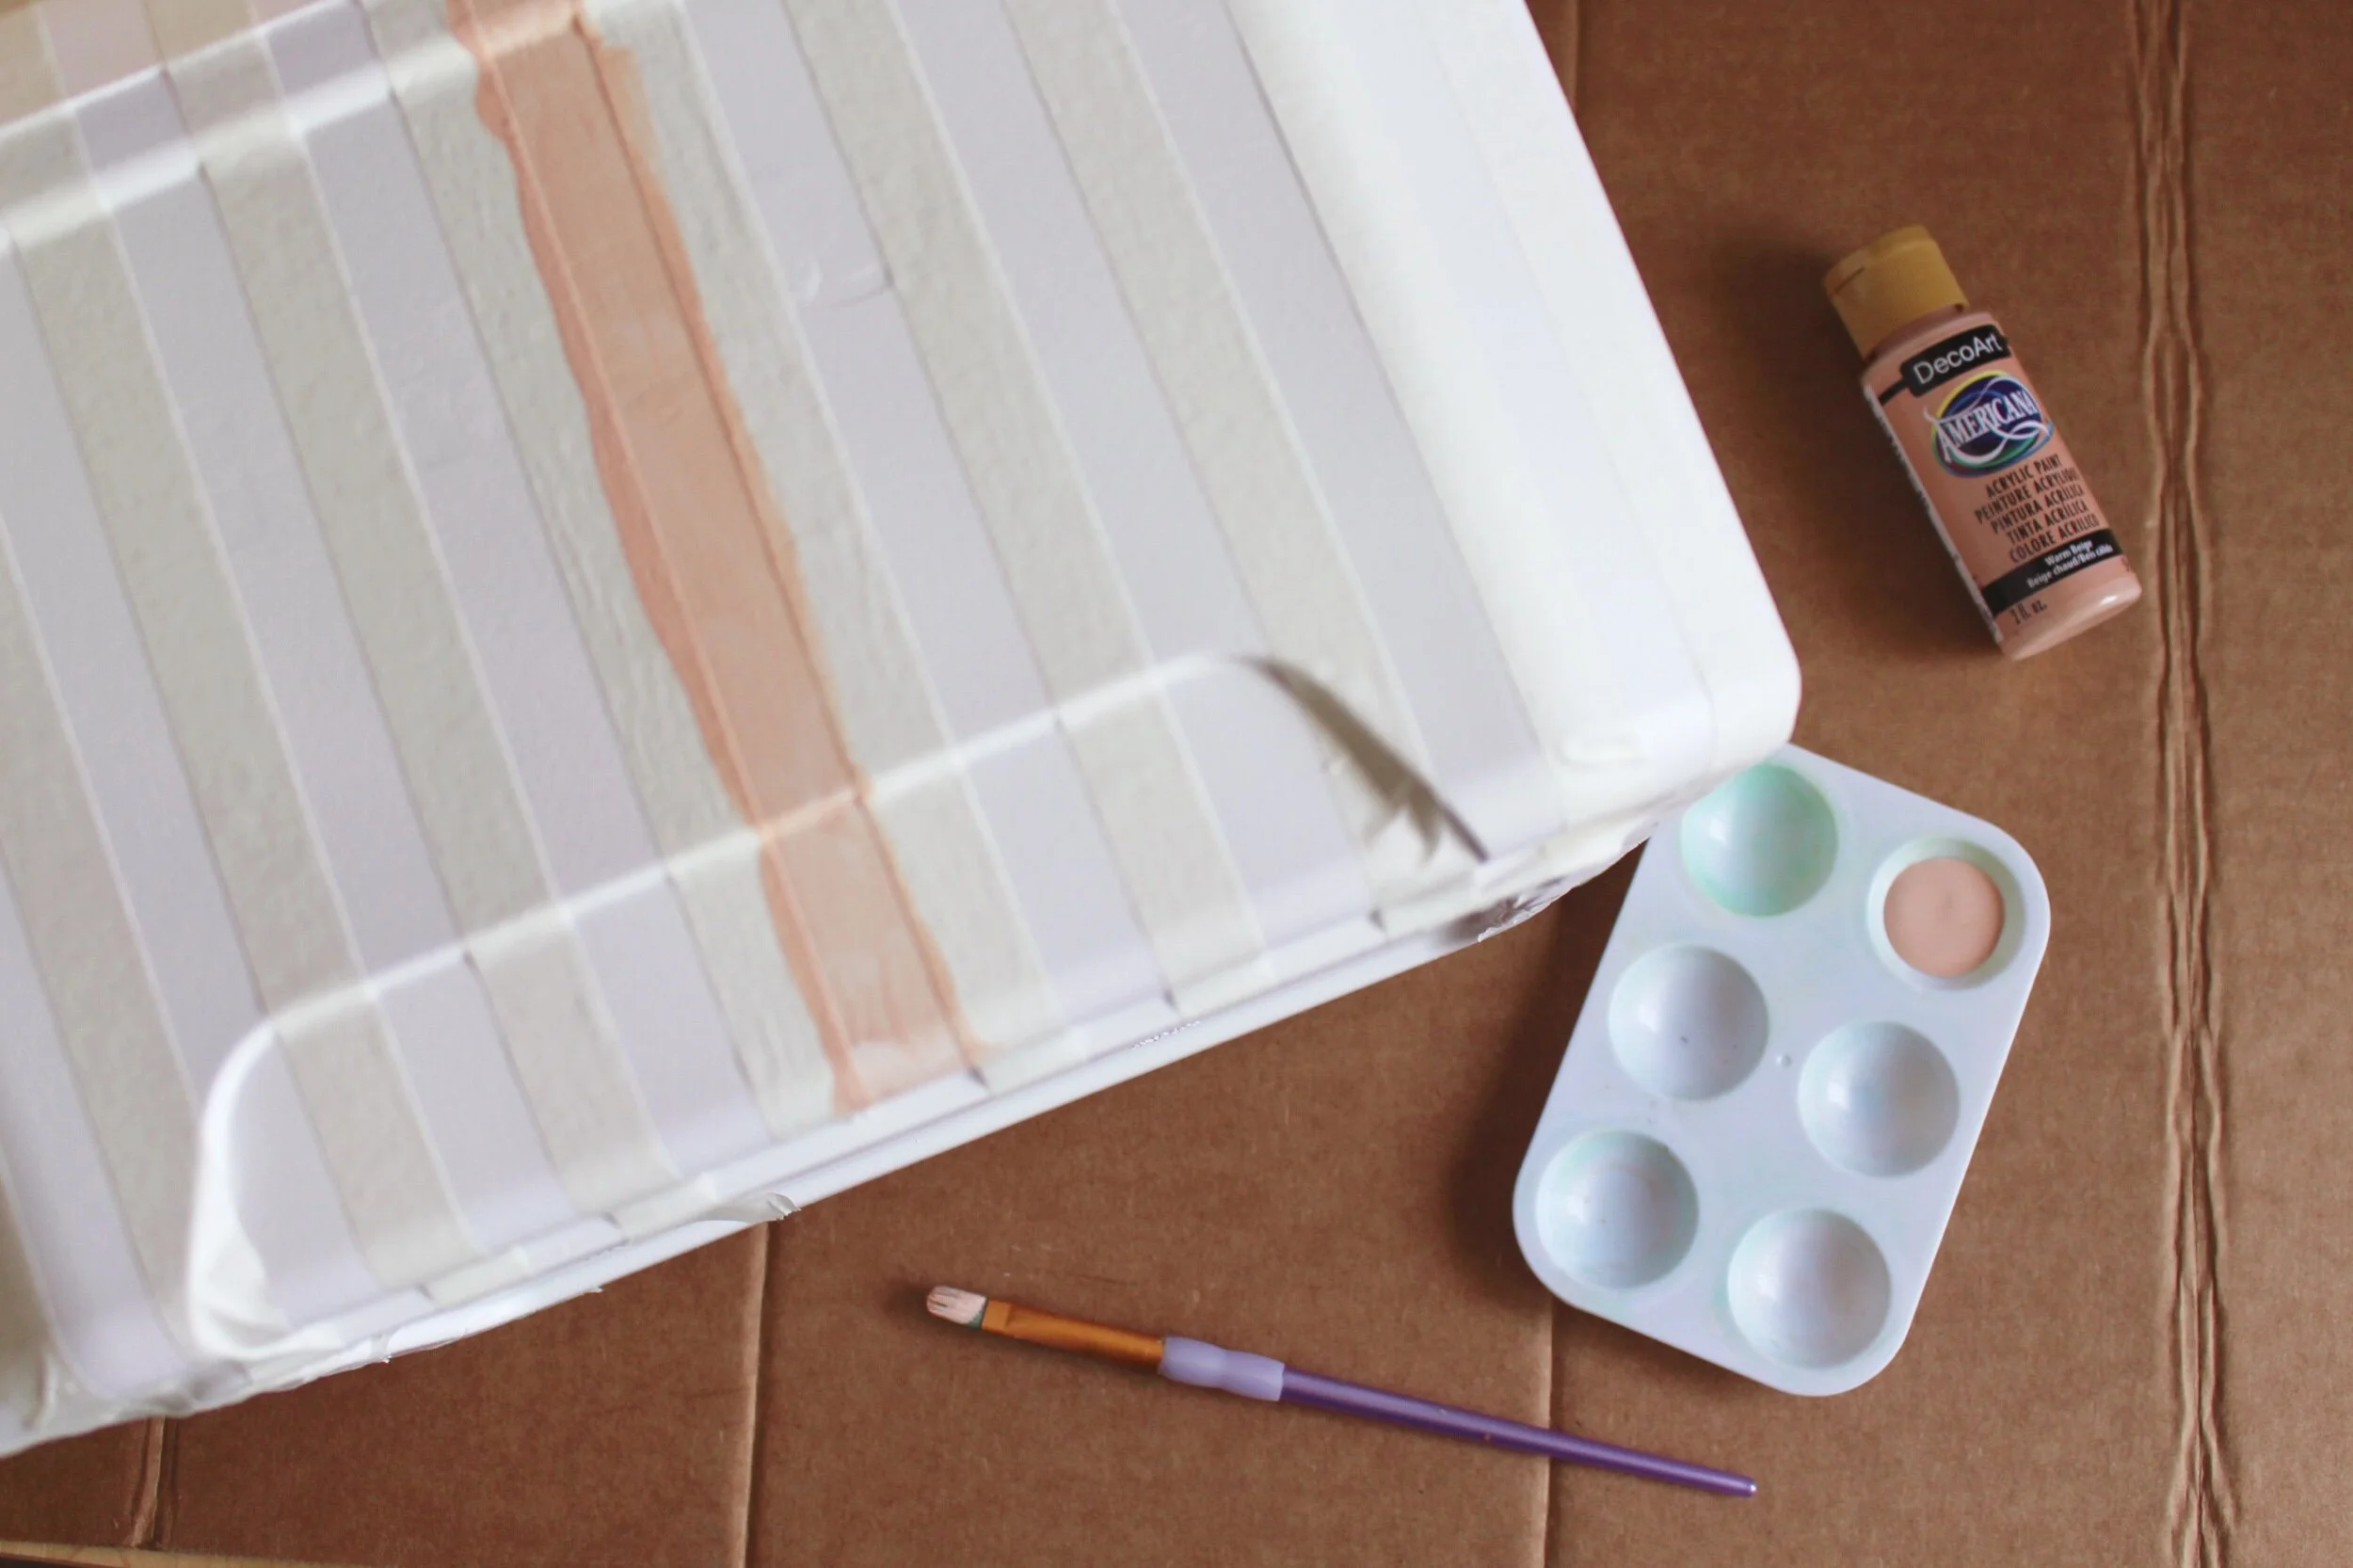
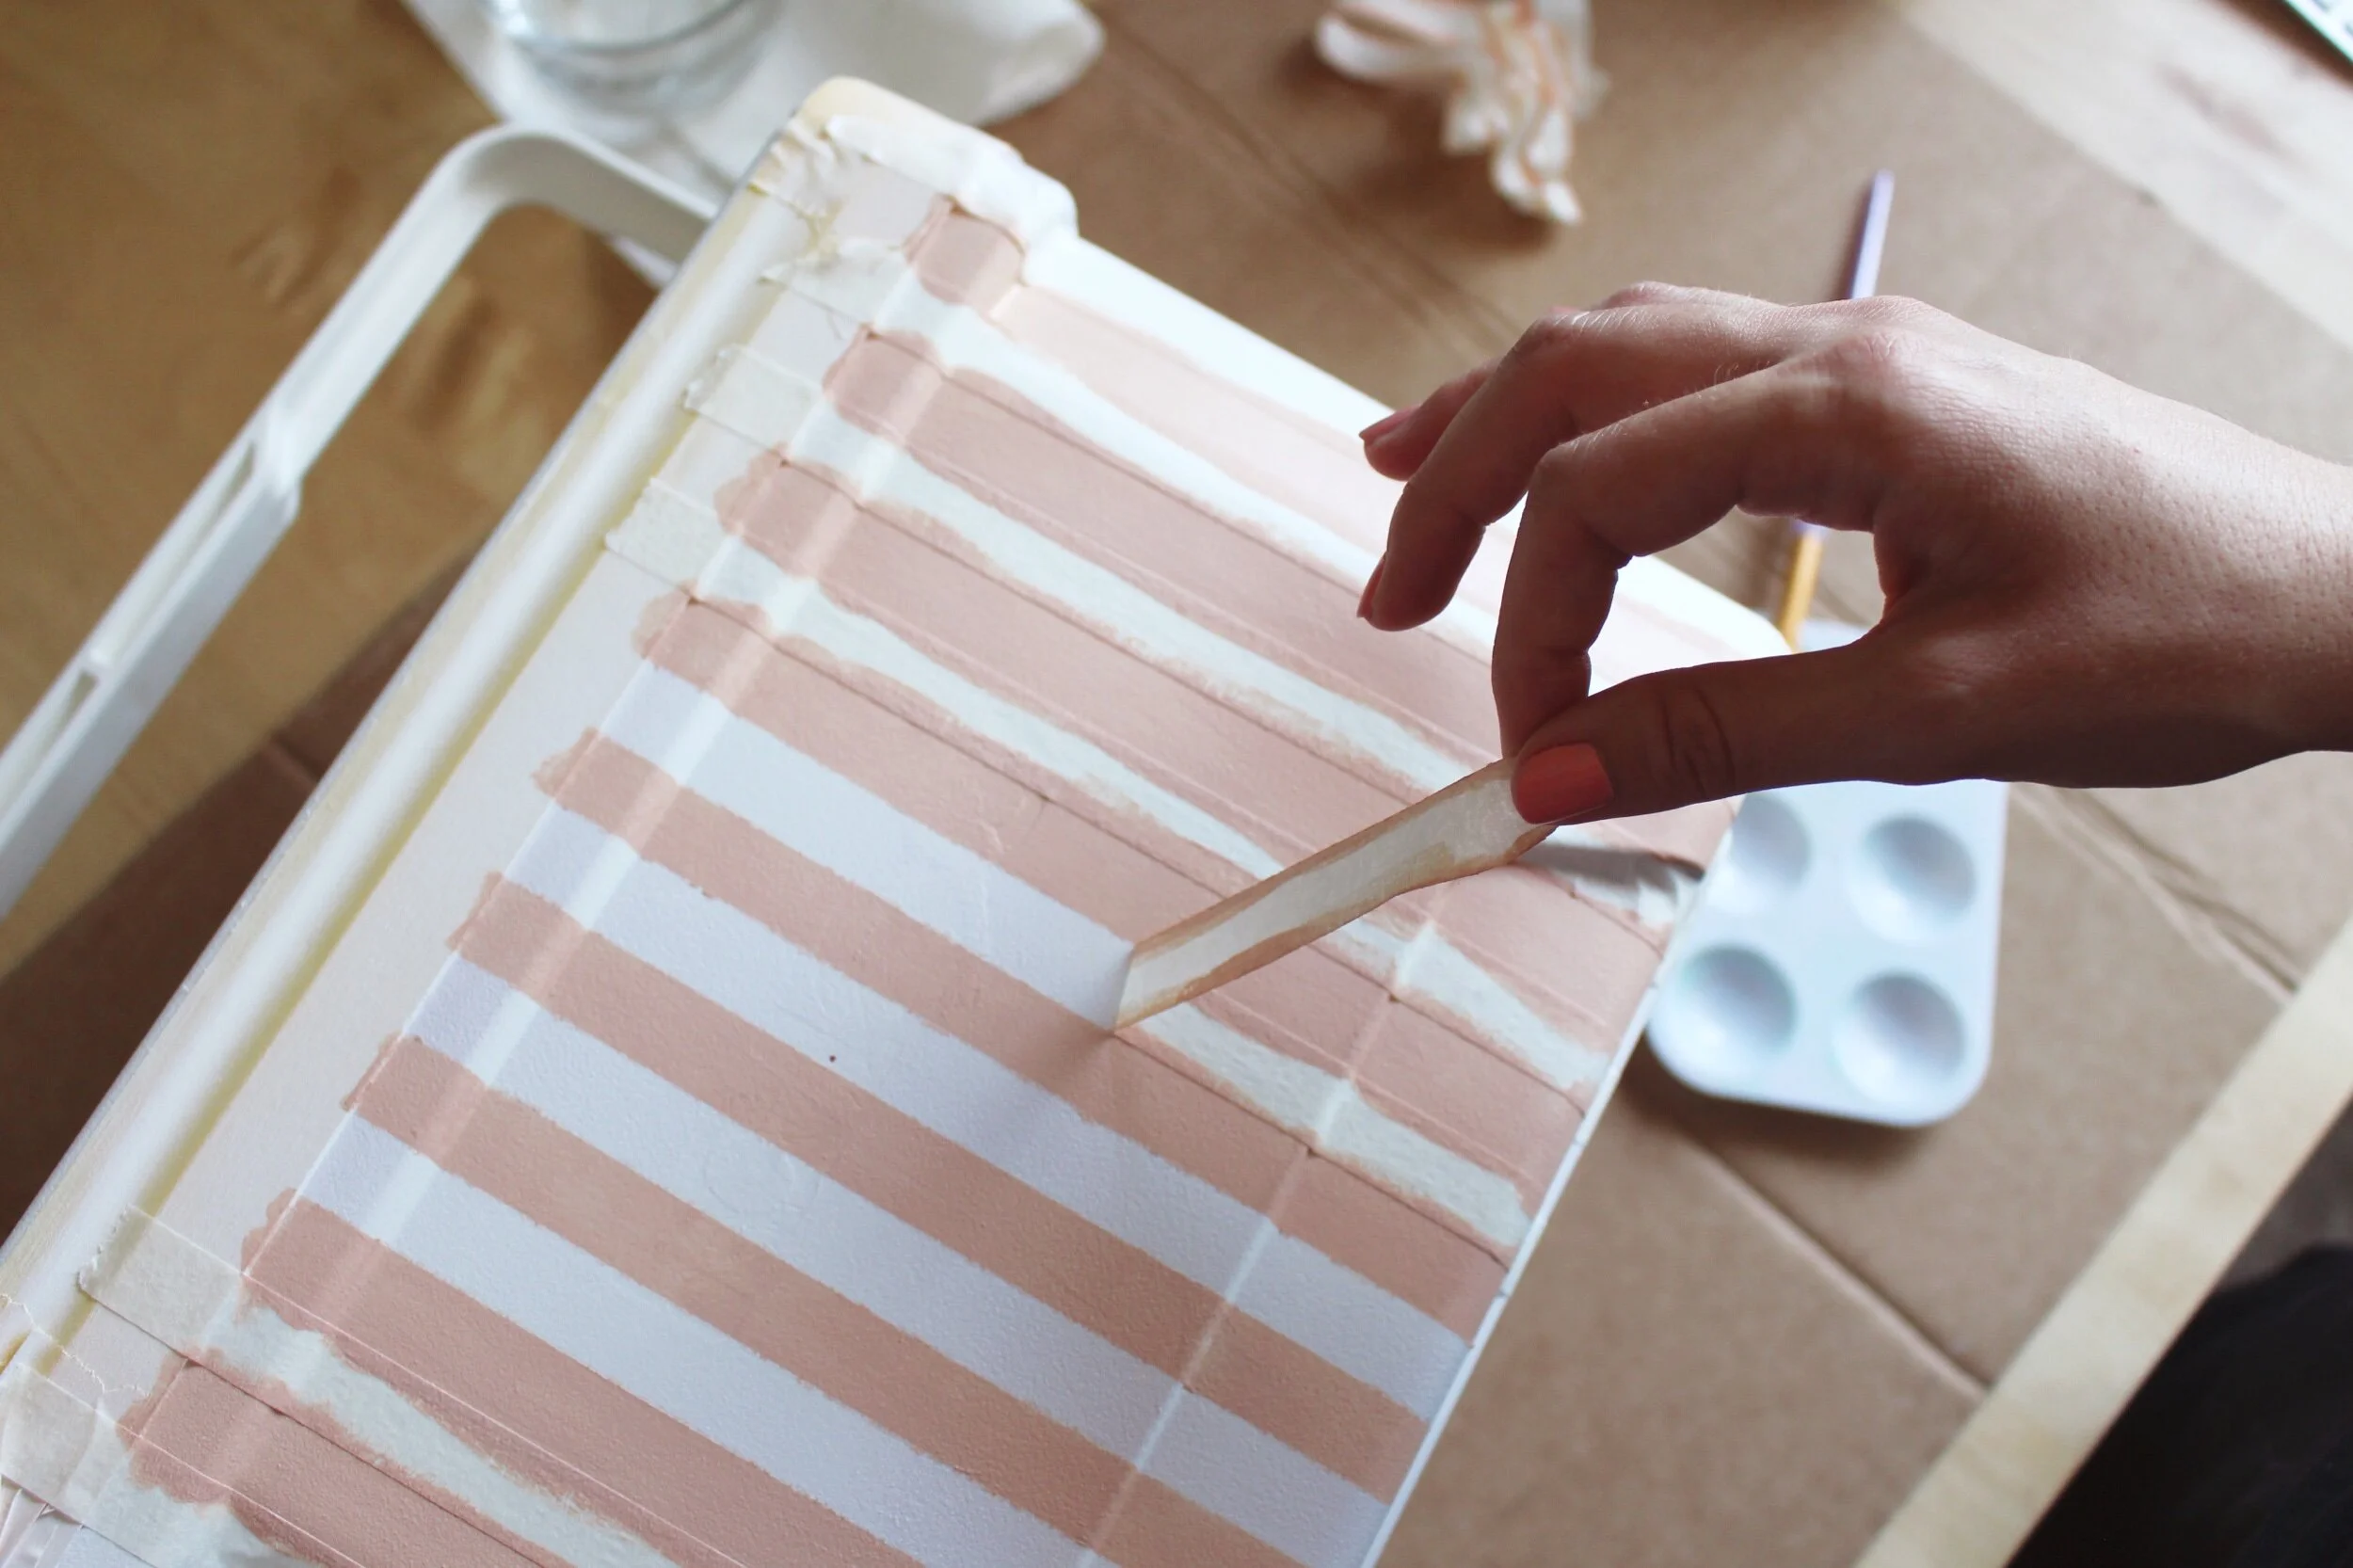
Step 6: Next, I used my acrylic paint in this peachy pink color to paint between the tape stripes. I ended up doing about 3 coats over every stripe. I just started on one side of the cooler and by the time I got all the way around, the paint was dried enough to start the next coat.
I tried to pull the tape off the stripes as quickly as possible following the last coat of paint so that the paint was still partially wet and the paint didn’t have time to dry onto the tape. Why is pulling off tape stripes so satisfying?
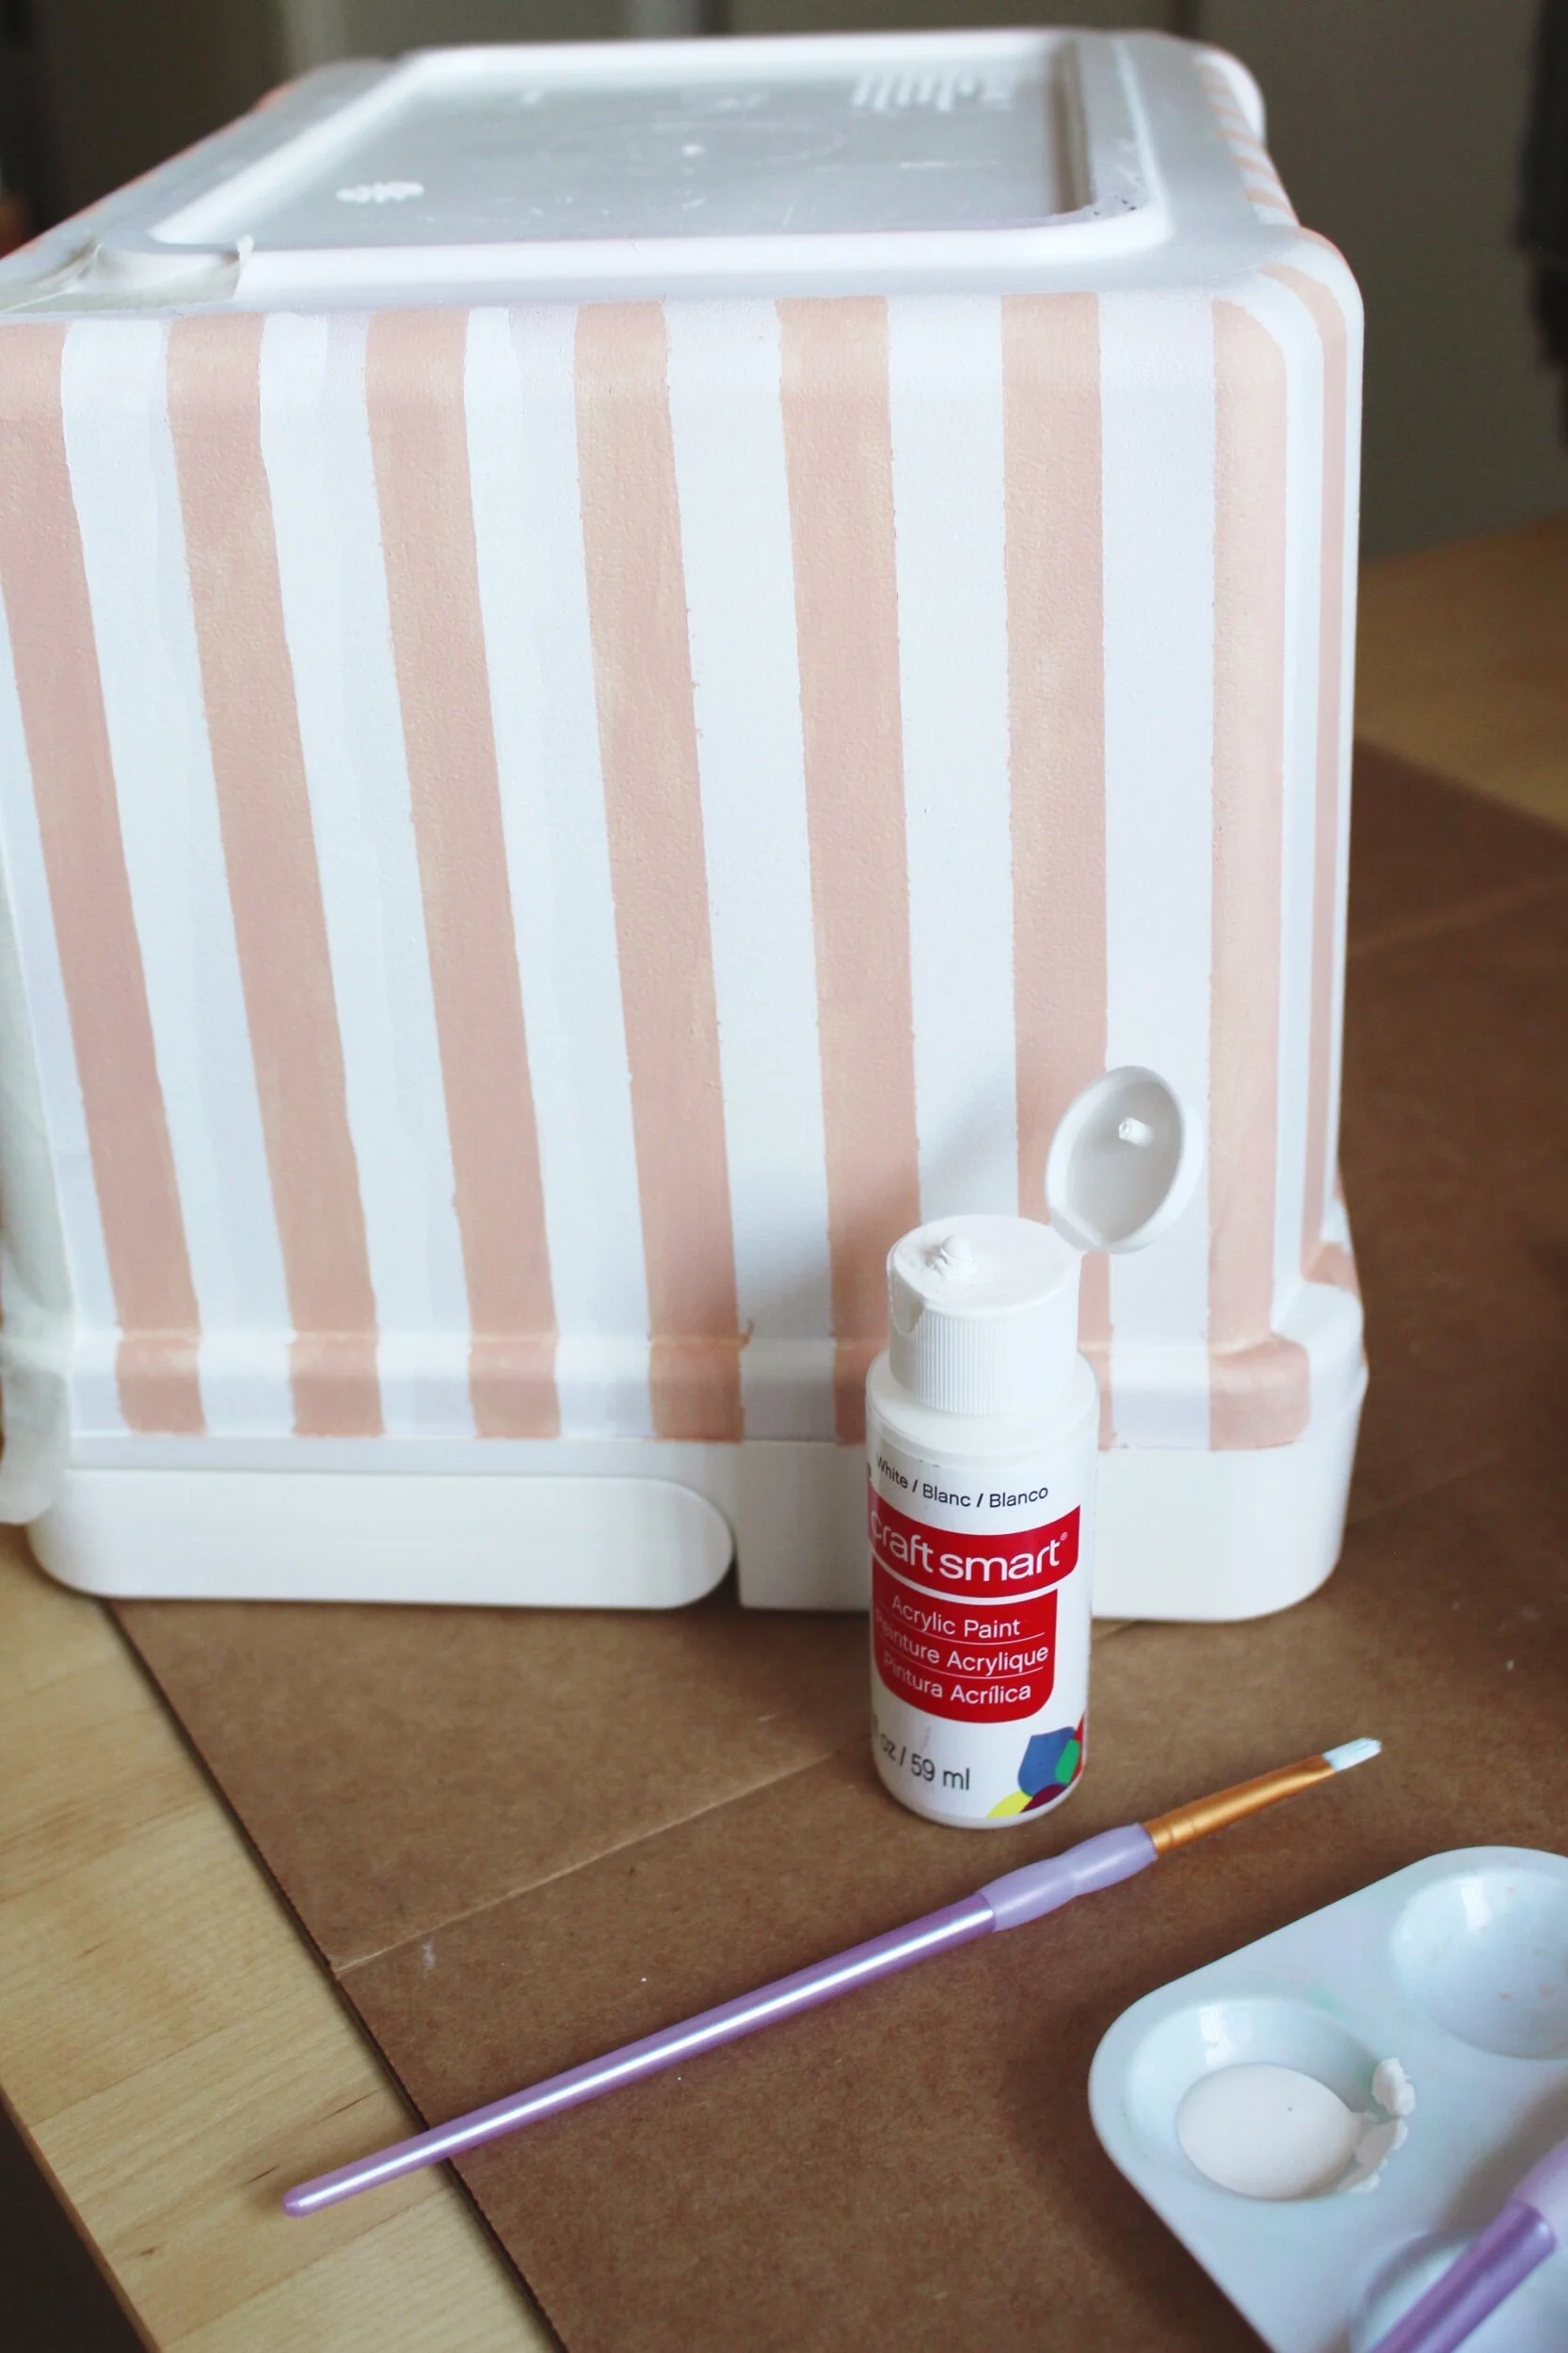
Step 7: Like I mentioned previously, my use of drafting tape probably was not the best for perfectly sharp edges, so I did end up going through and cleaning up all the white stripes with a thin brush, some white acrylic paint, a very steady hand, and a LOT of patience. I think it ended up brightening up the white color more anyways though, so I’m glad I did this step!
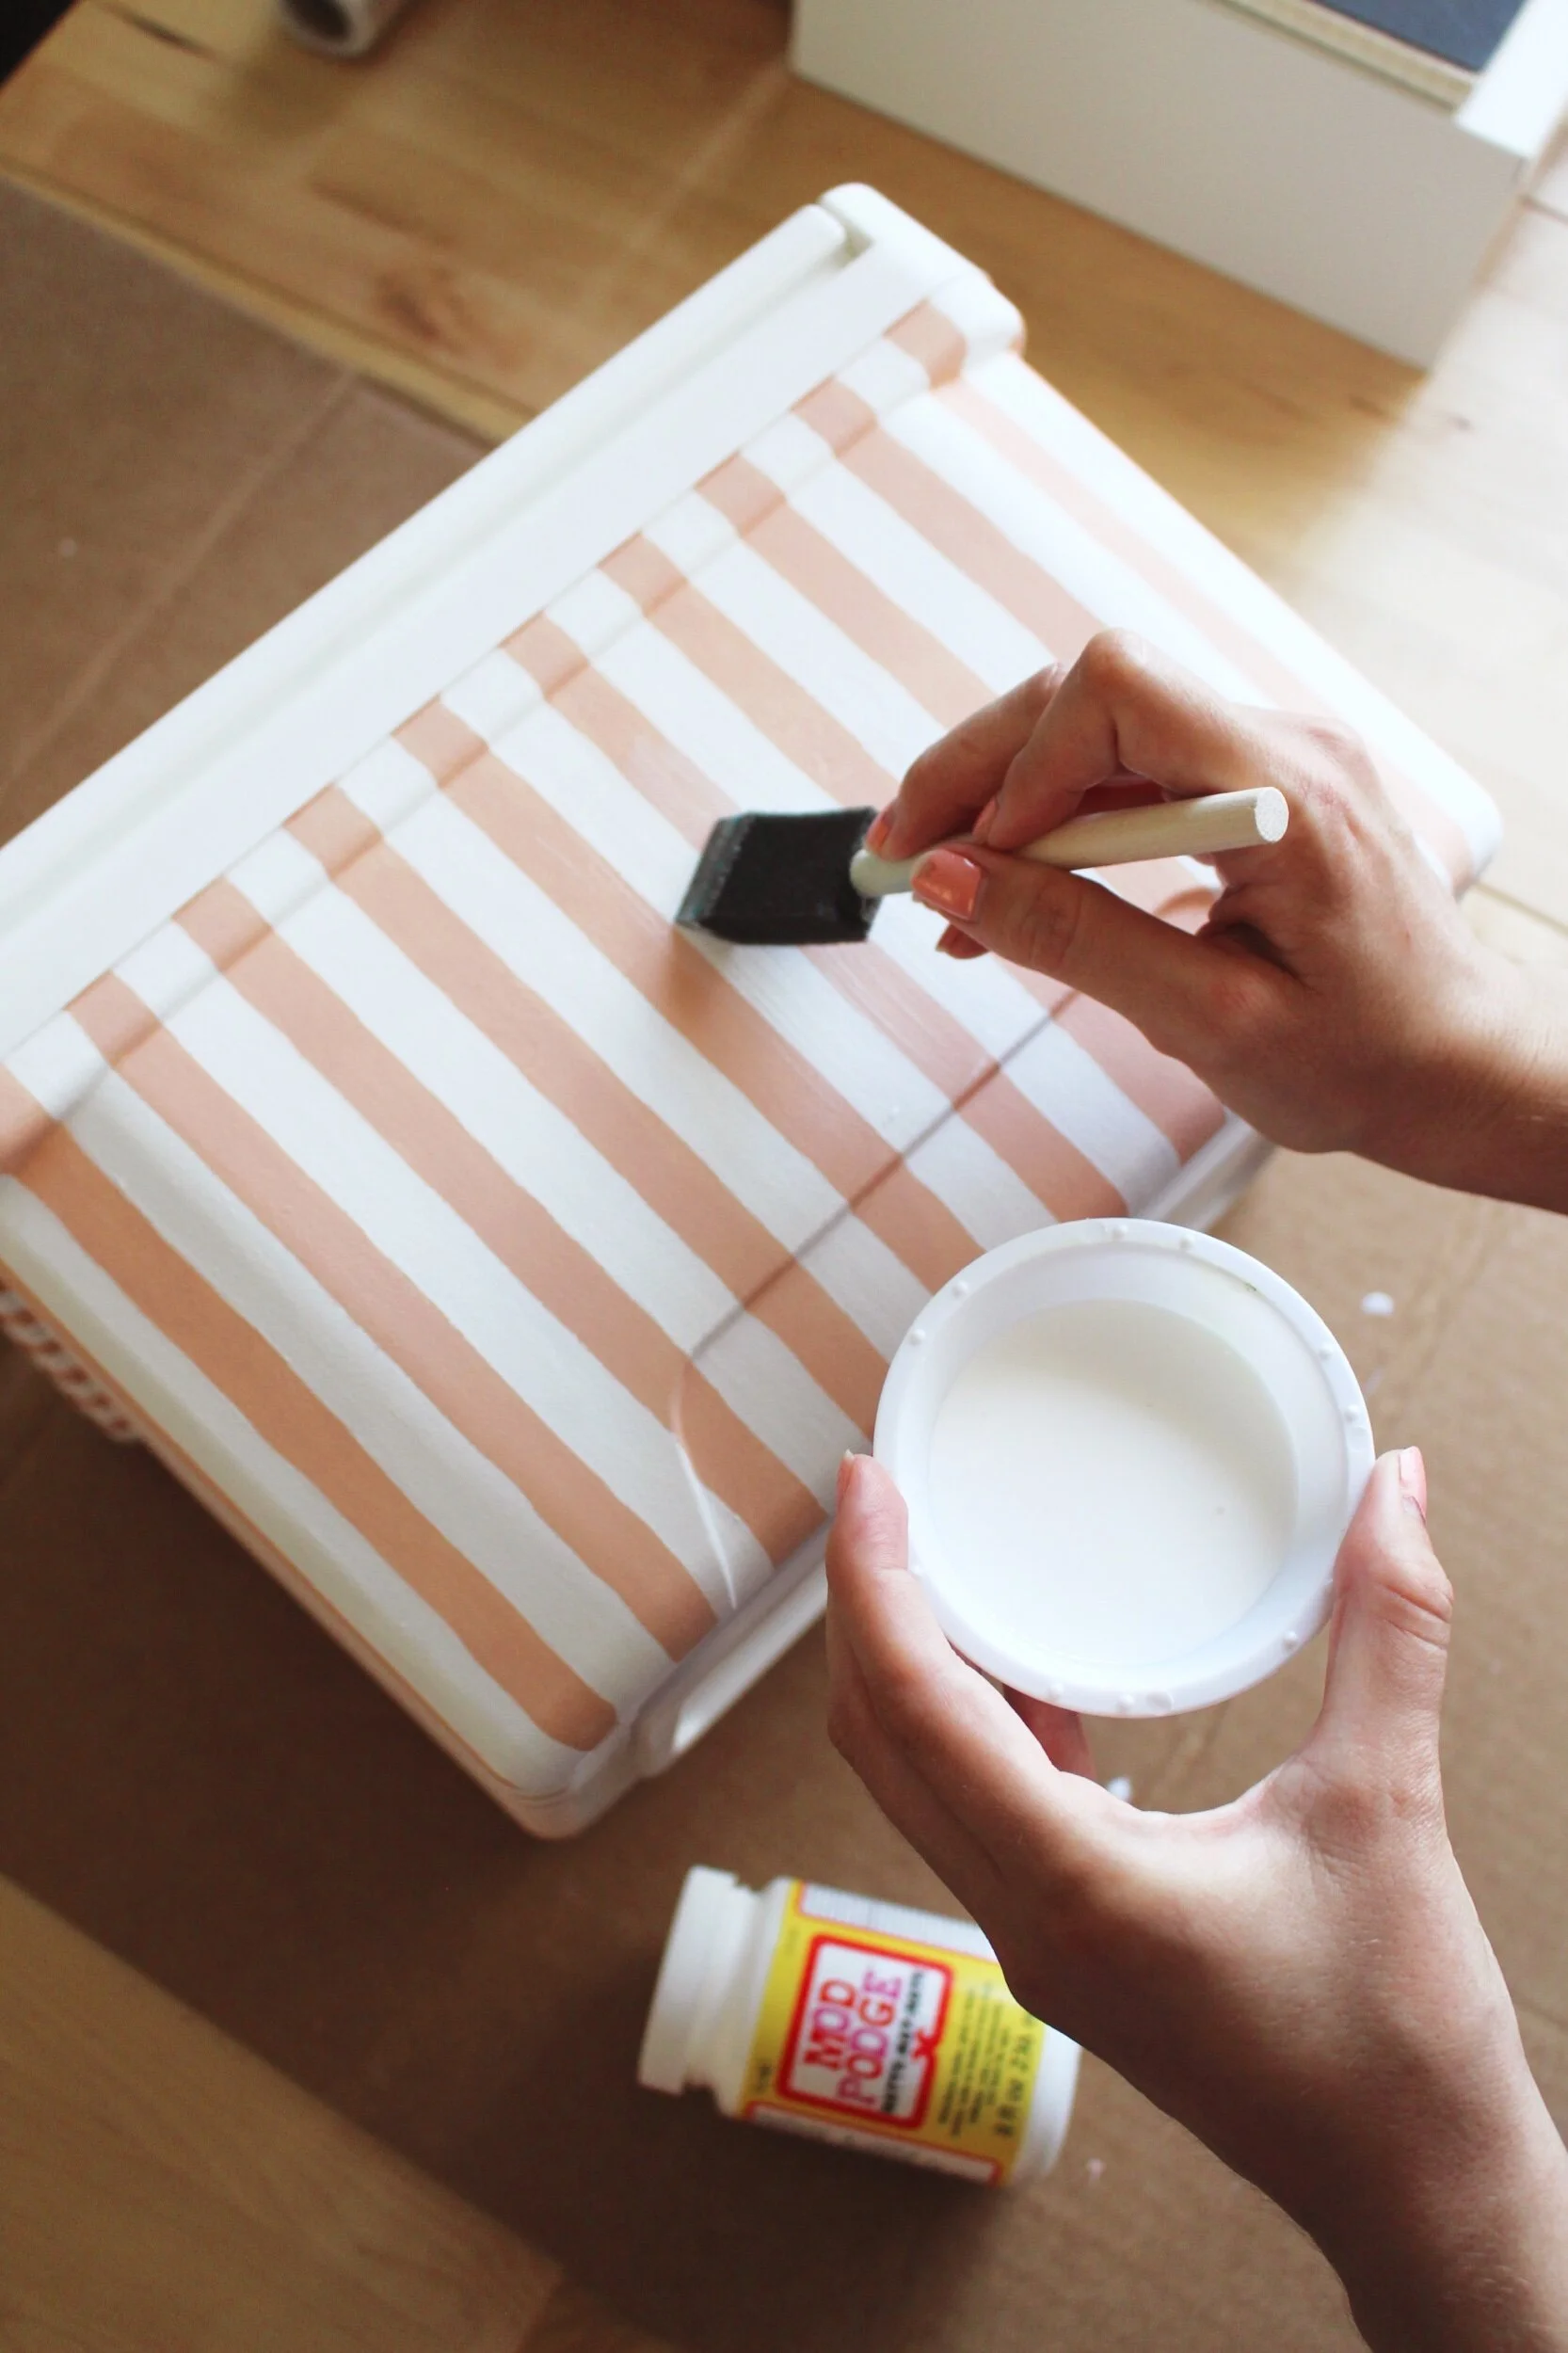
Step 8: Once the cooler was fully dry (I waited overnight to be safe), I used a sponge brush to paint on a layer of matte mod podge. This step helped to seal the paint and create a smooth texture to protect the outside of the cooler from water, sand, dirt, and any other picnic related environments. I did two full coats on my cooler.
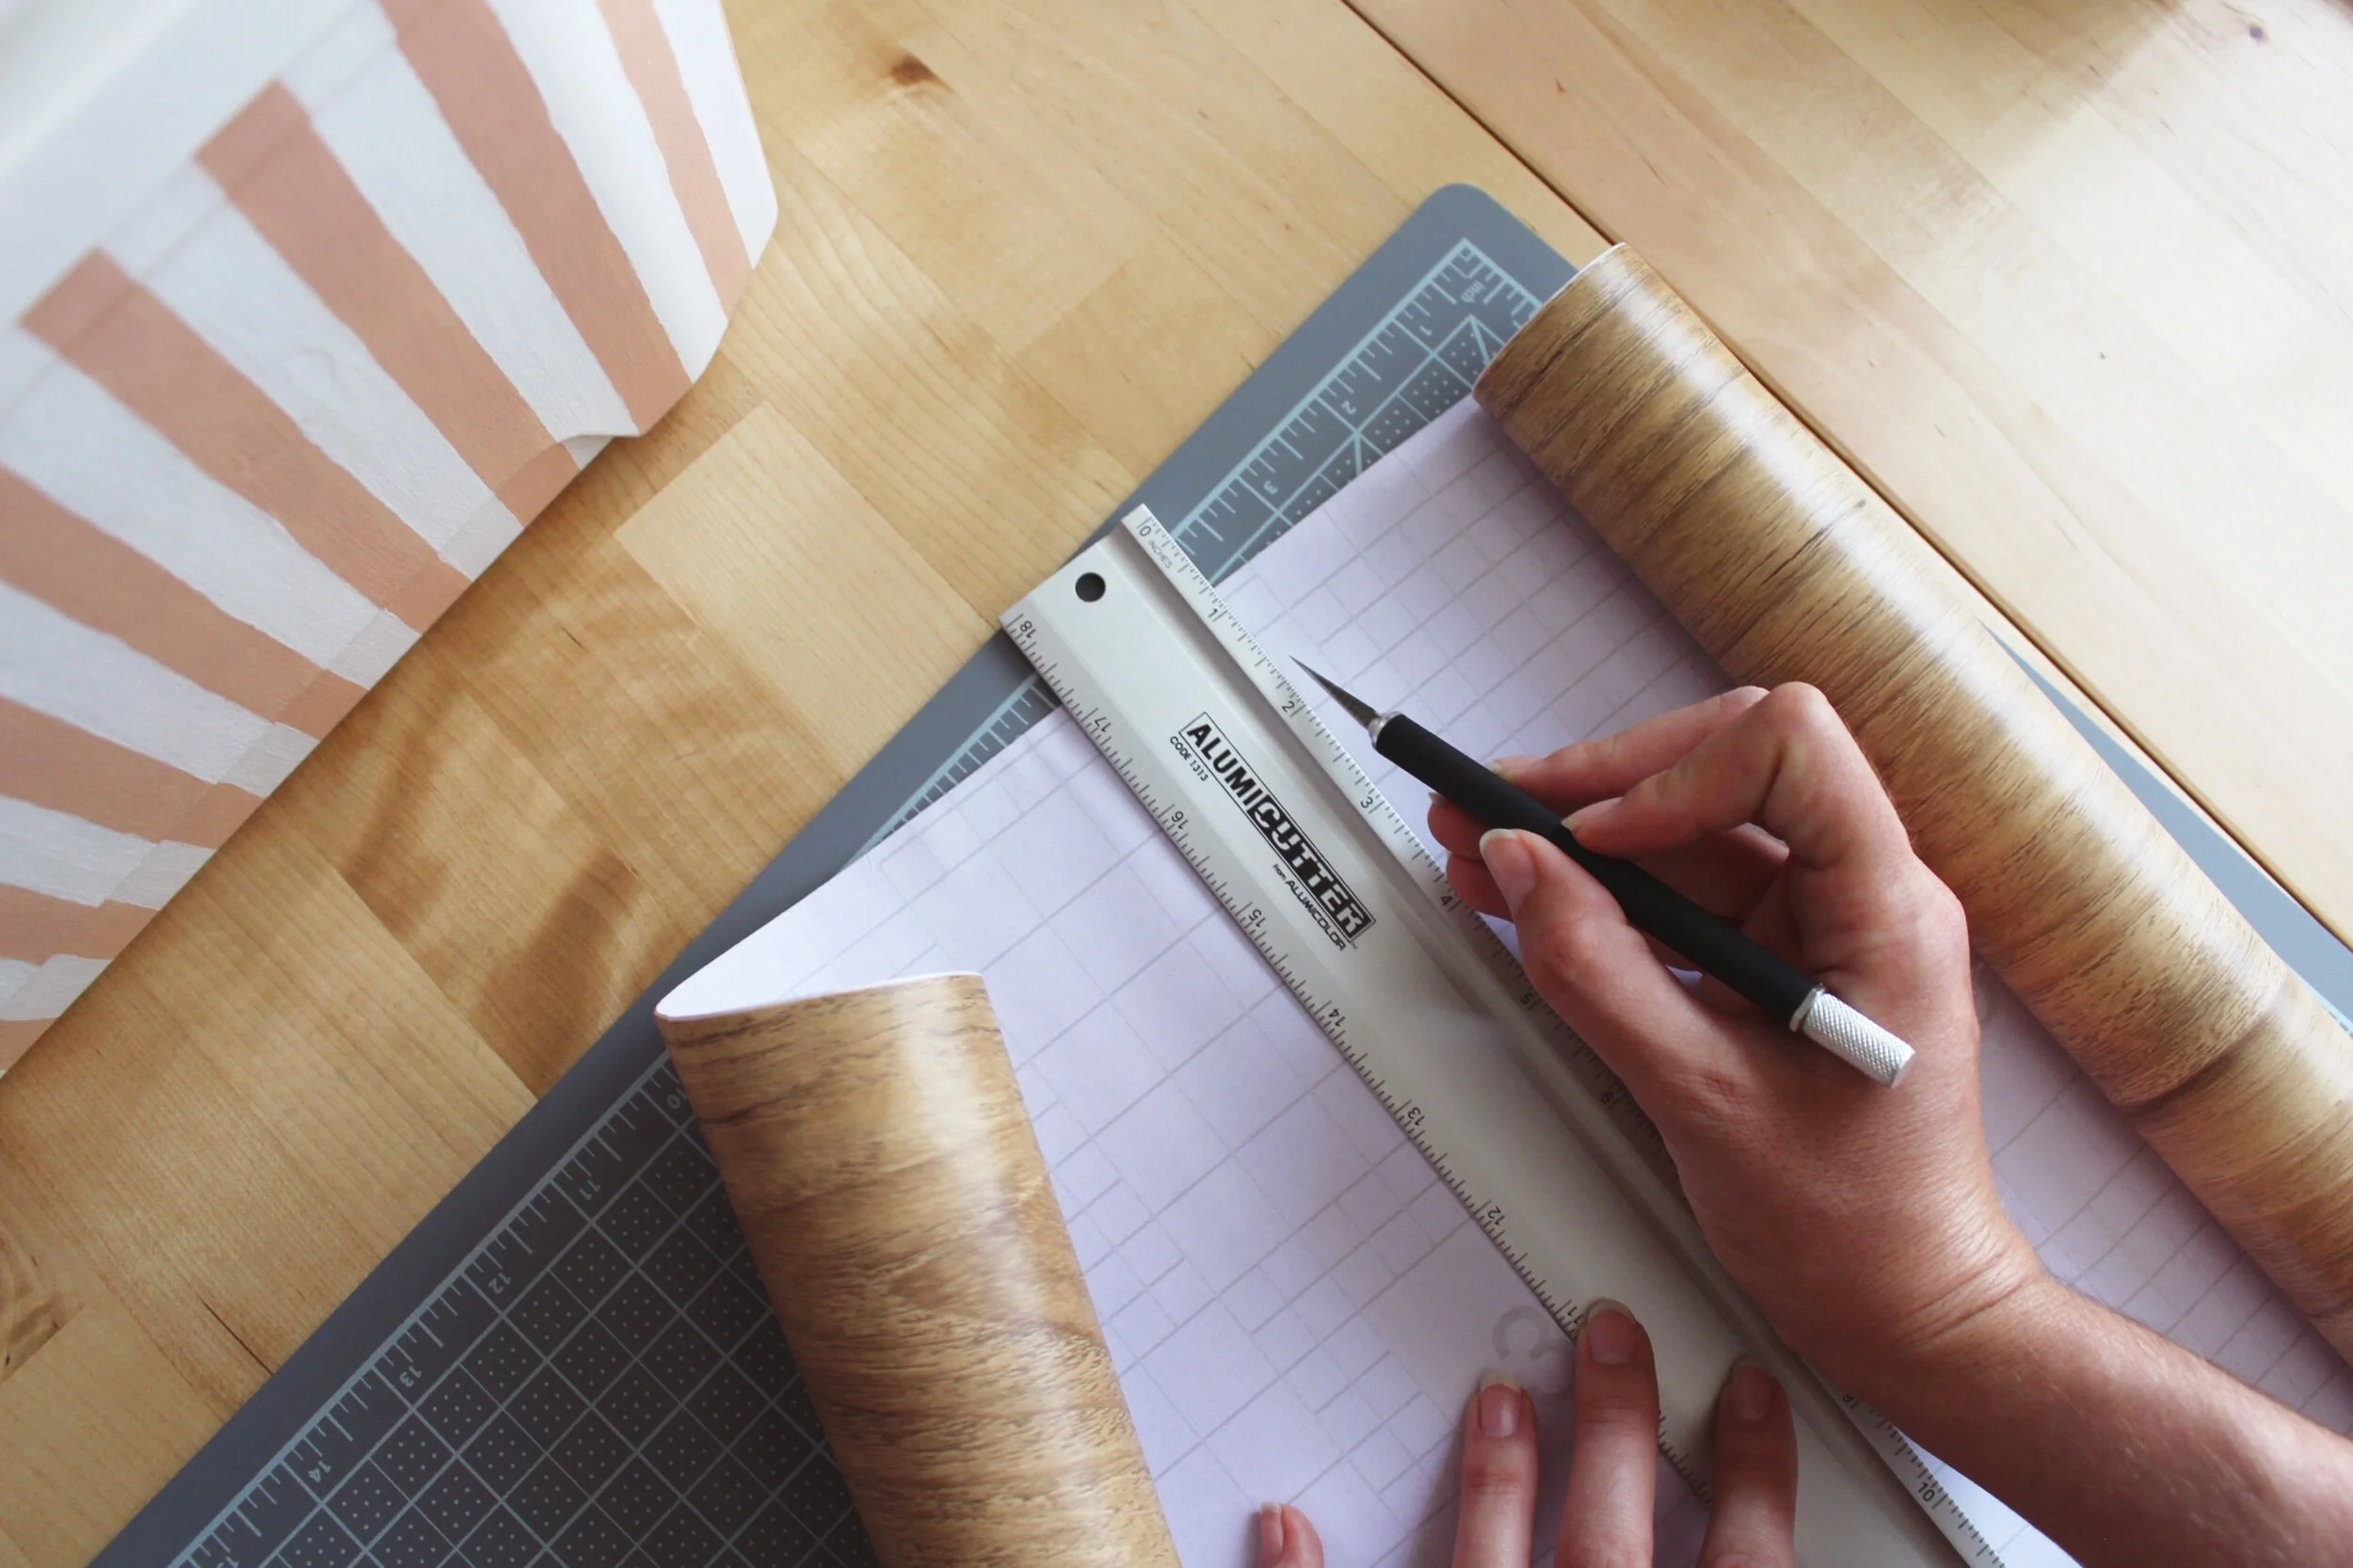
Step 9: The final step, and definitely the most challenging, was to cut out and stick on the wood grain contact paper. I wanted to make the cooler top serve as a mini portable picnic table, and I think the wood pattern of the contact paper made it look very tabletop-like! First I measured the cooler lid and factored in some extra for the paper to wrap around the edges. I used the back grid of the contact paper to measure this out and cut with an x-acto knife. I pulled off the back of the sticky paper and adhered it to the cooler lid, smoothing it out from the center. When I got to the edges, I wrapped the paper over the edge and had to do some cutting and finessing when it came to the corners where the lid opened from. Although this step was the most tedious and tricky, I think it ultimately packed the biggest punch in terms of transformation!
… and there you have it! Before & After!
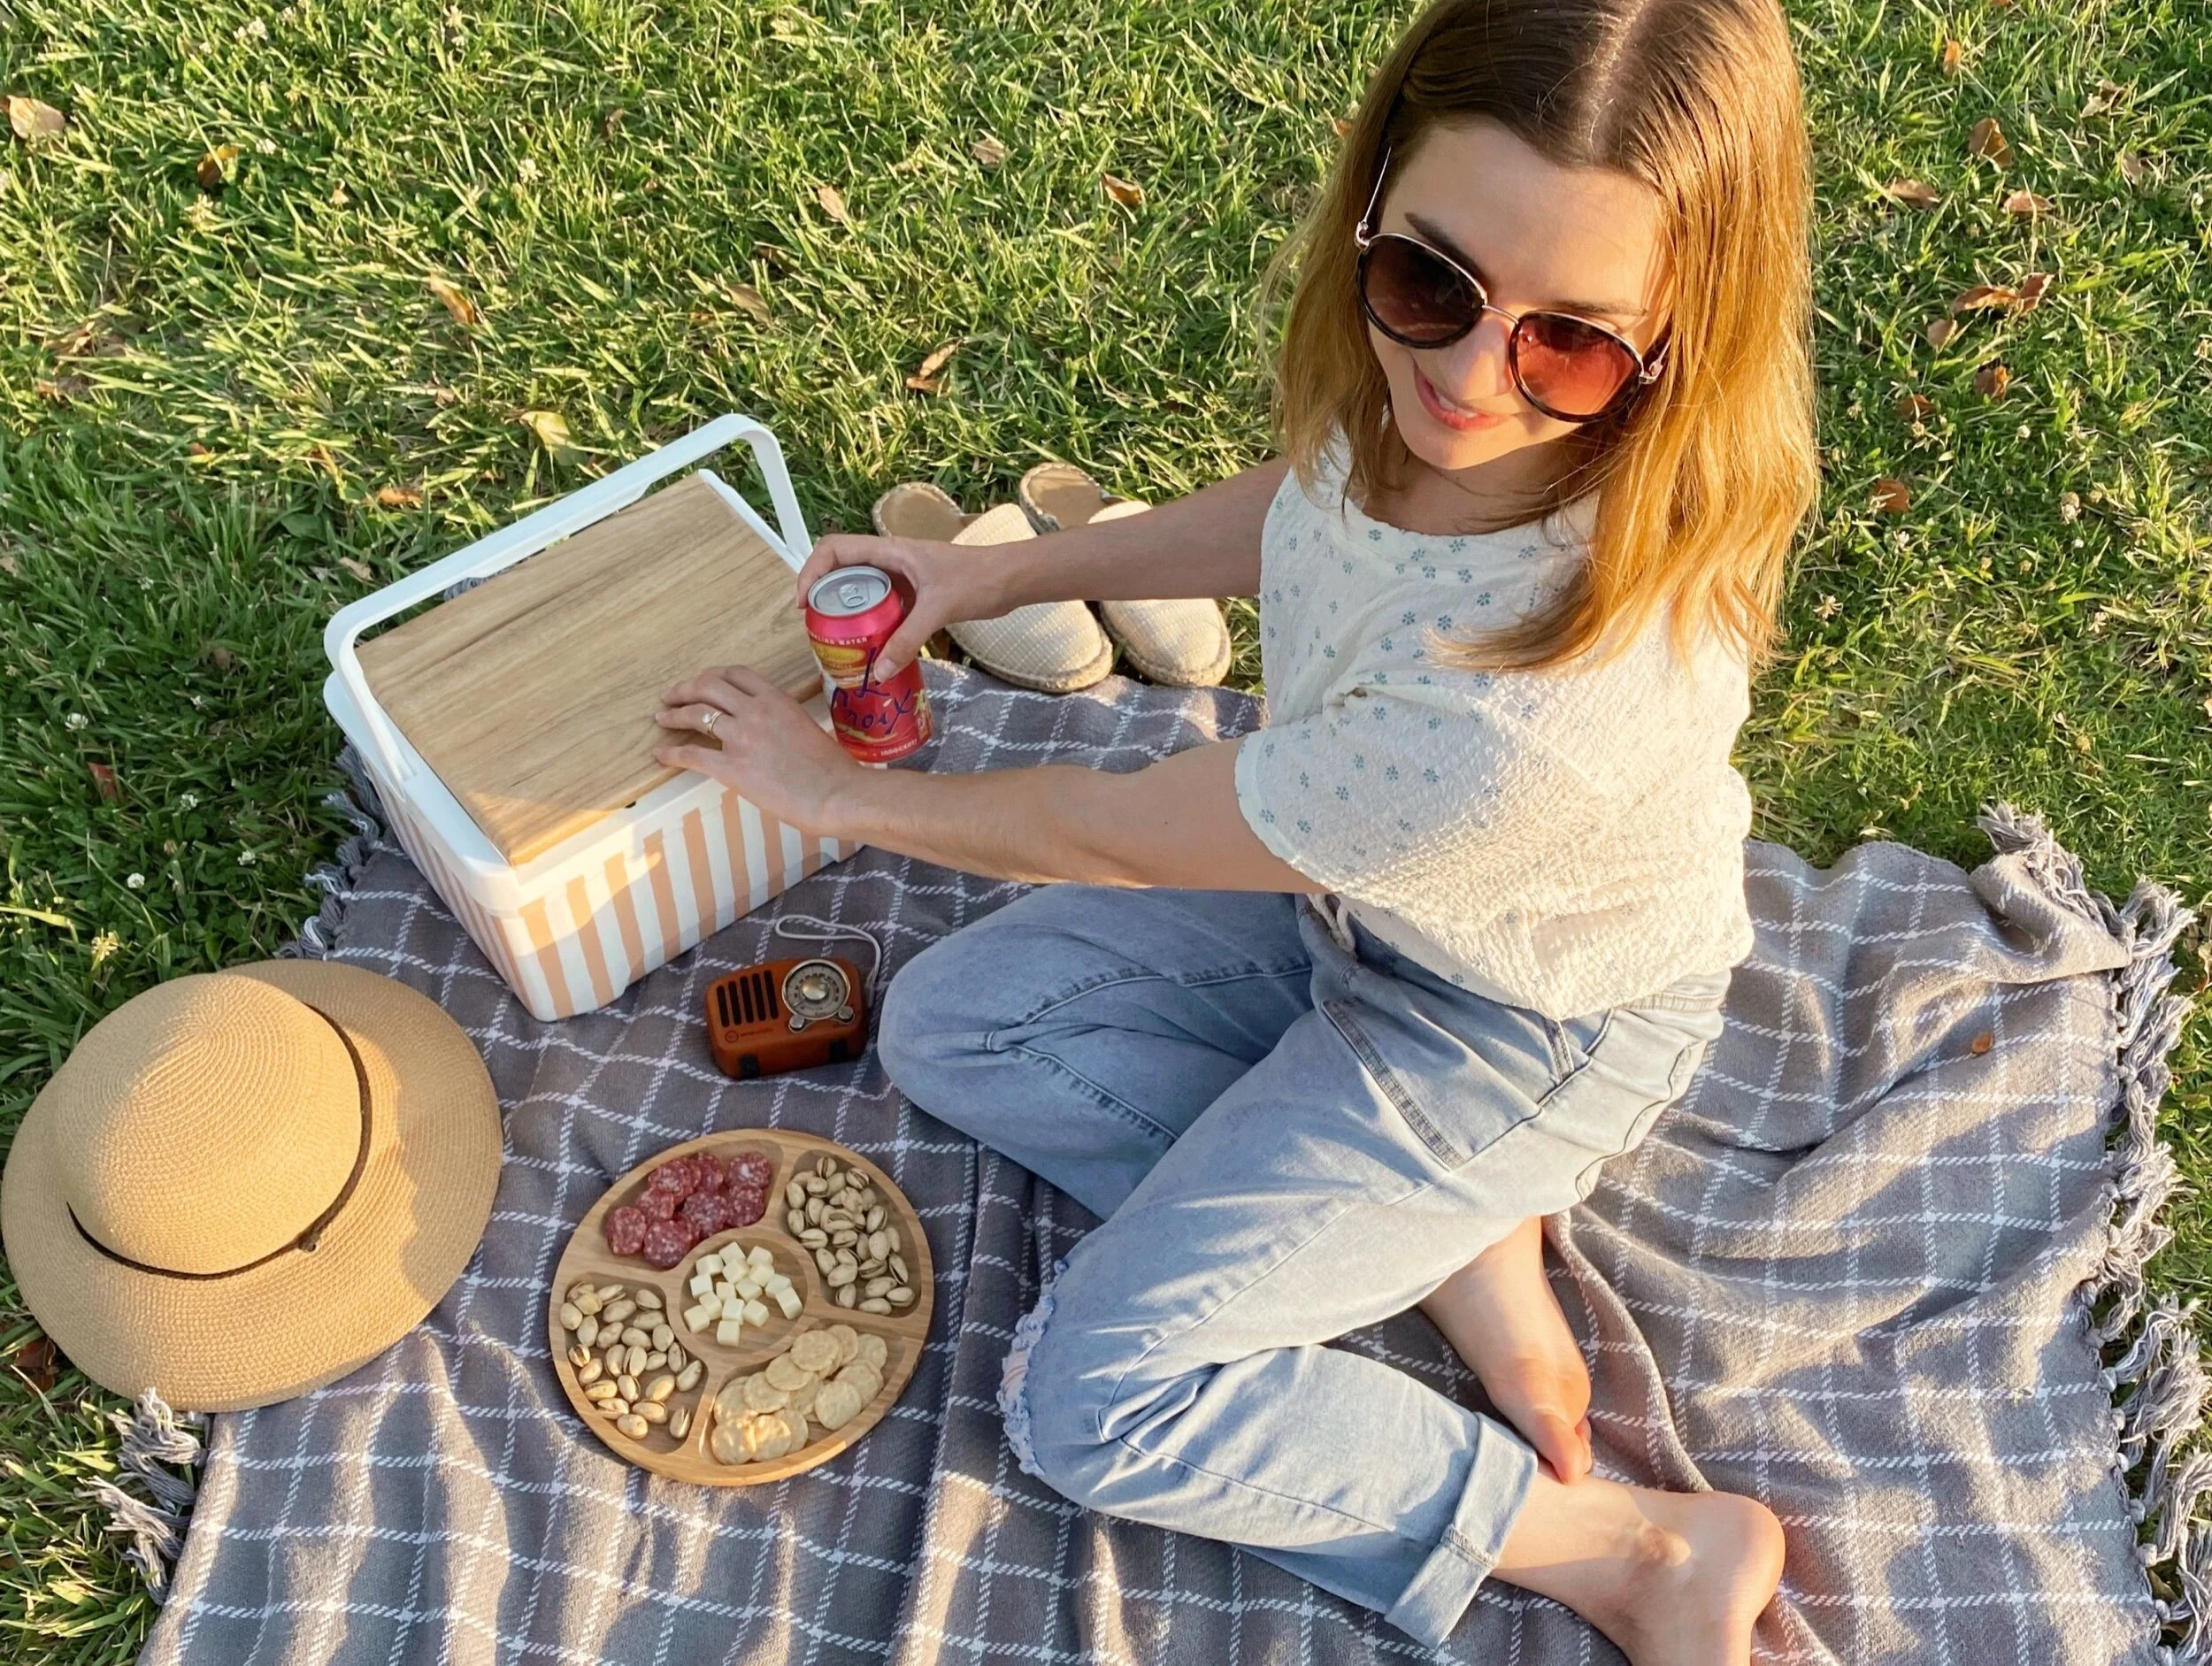
I had so much fun on this project, and I can see myself using this little cooler for many puppy park trips in the future this summer :) (p.s. thank you for modeling, Kevynn, and also for guarding the charcuterie board from nosy dogs at the park lol) I think this project is fun too because you can customize the cooler to whatever style you like; modern, farmhouse, mid century, etc. just by changing up the paint color and design. I think it would also make a cute DIY gift if you filled it with some fun picnic essentials like paper straws, cheese knives, some cute canned wine, and some cooler packs. Definitely a unique homemade gift that your BFF could ACTUALLY use! If you try this out, I would love to see how you customize your cooler — Tag us on instagram at @entertainidea or #entertaintheidea!
Thanks for reading, Cheers! - Rachael


