DIY Pumpkin Beaded Bracelet
I love when I get the chance to try my hand at a new crafting skill, and this year I have found a new love for beading and jewelry making! If you missed it, we shared a fun post a few months back on how to make beaded hair clips, check it out below:
DIY Checkered Beaded Hair Clips
Well ‘tis the season to combine a little Halloween with my crafting projects, so today I bring you this festive DIY pumpkin beaded bracelet tutorial! This is the perfect project to do while you watch TV, so pour yourself a pumpkin spice latte, cue up Hocus Pocus 2, and let’s get started…
Affiliate disclosure: This post may contain affiliate links. When you buy from these links, I may earn a small commission, at no additional cost to you. As an Amazon Associate, I may earn commissions from qualifying purchases from Amazon.com. Thank you for your support!
HOW TO MAKE A BEADED PUMPKIN BRACELET
Pumpkin beaded bracelet supplies:
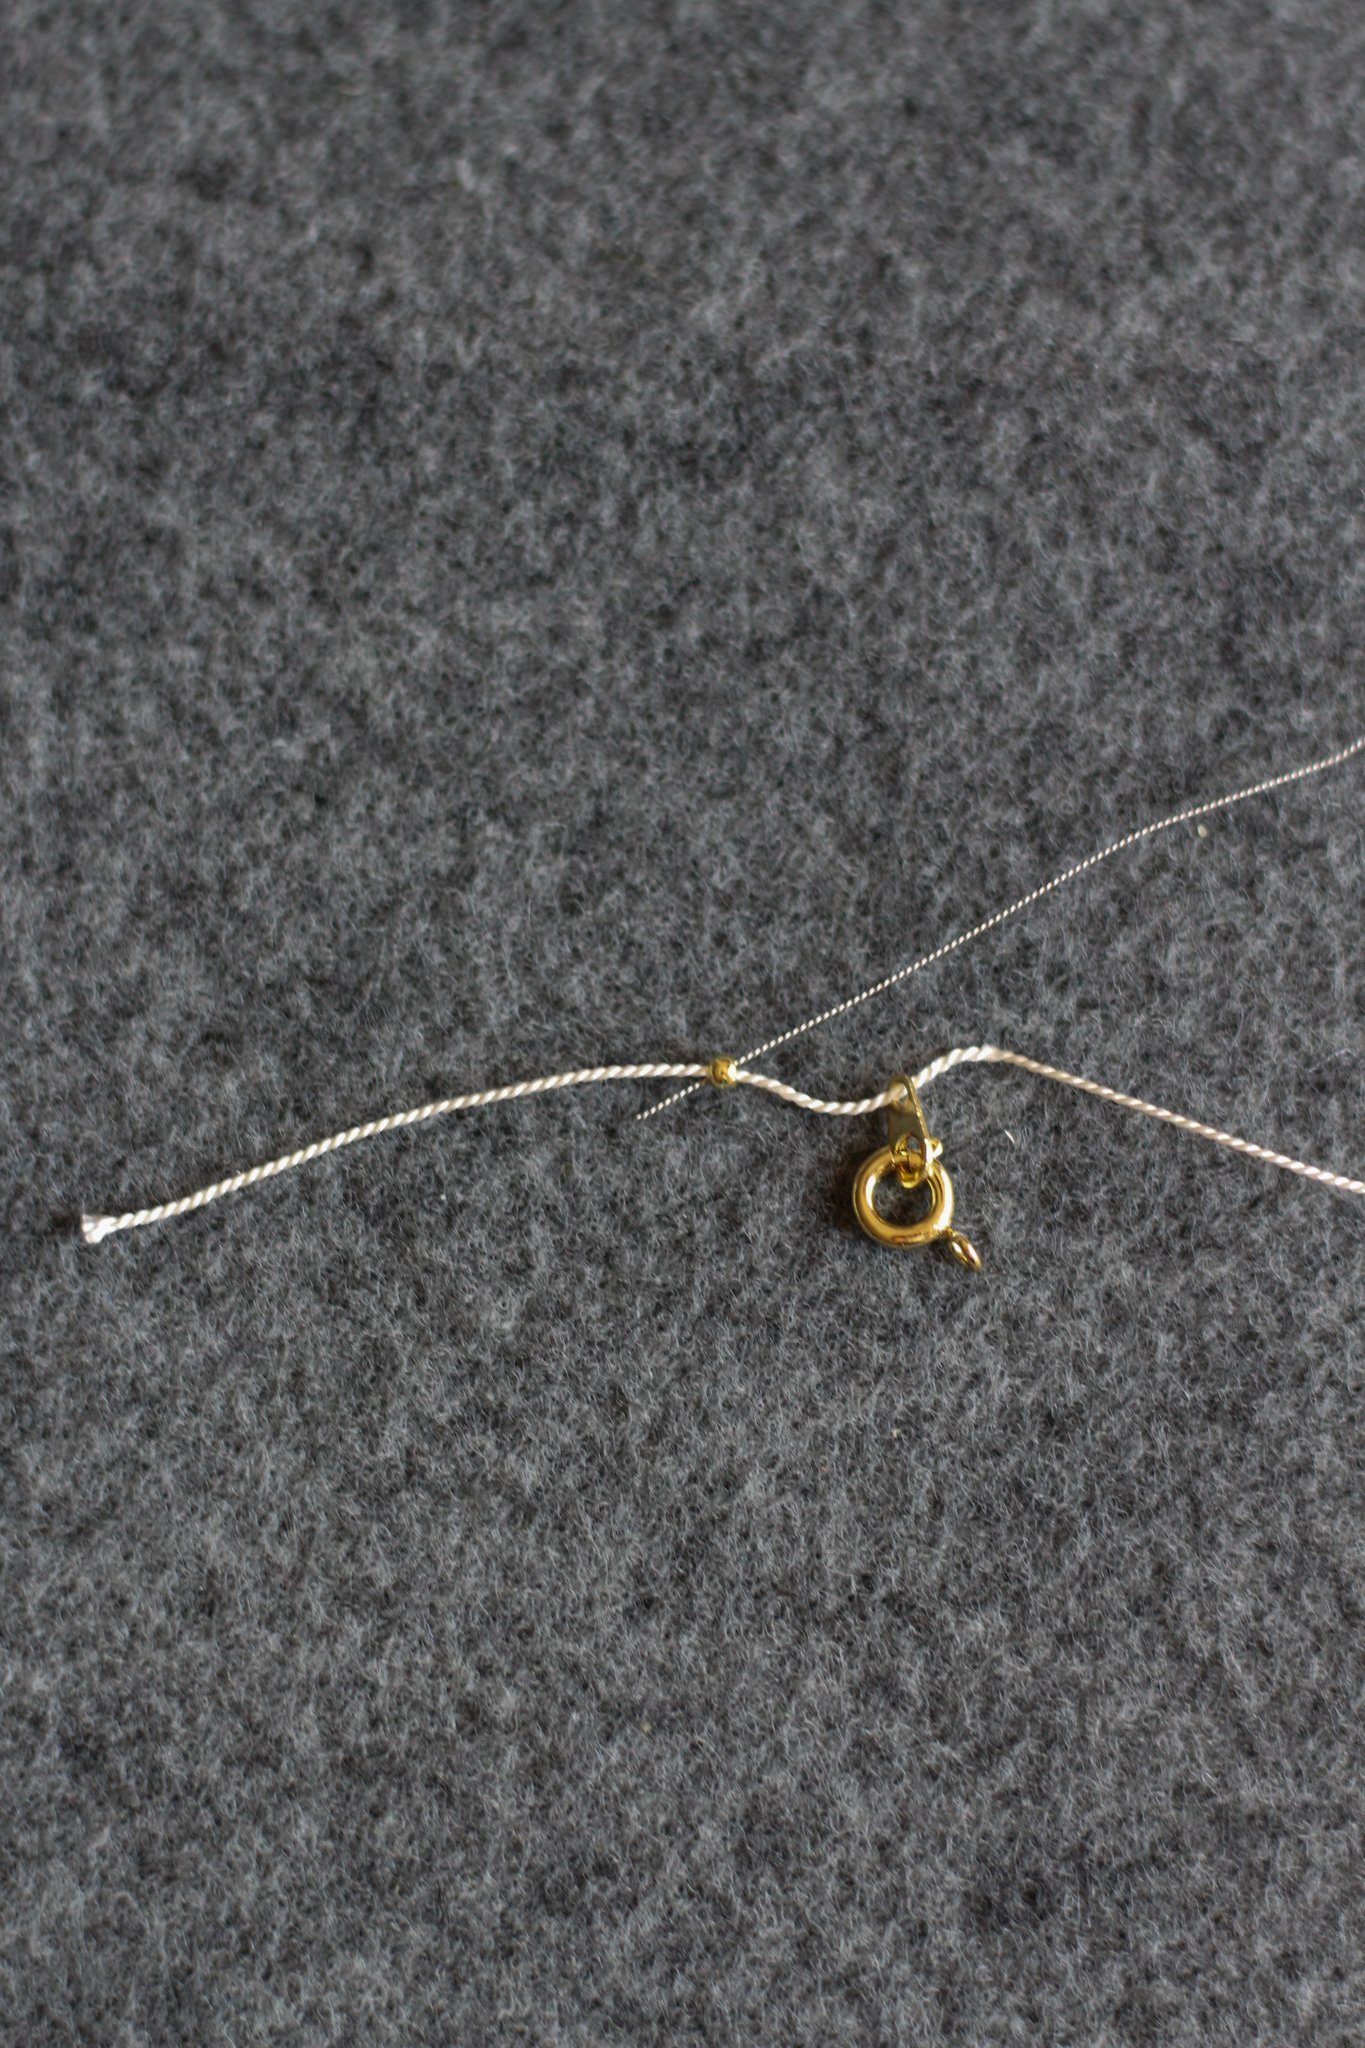
STEP 1: Unwind your silk bead cord and thread your cord through one crimp bead and then through the hole in the ending piece of your clasp. Now pull these two pieces to the very end of your cord leaving just a small tail.
STEP 2: Now you will fasten your ending. Bring your needle end of the thread back through the first crimp bead so that you have made a small loop that holds your clasp ending. Now use your crimper tool to fasten the crimp bead.
To do this, first line up the second hole of your crimper tool with your crimp bead and press down (this indents your crimp bead). Now turn the indented crimp bead to the side so that it looks like a “C” and place the “C” in the first hole of your crimper tool and press down. This should securely fasten your crimp bead and hold your clasp ending in place. If the tail is too long, trim off a bit of the cord (but you can hide the rest under the first few beads).
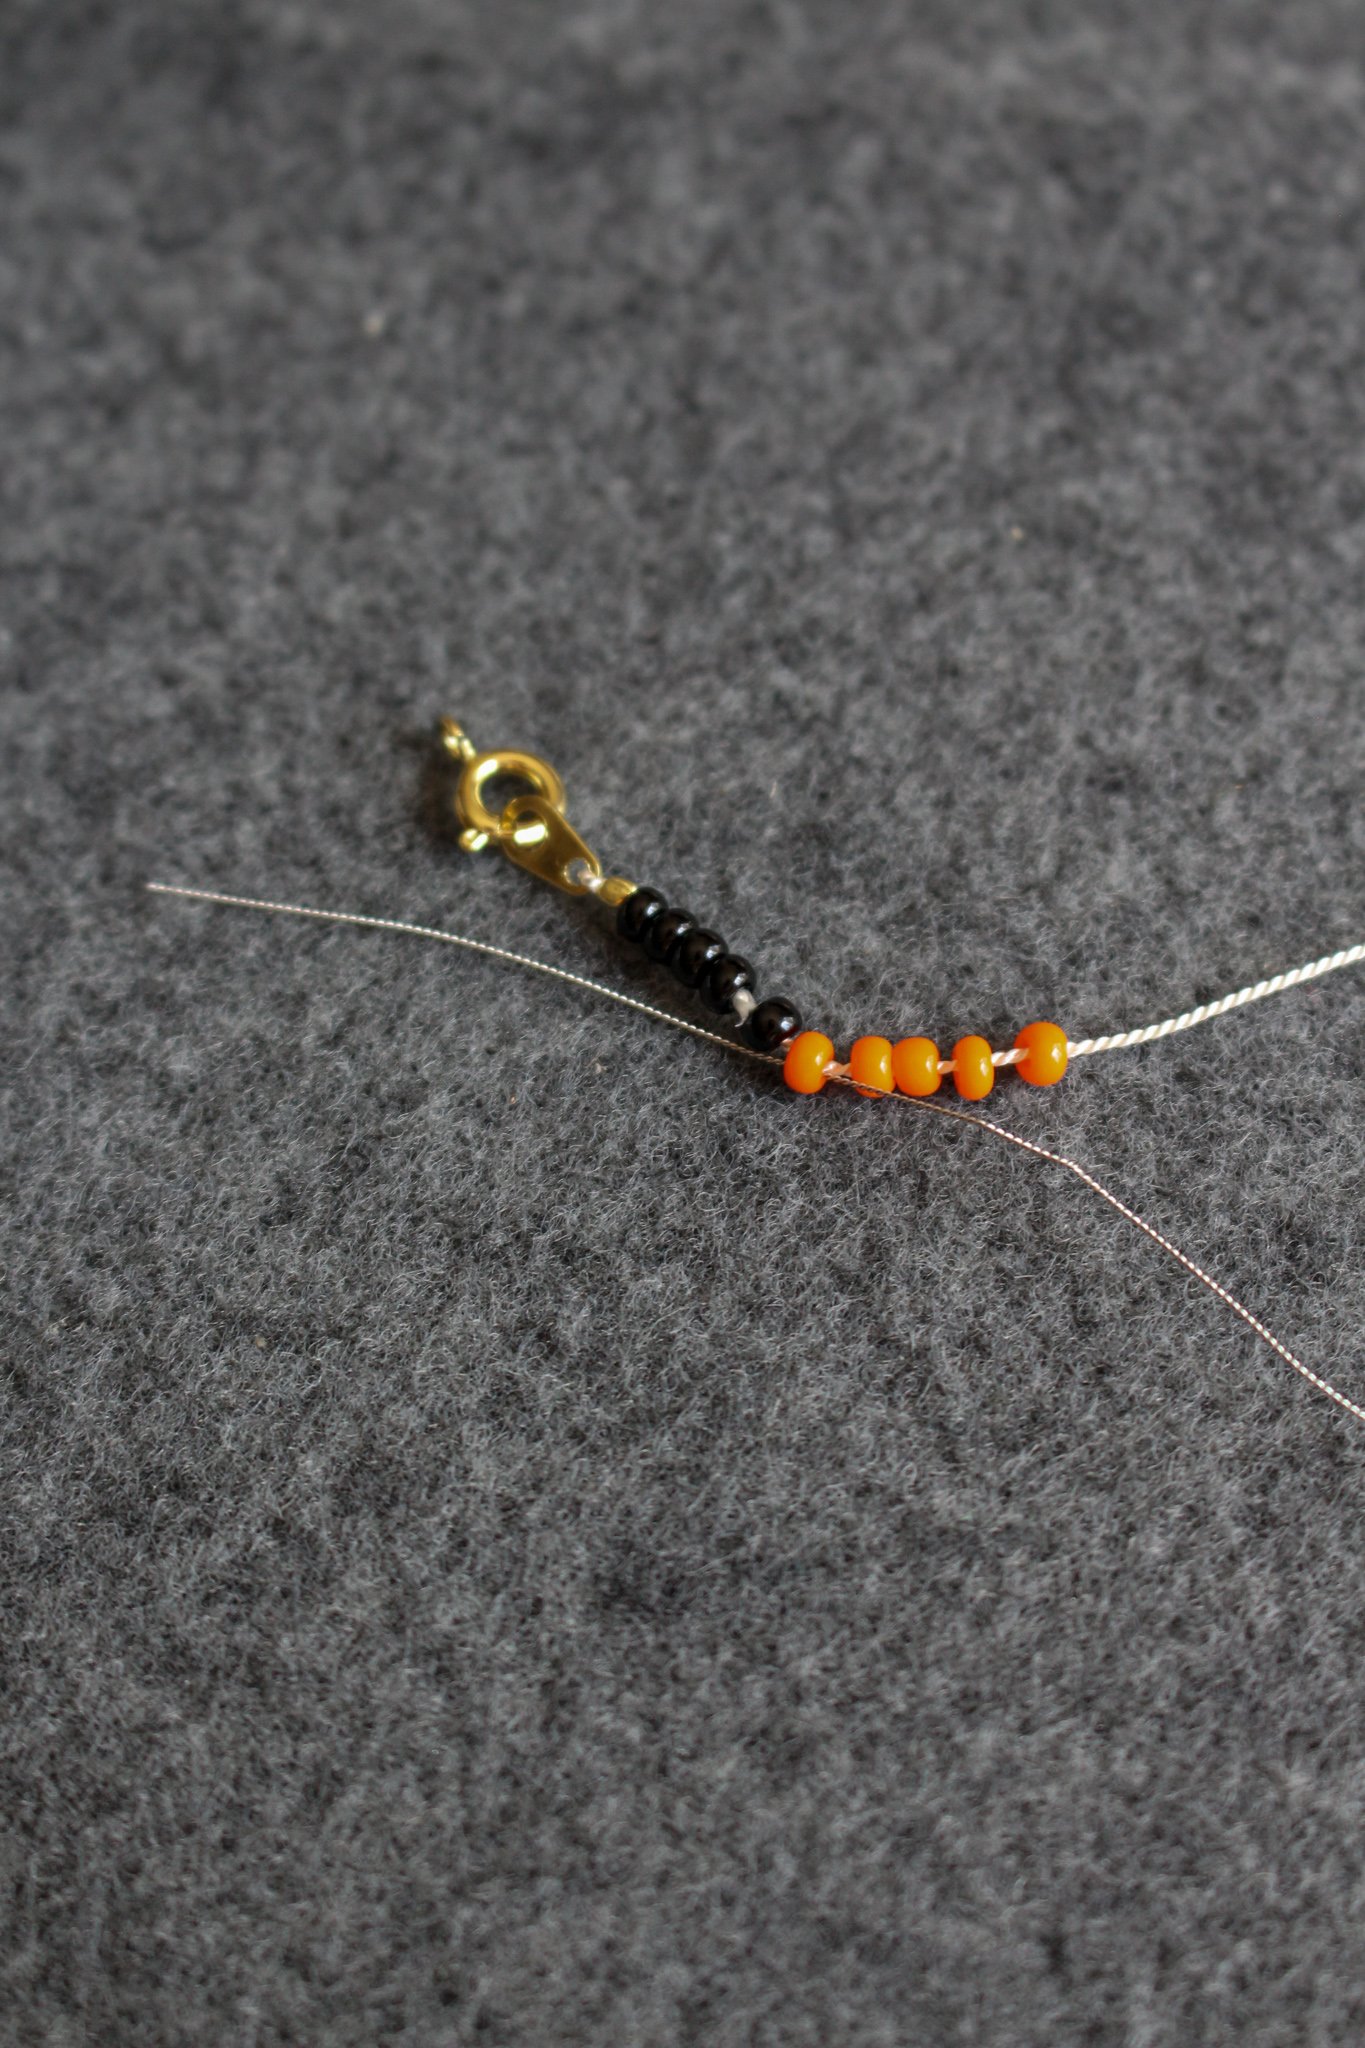
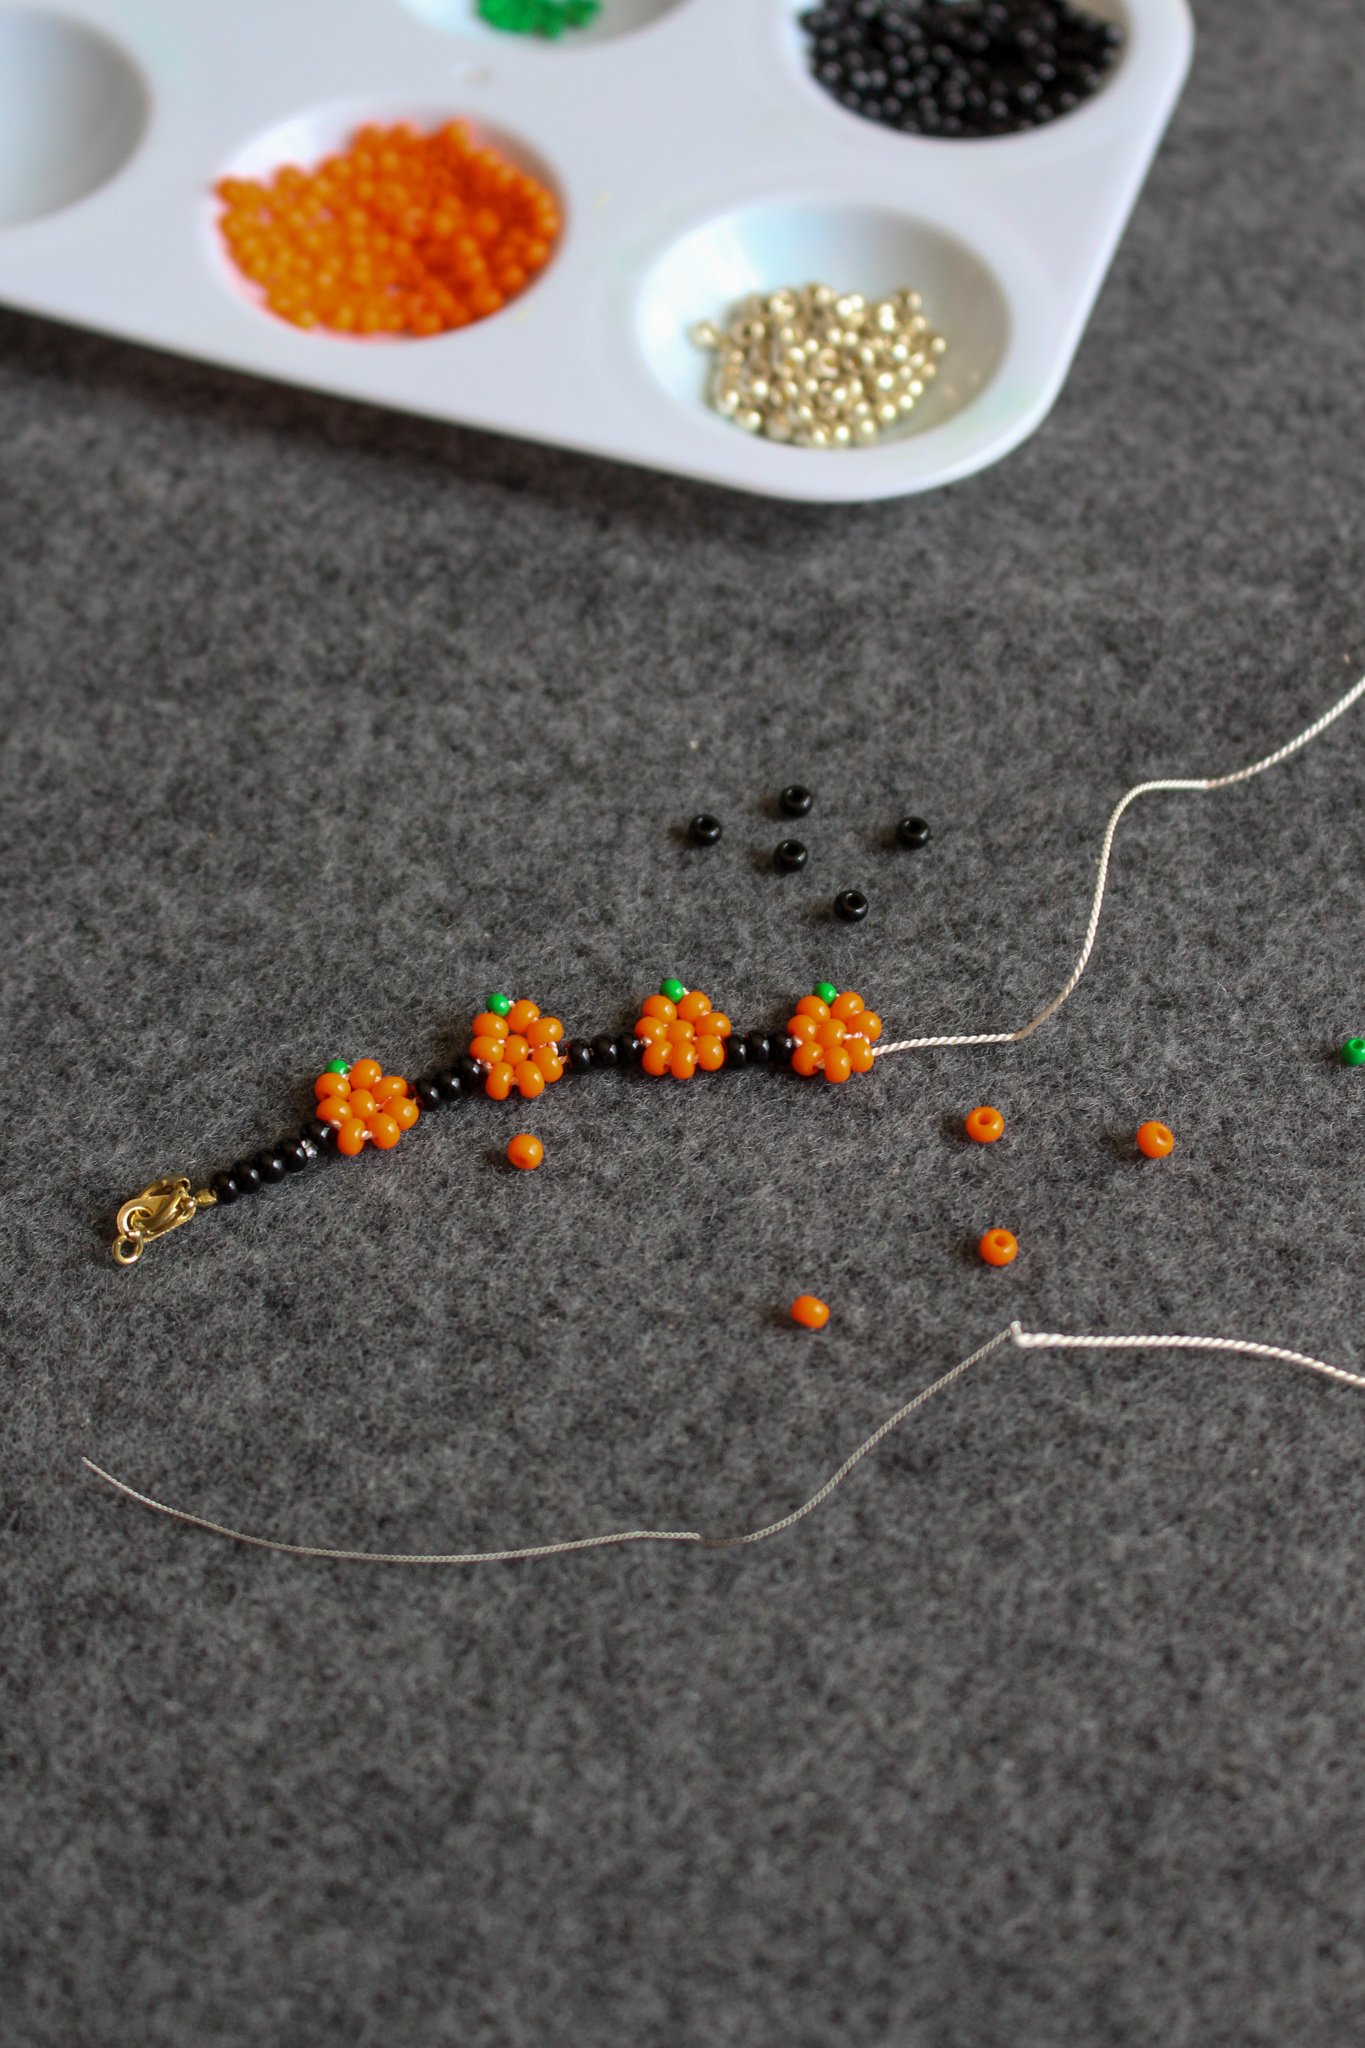
STEP 3: Now your cord is ready to bead! We will be doing a similar process as you would do to create a “daisy” pattern. To begin beading, thread 5 beads of whatever color pattern you want for your bracelet (I did 5 black beads). Then add 5 orange beads to begin your first pumpkin (For the sake of this tutorial, I will be referring to these beads in numerical order of when they were threaded onto your cord, so these would be Orange 1, Orange 2, Orange 3, Orange 4, and Orange 5).
STEP 4: Bring your needle back through Orange 1 towards the black beads. Pull your cord tightly to create the first half of the pumpkin shape. You may have to help guide your beads in place, you want Orange 5 to be positioned in the center with Orange 1-4 making a half circle around it.
STEP 5: Thread on 3 more orange beads. Then thread your needle outwards through Orange 4. Pull your cord tightly. This should complete the circle, so you should have Orange 5 in the center with all 7 other beads around in a circle.
STEP 6: Now we are going to add the pumpkin stem. Thread your needle back up through Orange 3 and thread on one green bead.
STEP 7: Now keep threading your needle in a counter clockwise direction back through Orange 2, then Orange 1, then Orange 6, then Orange 7, then Orange 8, making sure to pull your cord tightly as you thread through each bead.
STEP 8: Now your first beaded pumpkin is complete and the end of your cord should be facing outwards to the right between beads Orange 8 and Orange 4. Add 3 black beads, then repeat step 3-7 to create another beaded pumpkin.
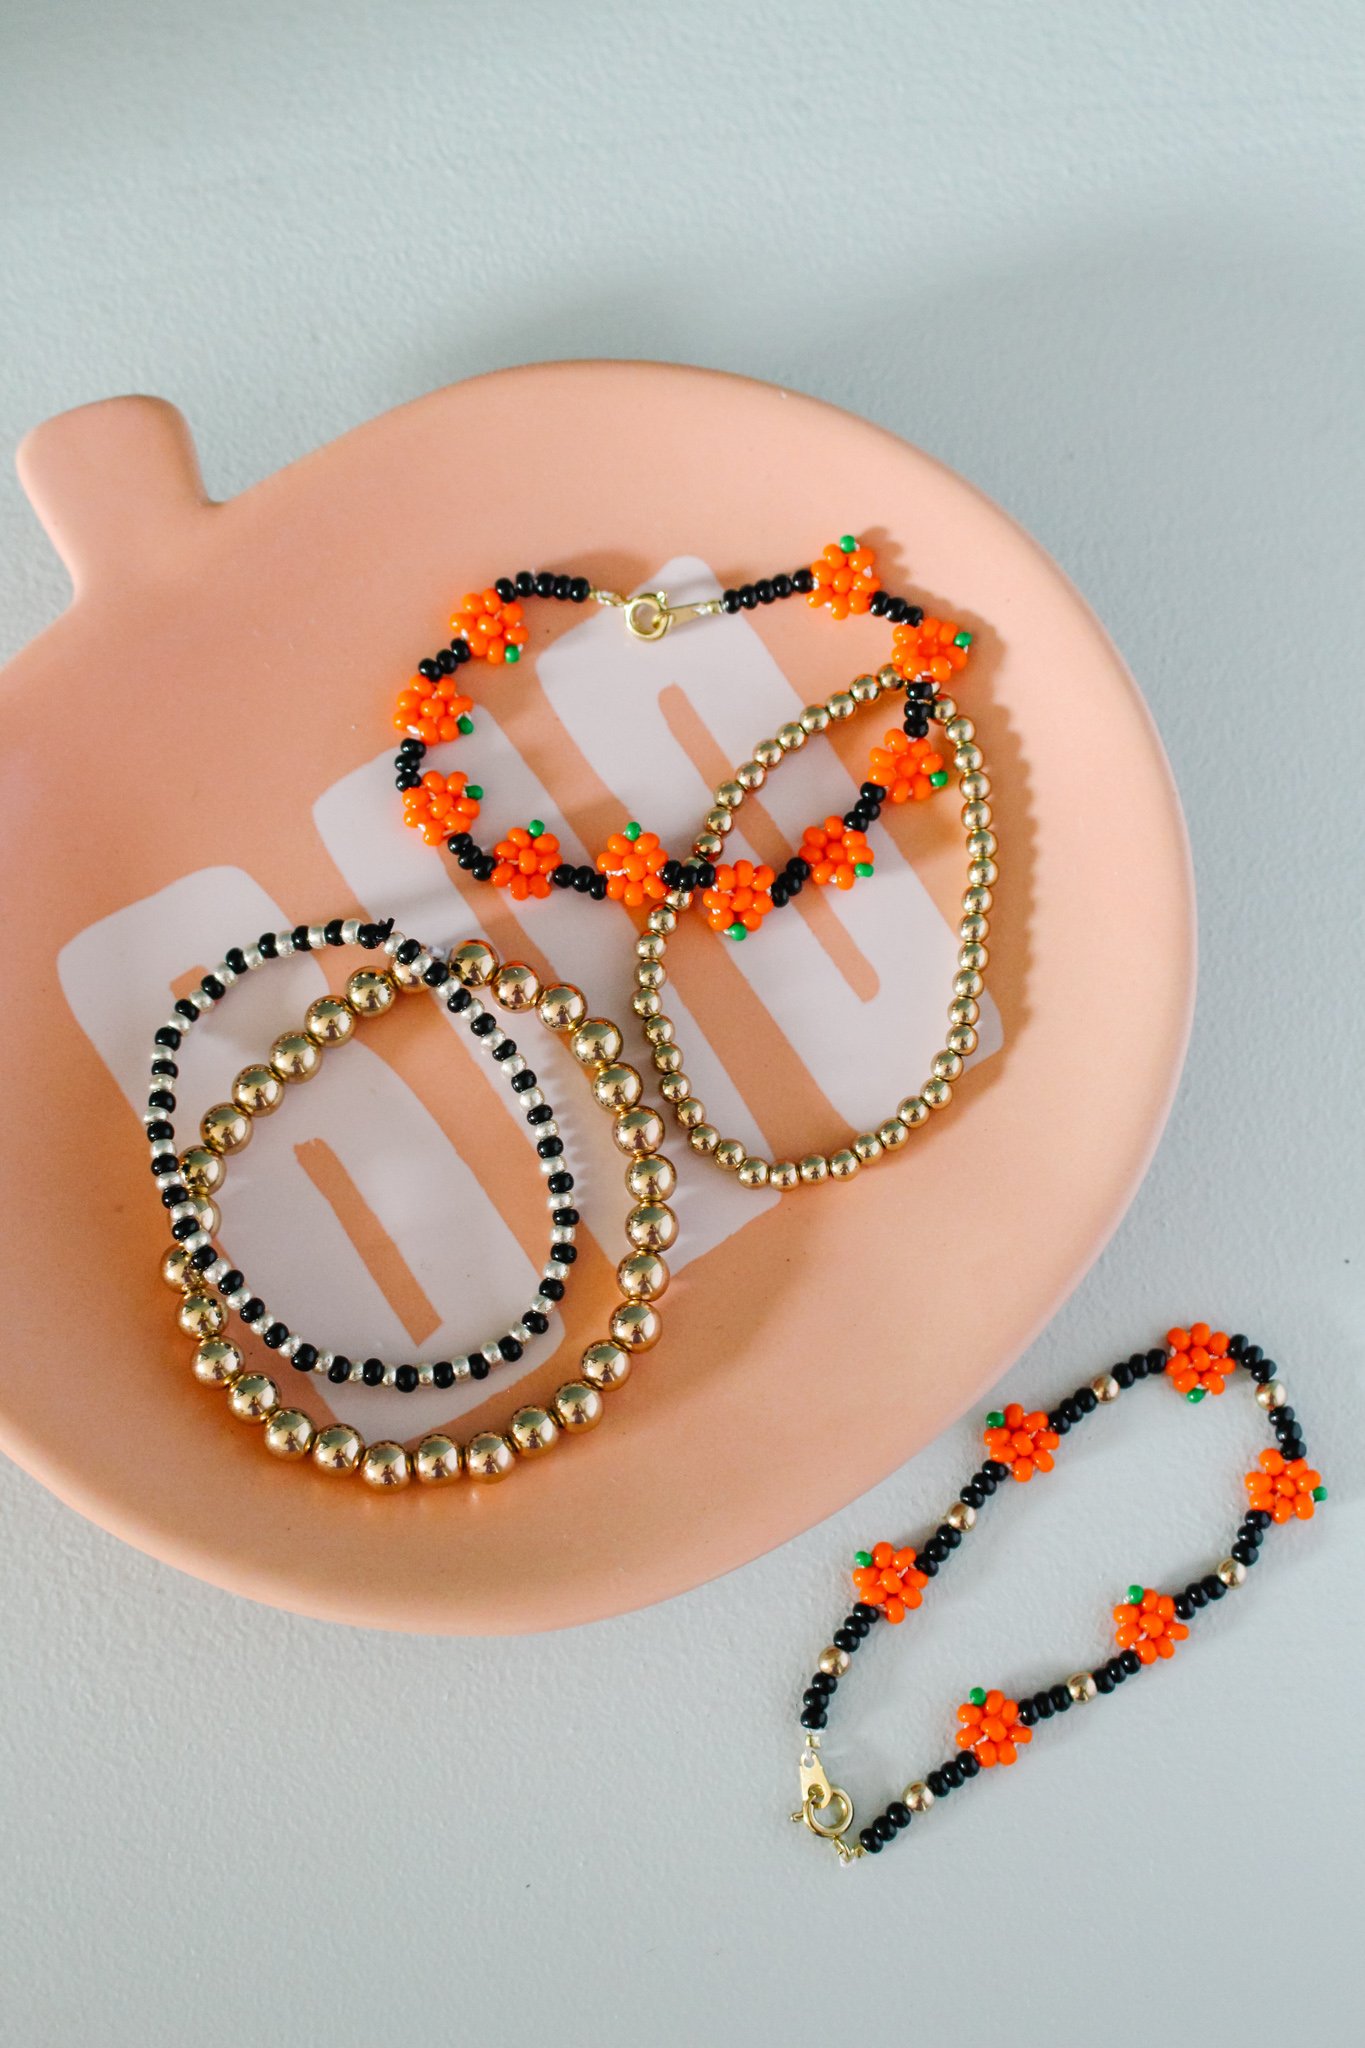
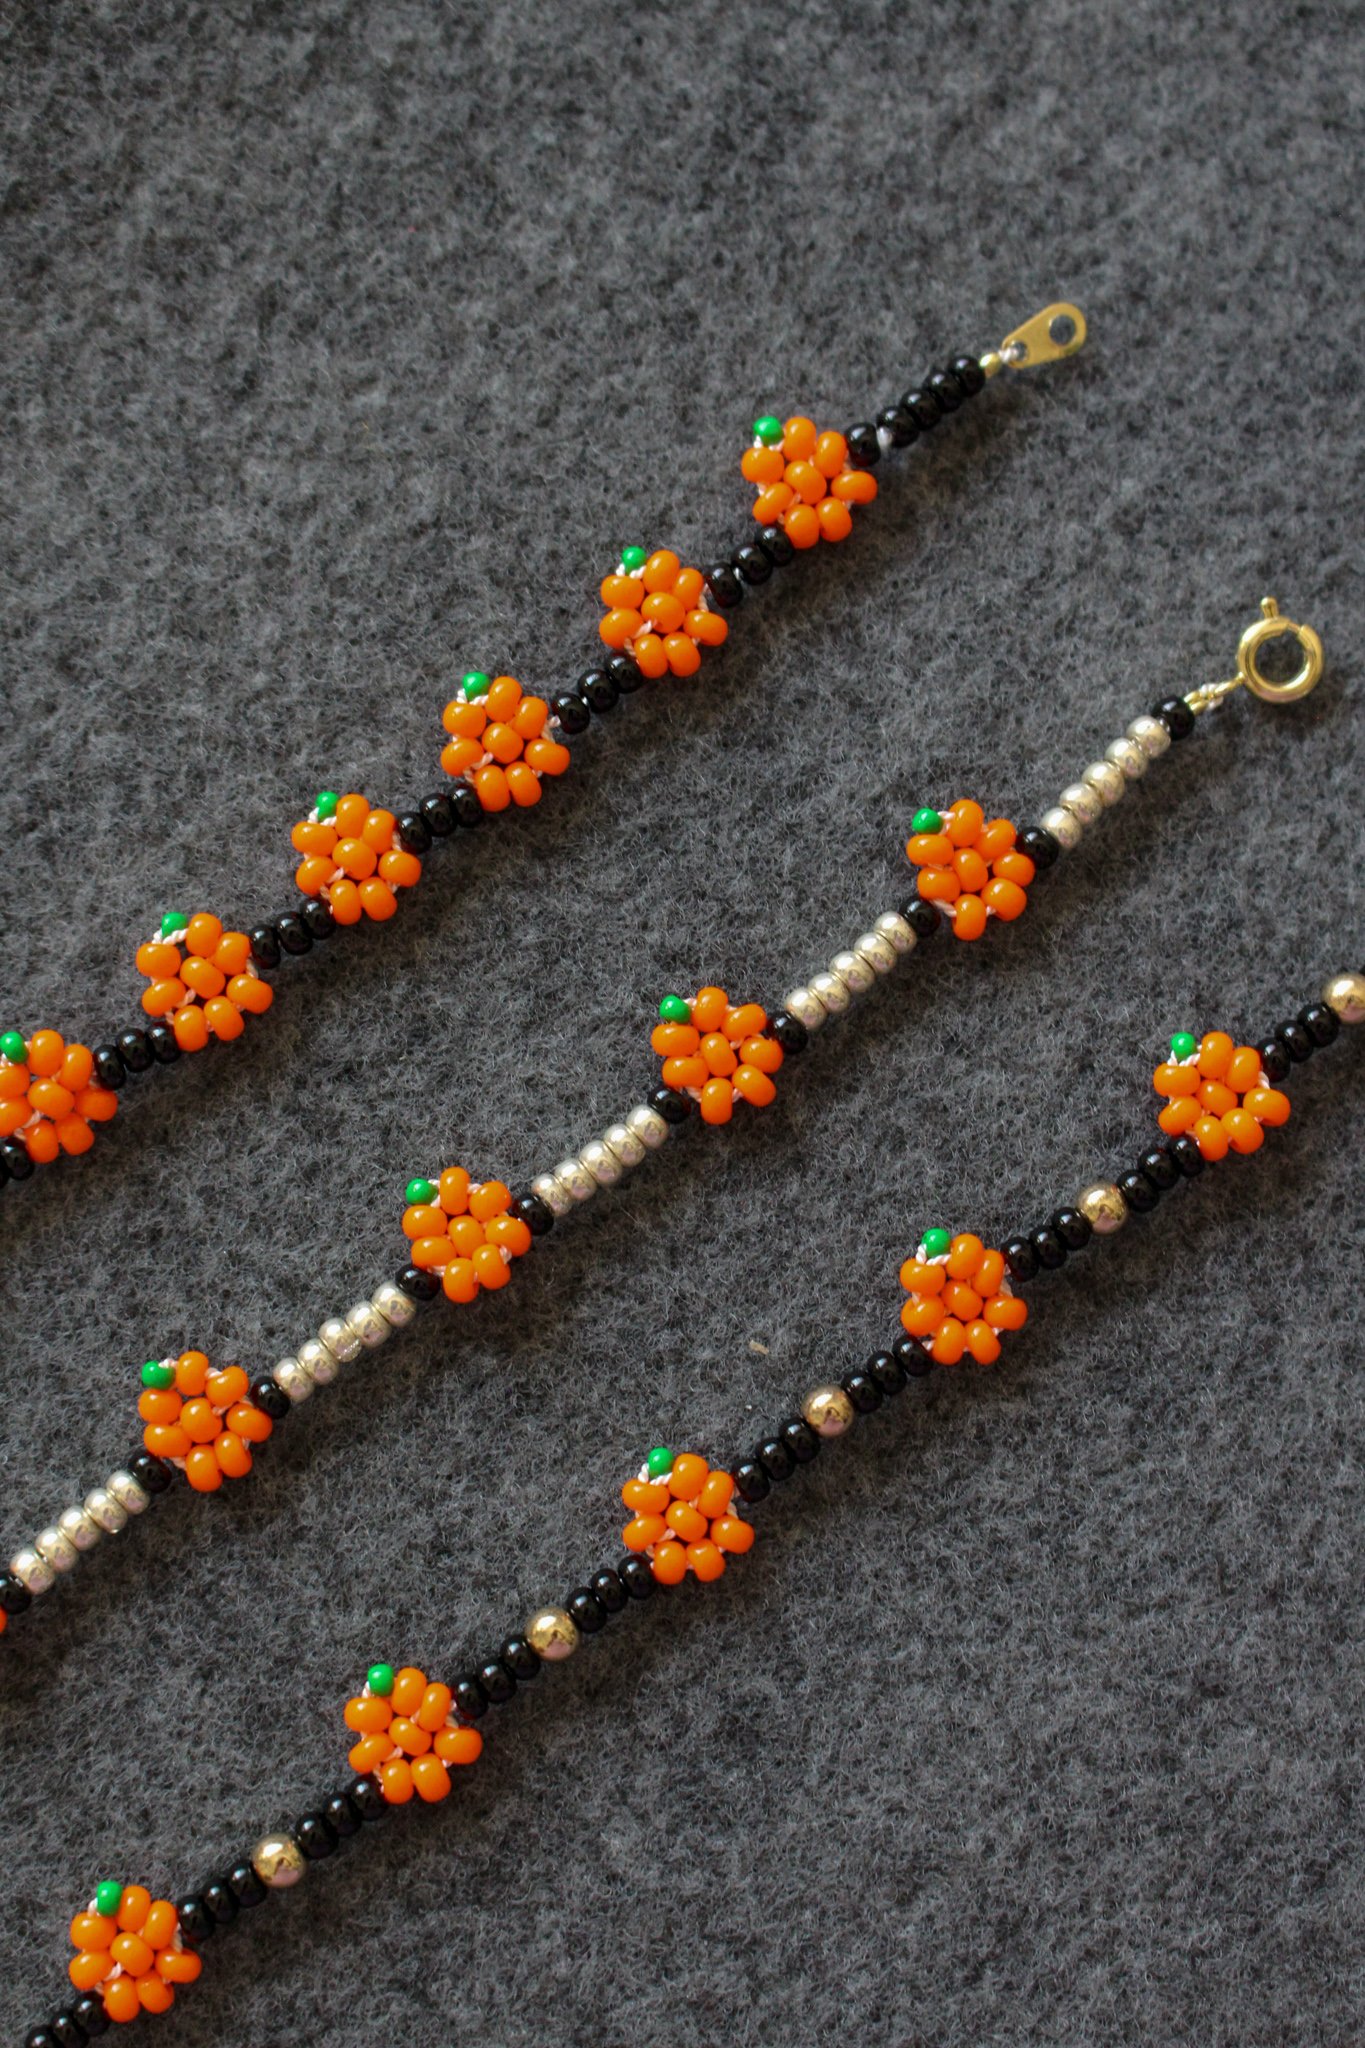
STEP 9: Continue this pattern until you have a long enough bracelet to fit comfortably around your wrist. For me that was 10 pumpkins with 3 black beads between each pumpkin.
STEP 10: Once you’re happy with the length, you will want to attach the other end of your spring clasp. Thread on one more crimp bead then thread your needle through the hole of your spring clasp. Bring your needle back through the crimp bead towards your black beads. I would recommend threading through a few of the black beads as well to hide the cord tail. Use your crimper tool again to secure your end crimp bead. Now your spring clasp is in place. Trim any extra cord from your tail and your bracelet is complete!
The fun part of the beading process is that you can totally do any kind of pattern between your cute little beaded pumpkins. I actually found that I liked how the 3 black, 1 gold, 3 black, 1 pumpkin patterned bracelet turned out the best!
If you need a video tutorial to help better understand the process, I’ve uploaded an instagram reel here (@entertainidea) and you can also find a video on my TikTok (@entertainidea).
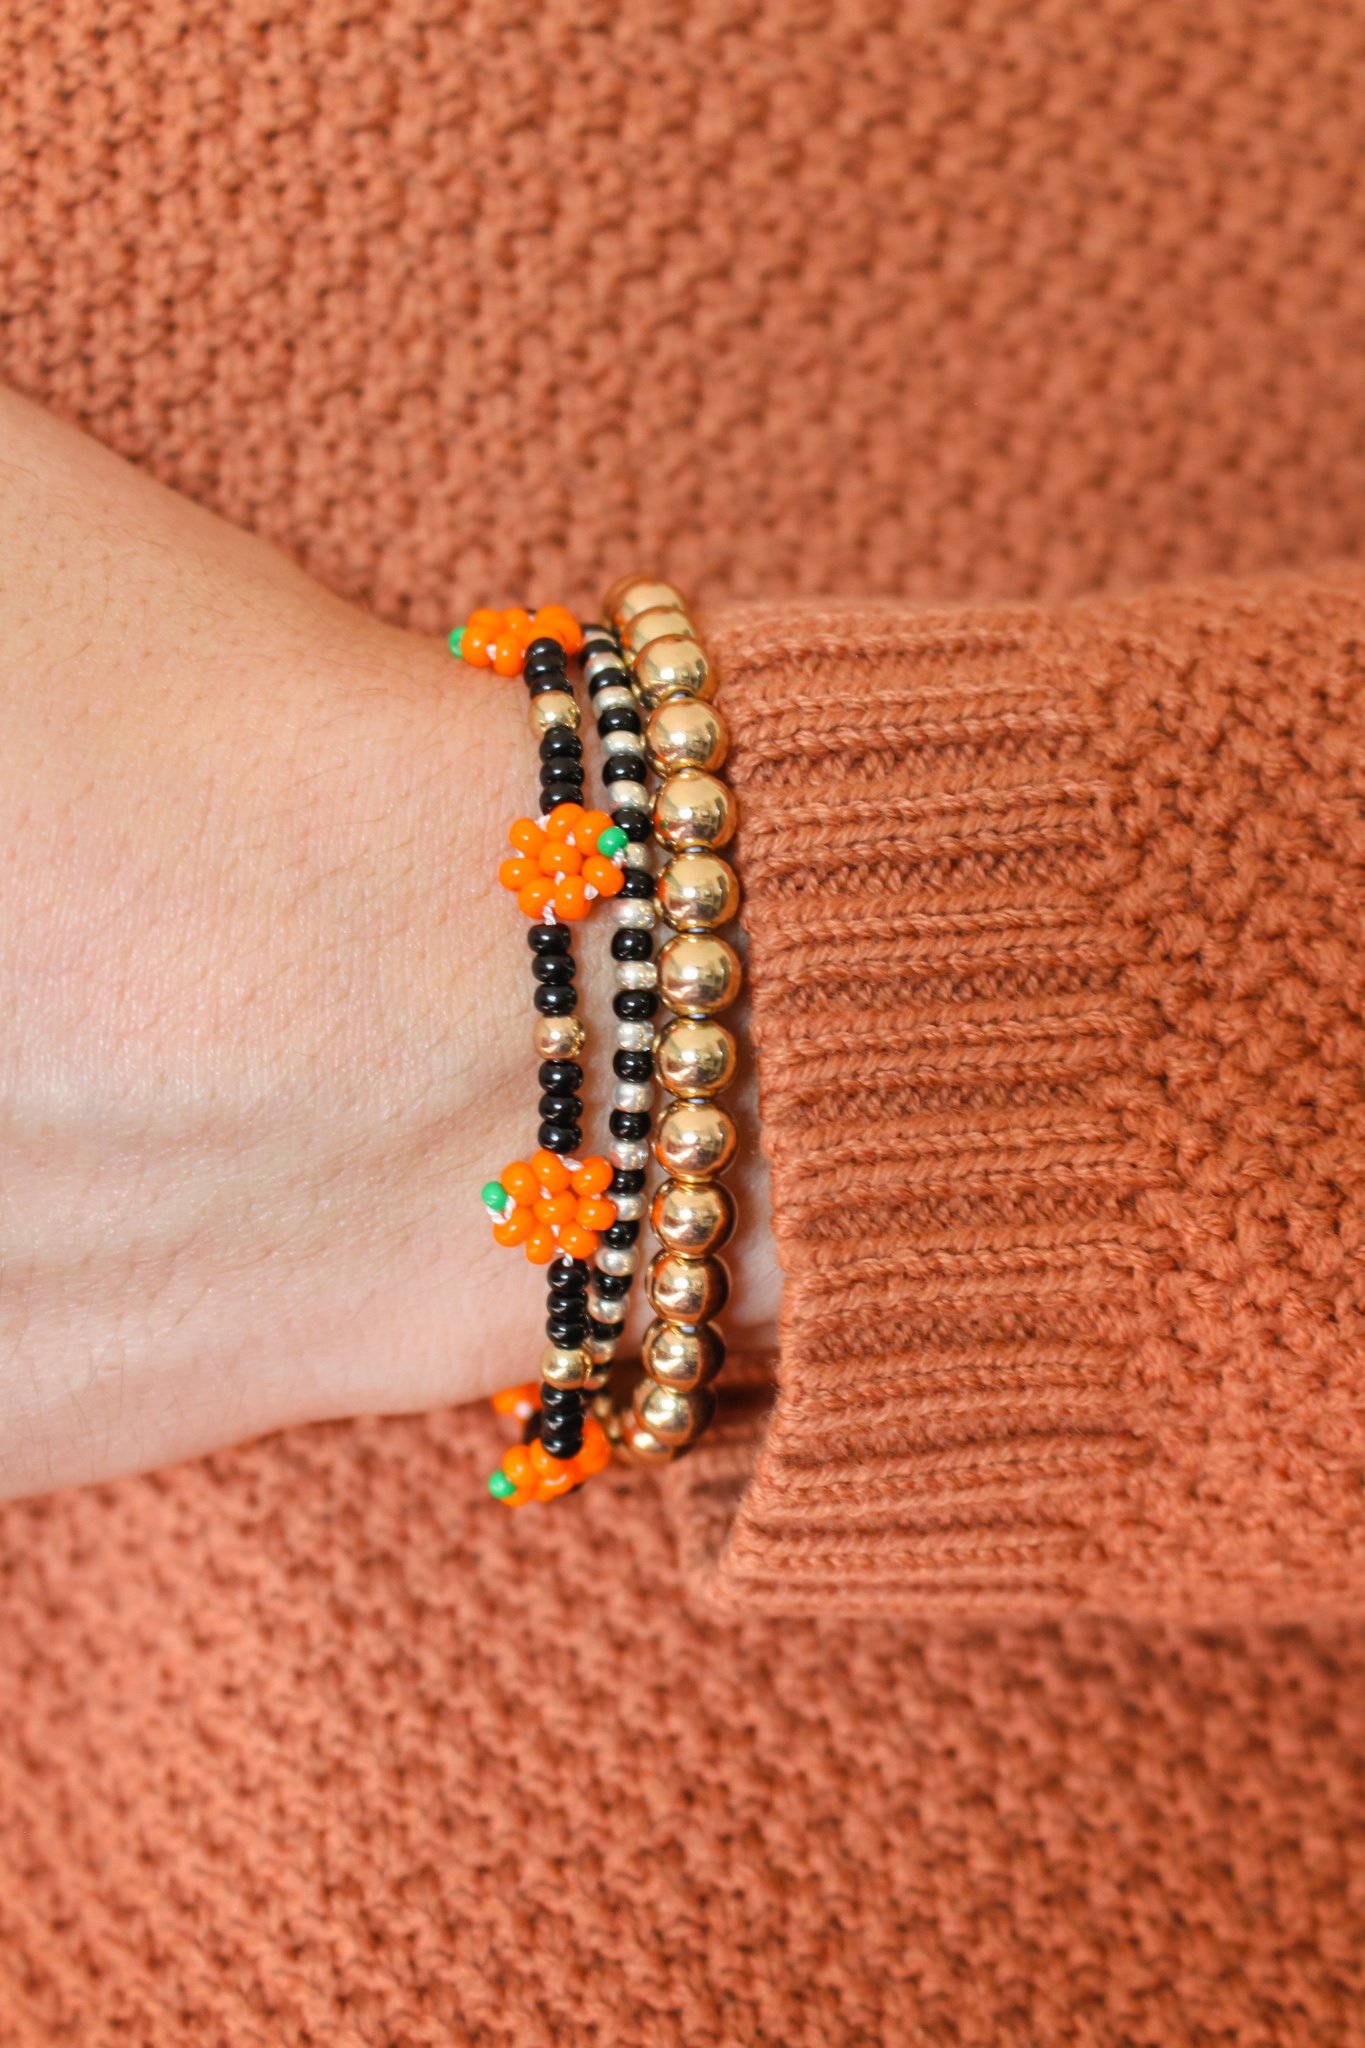
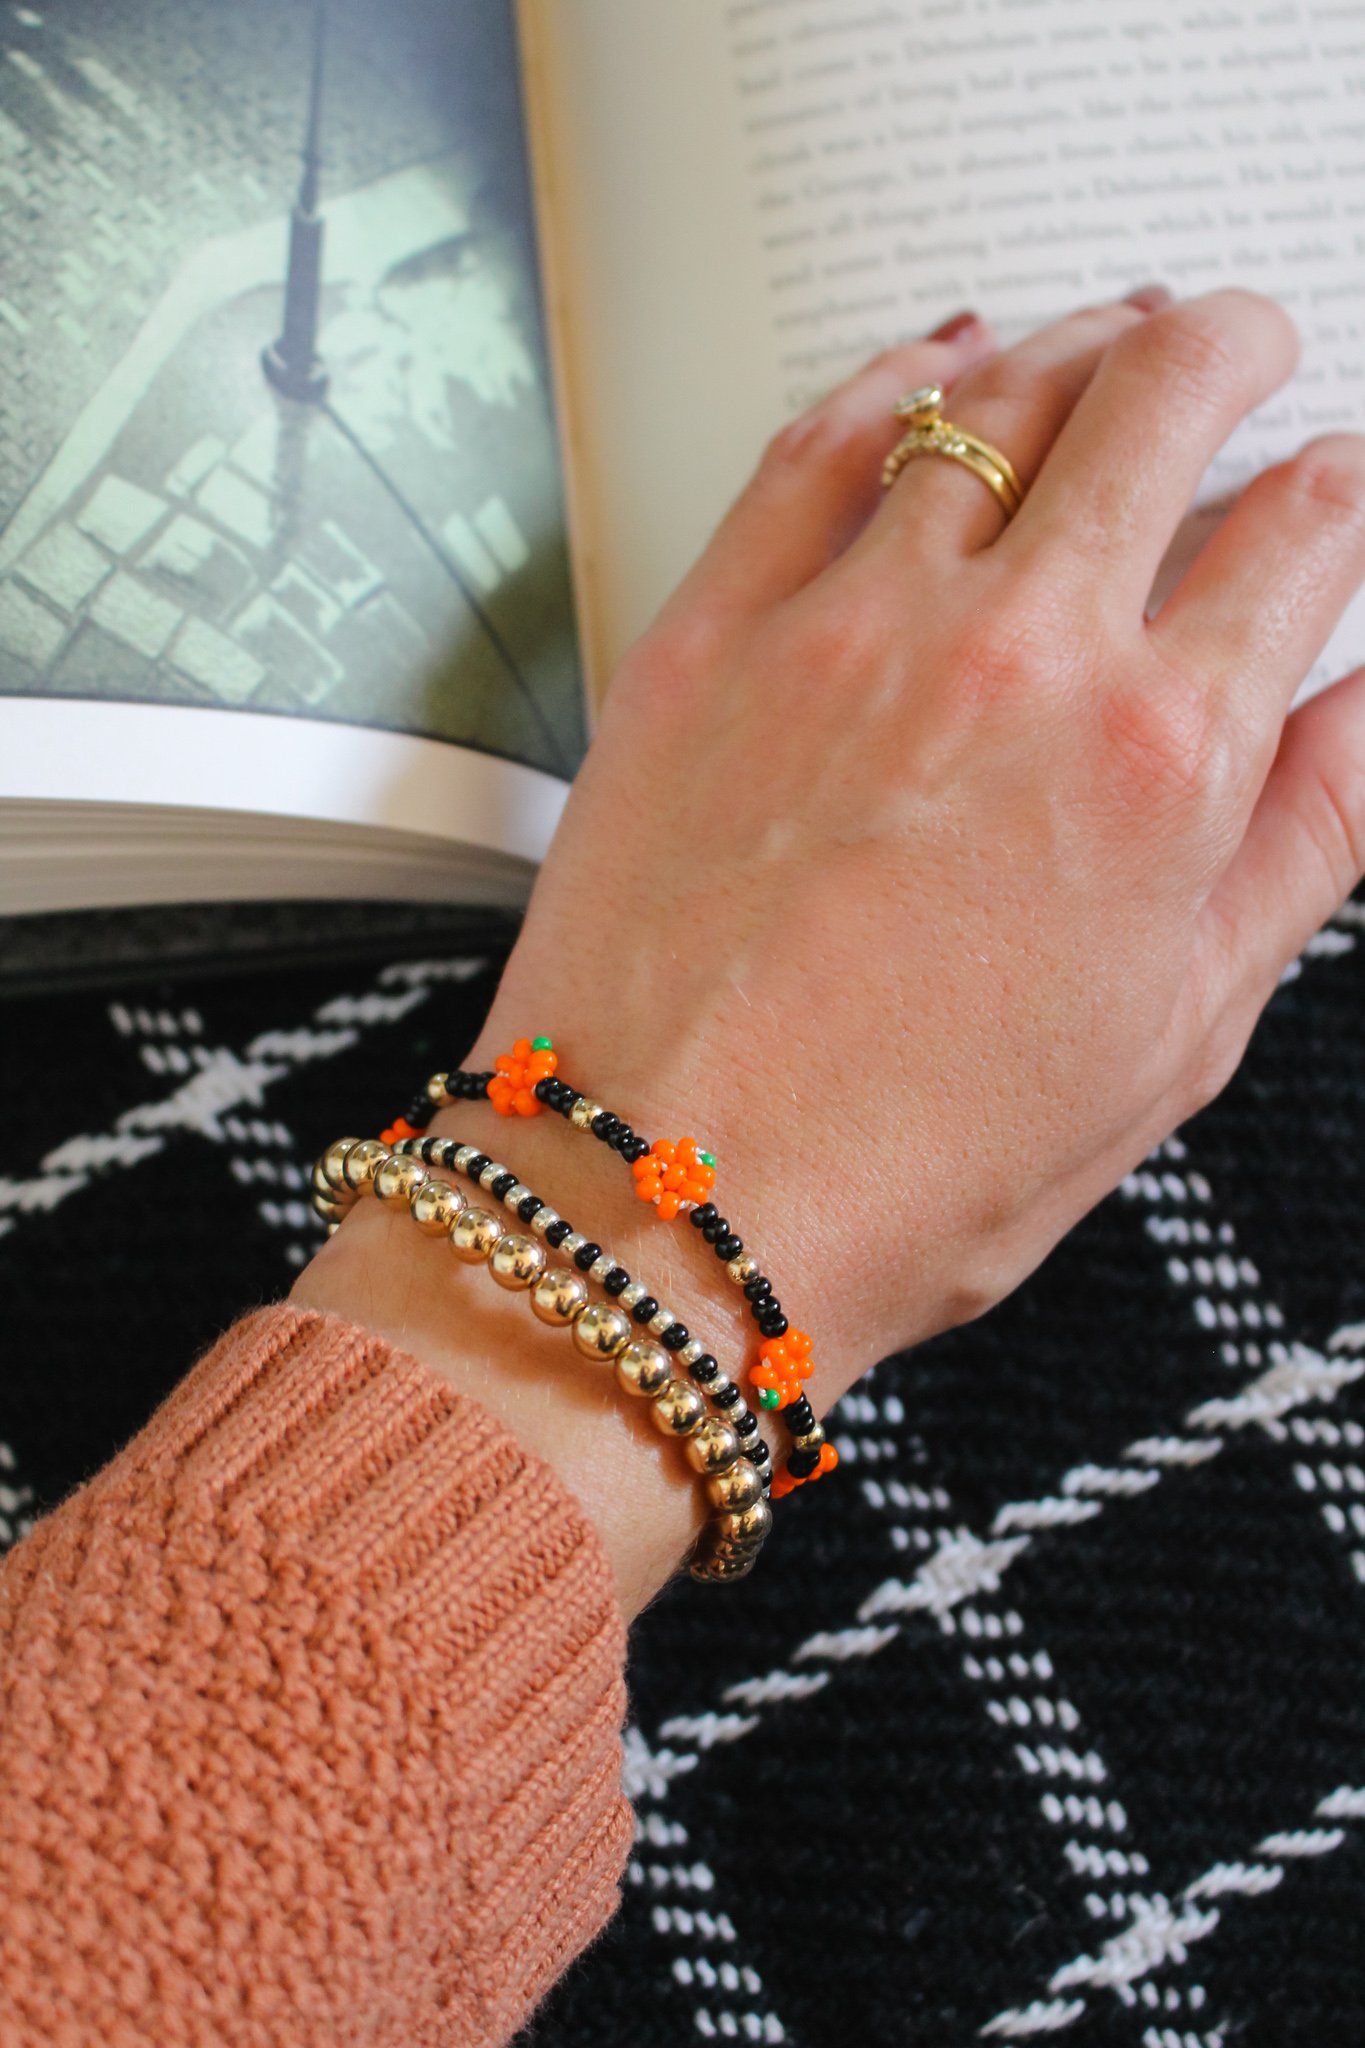
I also thought it was cute to create a few basic beaded bracelets with elastic string to wear alongside the pumpkin bracelet! Beaded bracelets always look best in a colorful stack on your wrist.
It would also be fun to create a little bracelet stack to gift to a friend who loves Halloween time! Create a pumpkin bracelet and a few stretchy basic beaded bracelets and tie them together with a festive ribbon. The perfect inexpensive but thoughtful gift for your best ghoul-friend :)
Now that it is officially October, you’ll catch me over here rockin’ my pumpkin bracelets every day now through the rest of spooky season. I love how these turned out and now I’m ready to brainstorm what festive shape we can bead for the next holiday… Maybe a thanksgiving turkey?? :P
Xo Rachael

