Ice Dyed Cocktail Napkins
As much as I want it to be fall, the truth of the matter is that it is 100+ degrees outside here in Los Angeles. No amount of Halloween decorating or Gilmore Girls watching is going to bring us the cozy fall temperatures. So I’m just going to lean into the fact that summer is far from over, by giving you all another fun summer DIY idea today!
If you are looking for an easy craft to do this Labor Day weekend, to celebrate the last days of summer, I have just the thing for you. Nothing screams summer crafting to me like the art of tie-dye. It takes me back to my many years of Girl Scout camp where we would tie-dye just about anything. Recently, I’ve been seeing a ton of bloggers and creators try out this unique technique of tie dying with ice, so I thought I would give it a try on some cocktail napkins that I had around the house. And I love how they turned out!
Affiliate disclosure: This post may contain affiliate links. When you buy from these links, I may earn a small commission, at no additional cost to you. As an Amazon Associate, I may earn commissions from qualifying purchases from Amazon.com. Thank you for your support!
HOW TO ICE DYE COCKTAIL NAPKINS
Supplies:
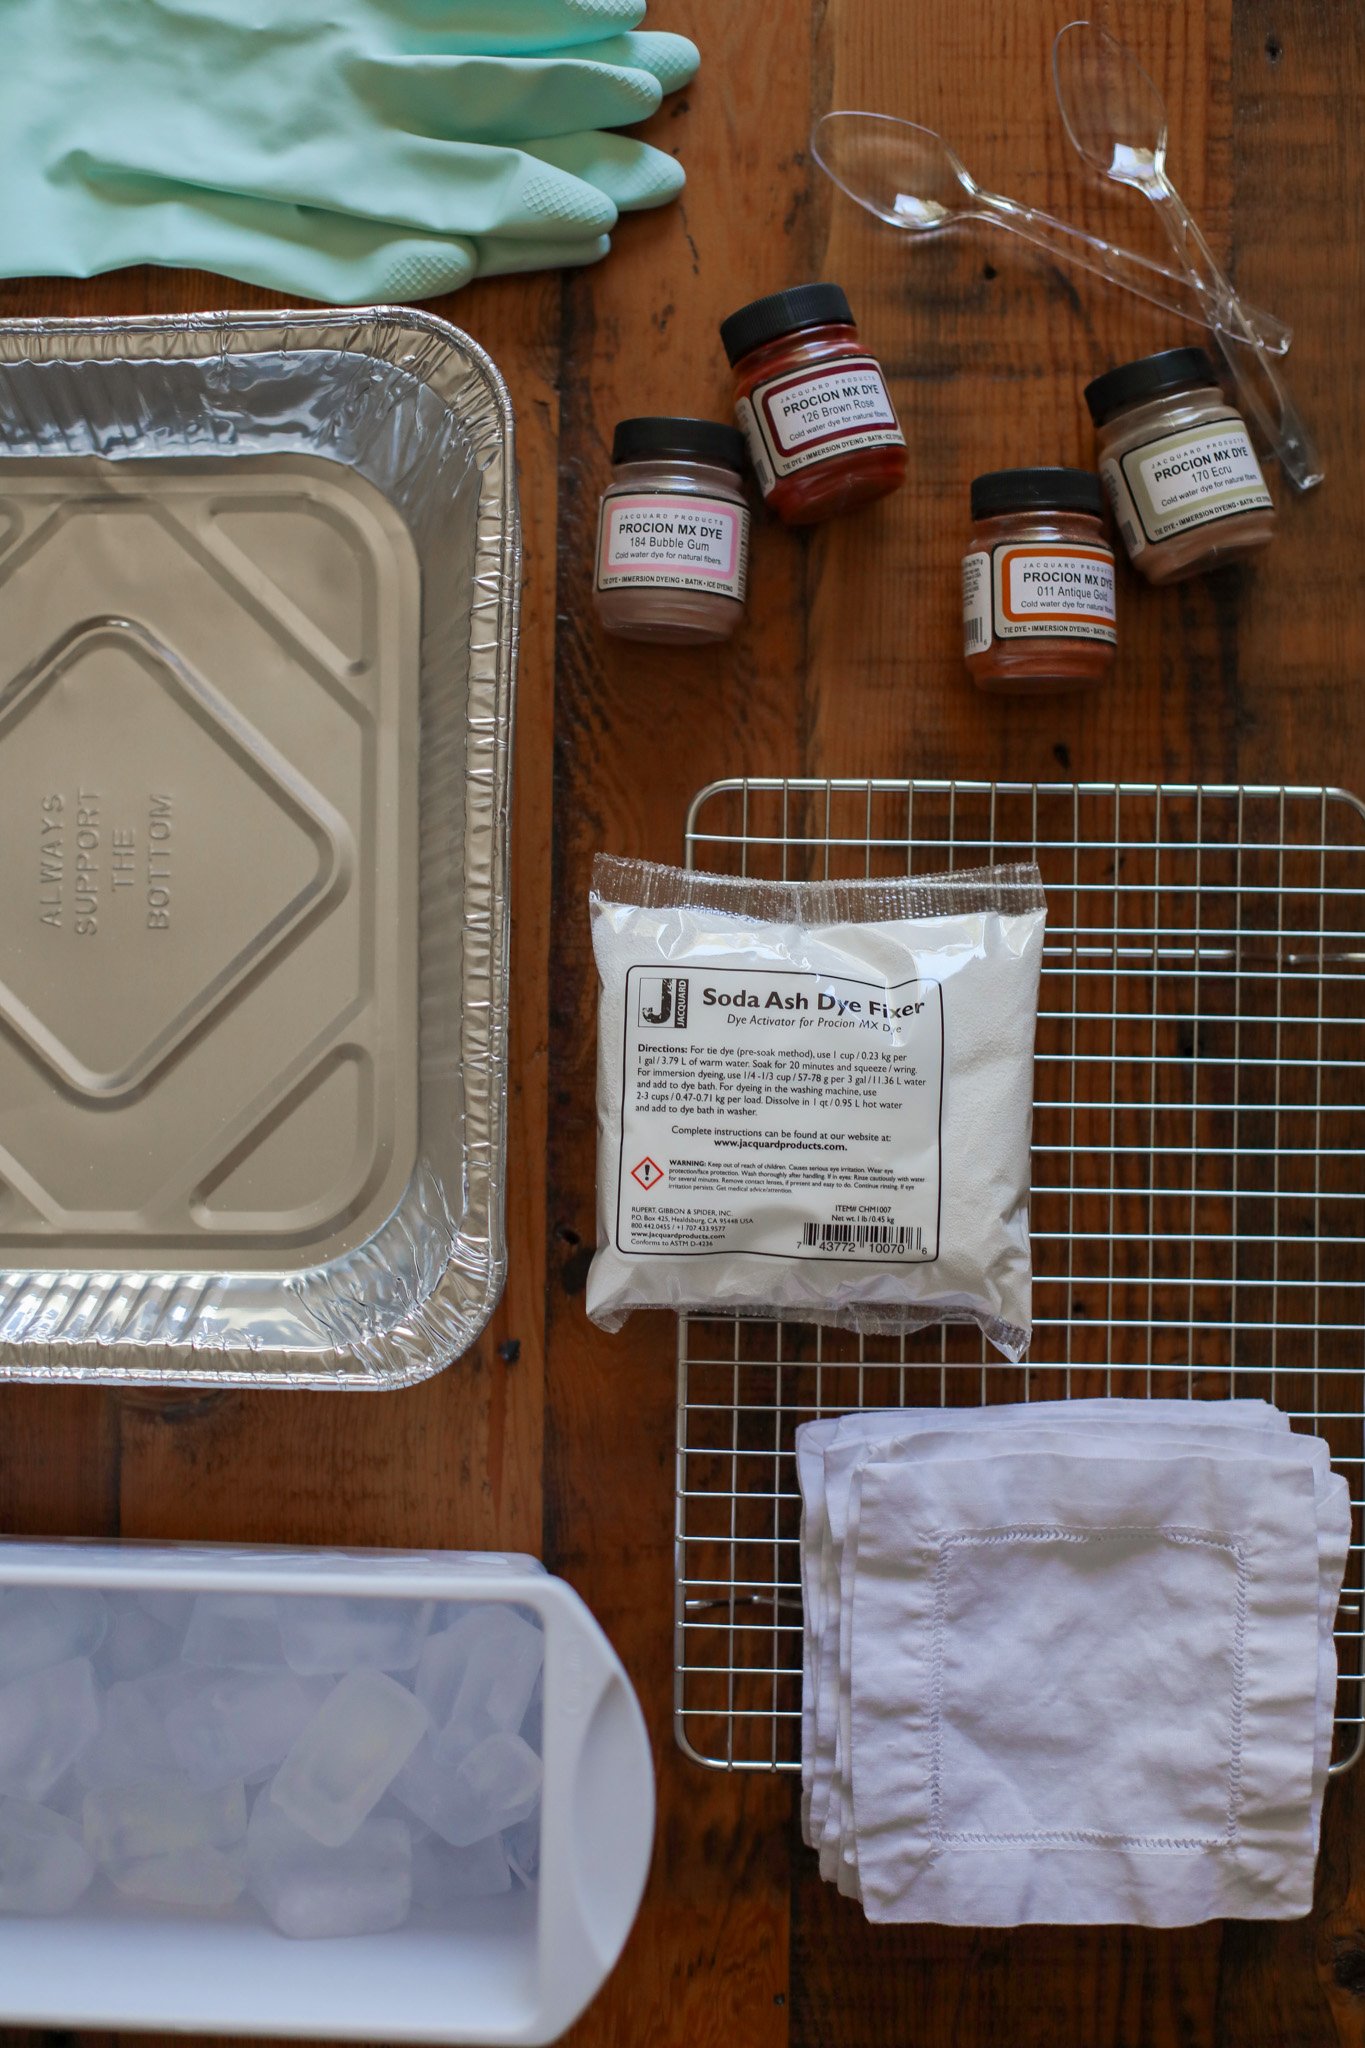
Cocktail napkins (I used these white hemstitch 6” linen cotton blend napkins and they worked great!) — your garment should be a natural fabric to better absorb the powdered dyes
Soda ash dye fixer
Bucket
Powder fabric dye (I used the Jacquard Procion MX Fiber Reactive Dyes in the colors Brown Rose, Bubble Gum, and Ecru)
Small disposable spoons
Ice
Some kind of tray or bucket that the ice can melt into (I used a disposable meat pan from the dollar store)
Rubber gloves
STEP 1: First you will need to soak your (pre-washed) cocktail napkins in soda ash. This will help treat the fabric to absorb the dye colors better. Mix one cup of the soda ash dye fixer in a bucket with one gallon of warm water. Be sure to wear rubber gloves while mixing the fabric in the soda ash. Allow the napkins to soak for about 20 minutes.
STEP 2: Place your cooling rack over the top of your tray or pan. There should be enough room for your ice to melt into the tray.
With your rubber gloves on, pull out your cocktail napkins from the soda ash bucket and wring out any excess water. Now scrunch them up in your hands and place them individually on top of the cooling rack. Push them together into a messy pile (but make sure there aren’t any napkins completely hidden).
STEP 3: Now pile on a layer of ice cubes. You should have enough ice that you can barely see any of your napkin fabric underneath.
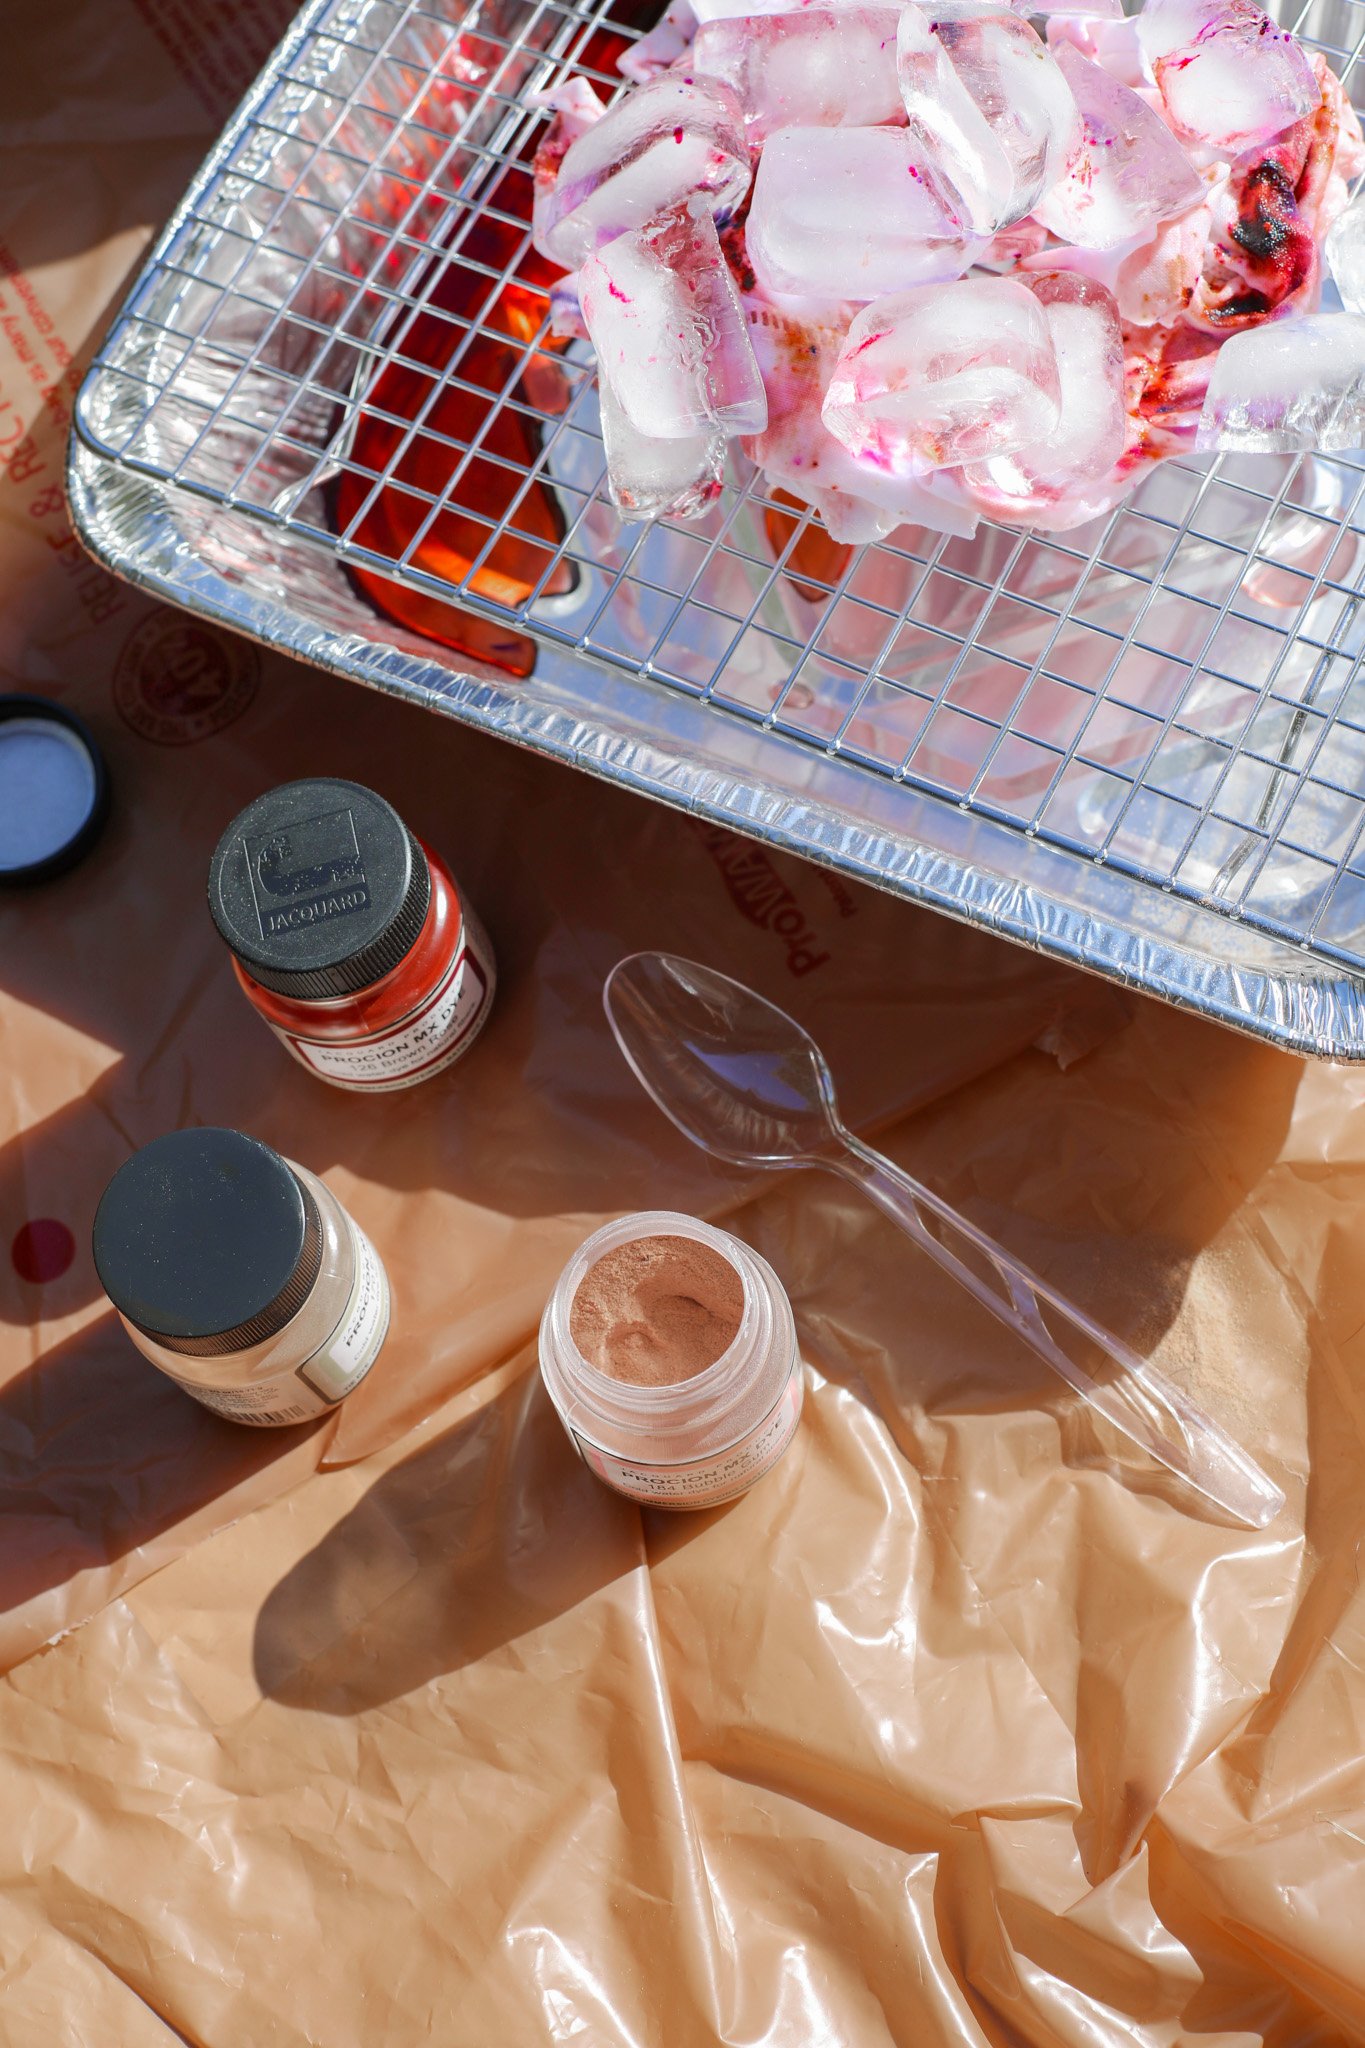
STEP 4: Here comes the messy part! So be sure to setup a protected workstation and wear clothes that you don’t mind getting dyed. You are now going to carefully sprinkle the powdered dye on top of the ice cubes. A little goes a long way so be sure to just sprinkle small amounts all around your ice.
My spoons were too big for the dye bottles, so I used the small end of the spoon to scoop out the dye. I did a mix of three different colors of dye — brown rose, bubble gum, and ecru.
It makes a better effect if the dye is only being sprinkled on the ice cubes, not directly on your fabric. This is what gives the final result a watercolor effect because as the ice melts, the dye will absorb into your fabric.
STEP 5: Now sit back and watch the dye work! Your ice will all melt within a few hours (depending on your temperatures) but be sure to leave the napkins alone for about 24 hours total for the dye to absorb.
STEP 6: Once it has been 24 hours, put back on your rubber gloves and rinse out your cocktail napkins in running water until the water runs clear.
Then throw them in the washing machine (or hand wash) and allow the napkins to dry.
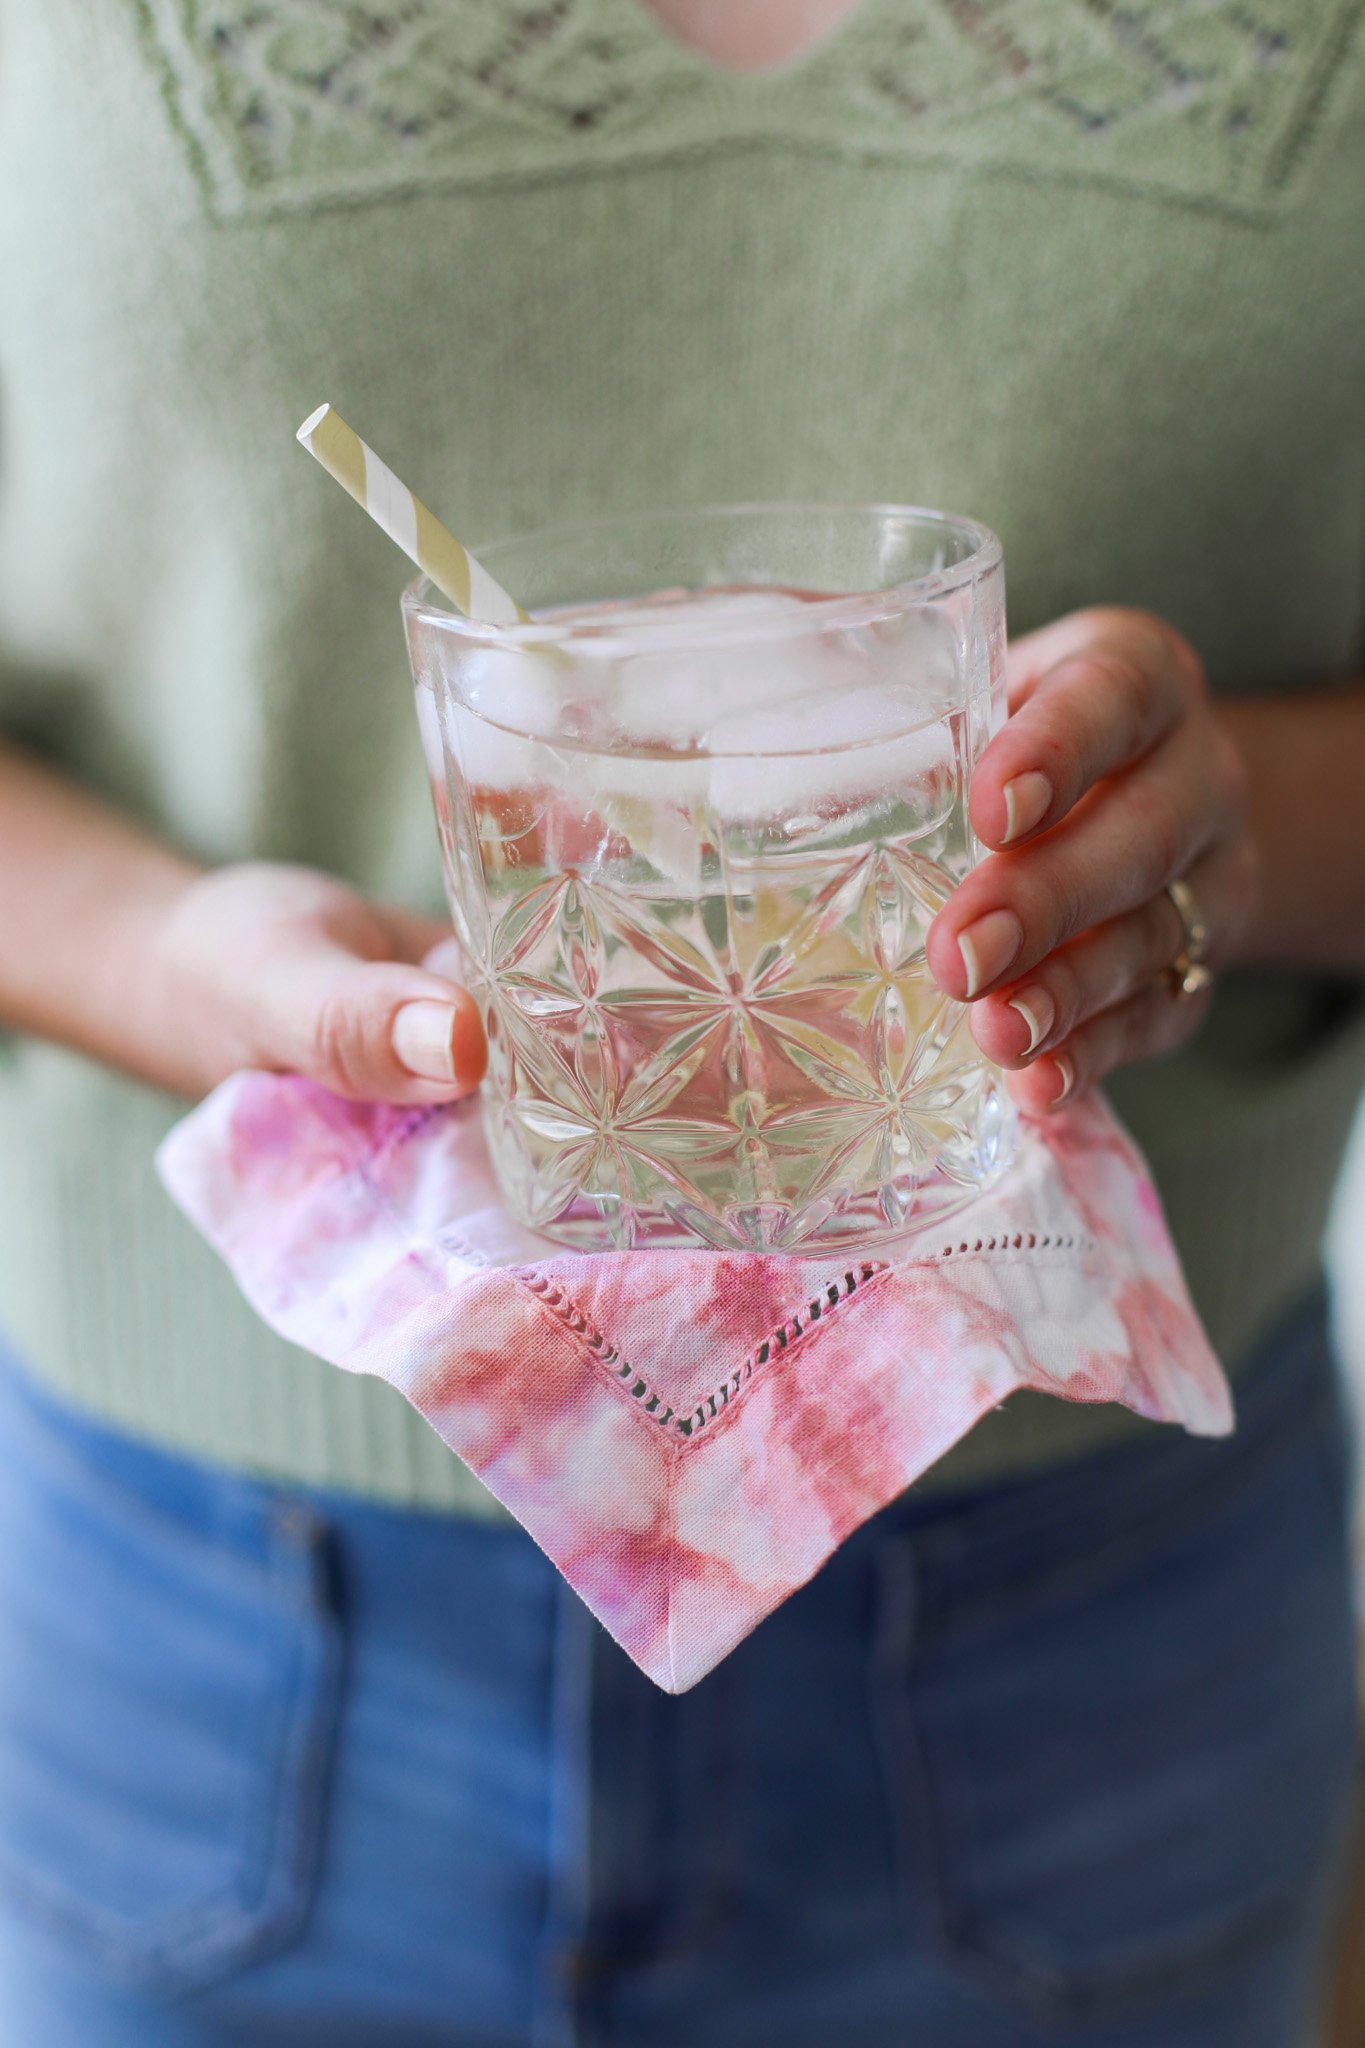
And you should be left with some really beautiful designs! Sometimes you may even spot colors that you weren’t expecting because the mixed color dyes can sometimes split into their component colors.
It’s a very fun crafting process!
Whether you are throwing a party or doing any end-of-summer entertaining, these ice dyed cocktail napkins will make such a fun and colorful statement at your next event! I love that the end product kind of resembles watercolors and I’m excited to experiment dying different garments and with different color combinations.
You could also totally do this with some more autumnal dye colors to bring this craft into the fall season. Whip up some delicious fall-inspired drinks and you’ve got yourself a cocktail party.
Have you tried the ice dying technique yet? What did you think?
xo Rachael


