
Simple Straw Bag Makeover (Adding DIY Pom Poms)
This is the story of a girl who fell in love with a beach bag on Pinterest, a tale as old as time… I was browsing Pinterest one night and came across this amazing pom pom embellished woven tote bag by Loeffler Randall. Unfortunately, I think the bag was an older item that is discontinued because I scoured the internet for it to no avail. With warm weather on the horizon here in LA, a straw tote is the perfect accessory for farmers market perusing, beach days, and park picnics. I thought it would be a fun project to try to DIY my own version inspired by this beautiful piece!
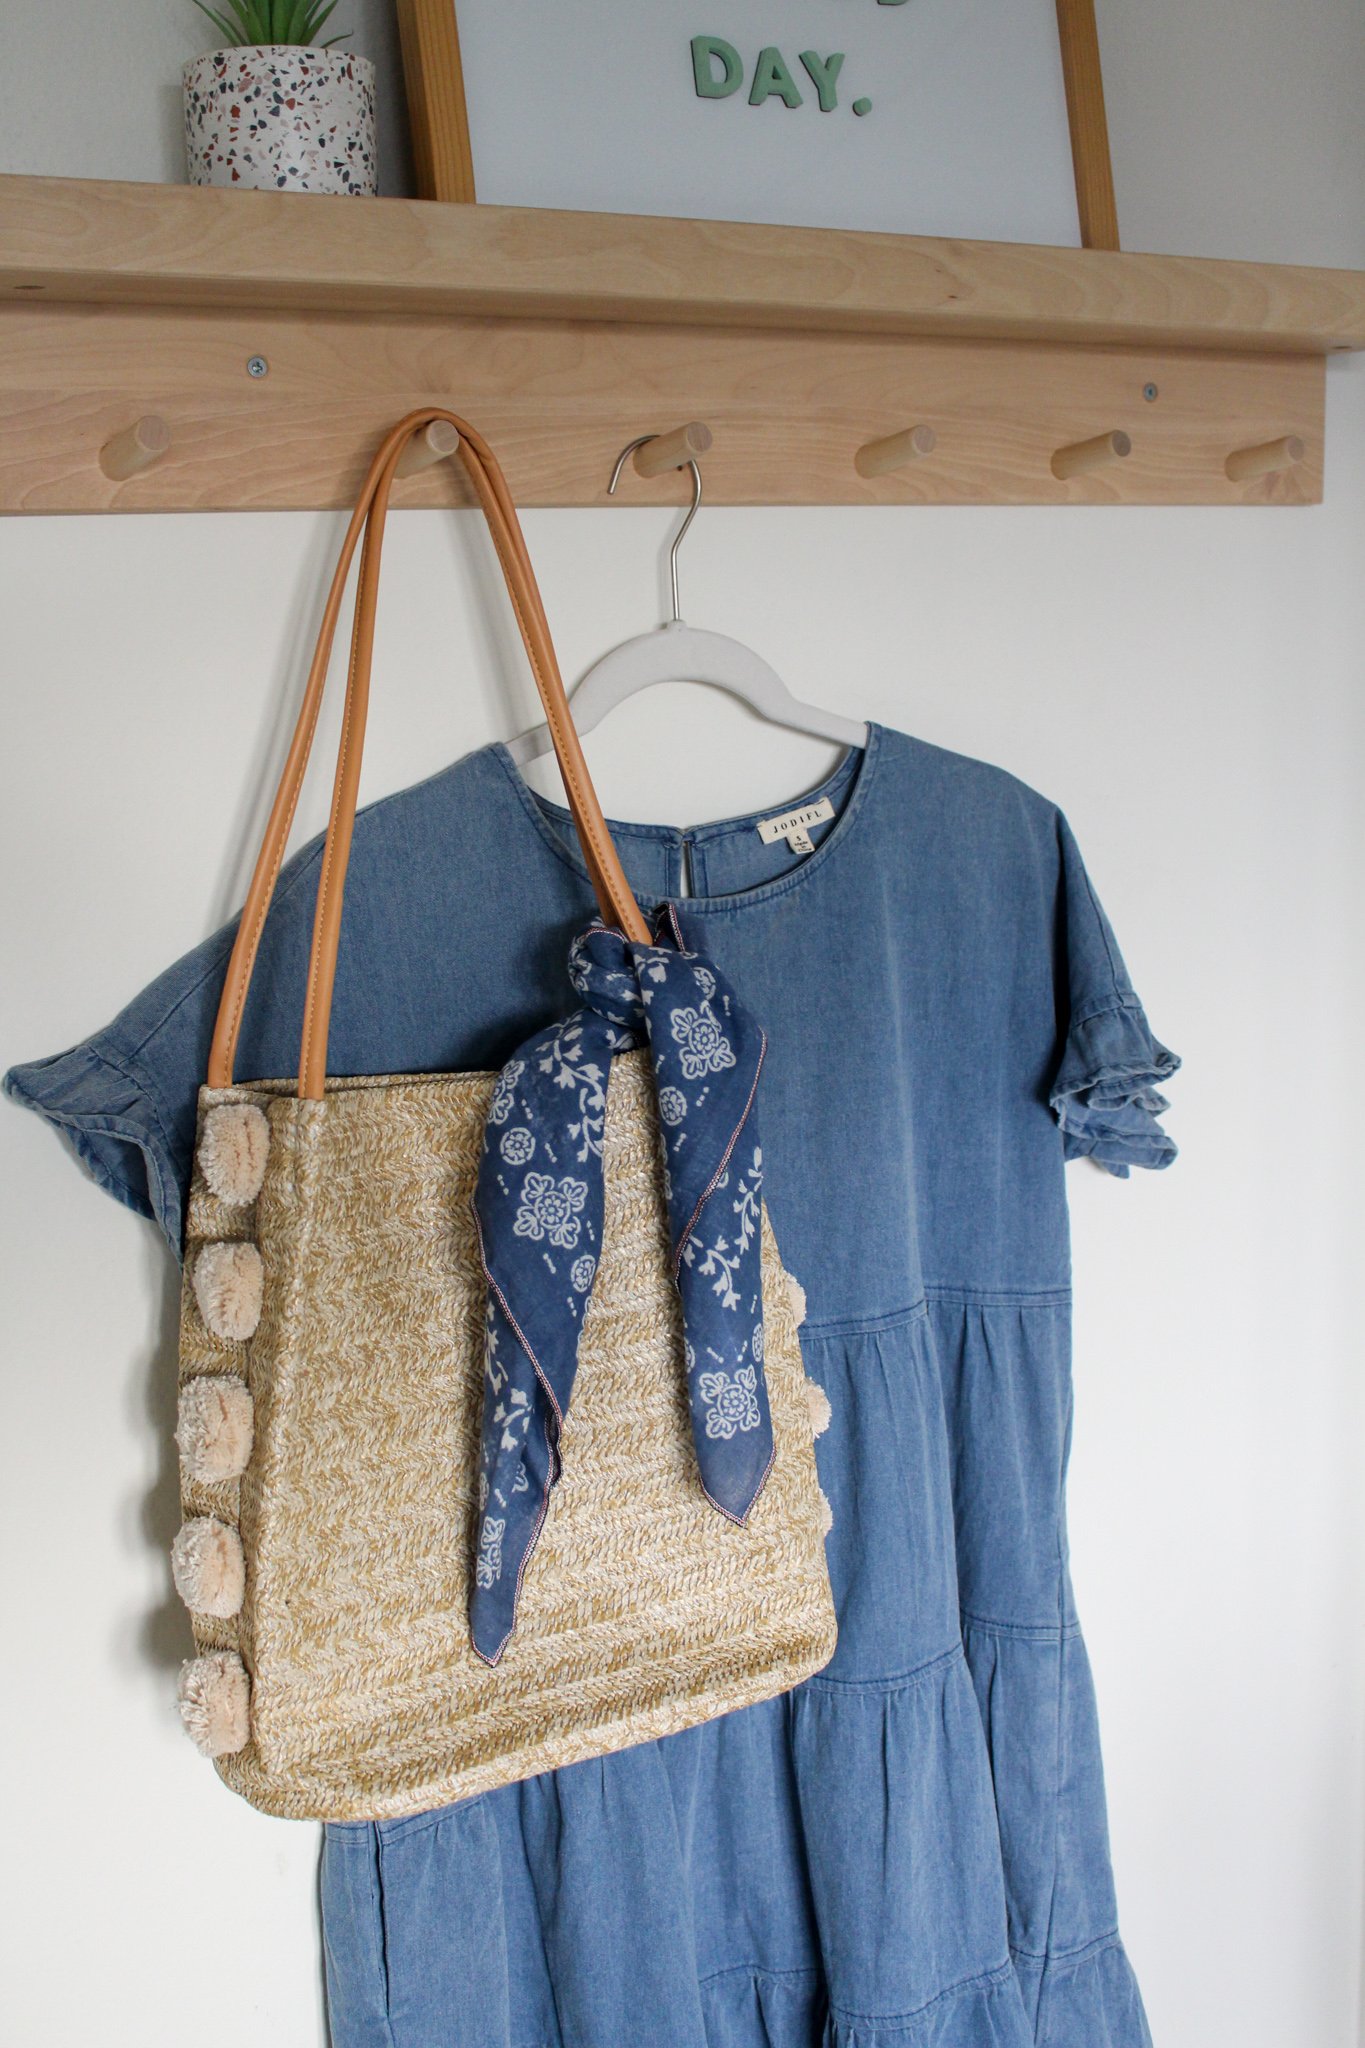

If you’re headed on a spring break vacation this year or just want to channel all the warm weather vibes, this project is definitely for you. Follow along on the makeover process below to see how I turned this basic woven shoulder bag into a fun, quirky beach bag!

SIMPLE STRAW BAG MAKEOVER - HOW TO MAKE DIY POM POMS
You will need:
Basic straw shoulder bag (I bought this bag for the project but better yet you could totally find something thrift shopping!)
Yarn or thread (I used this crochet thread)
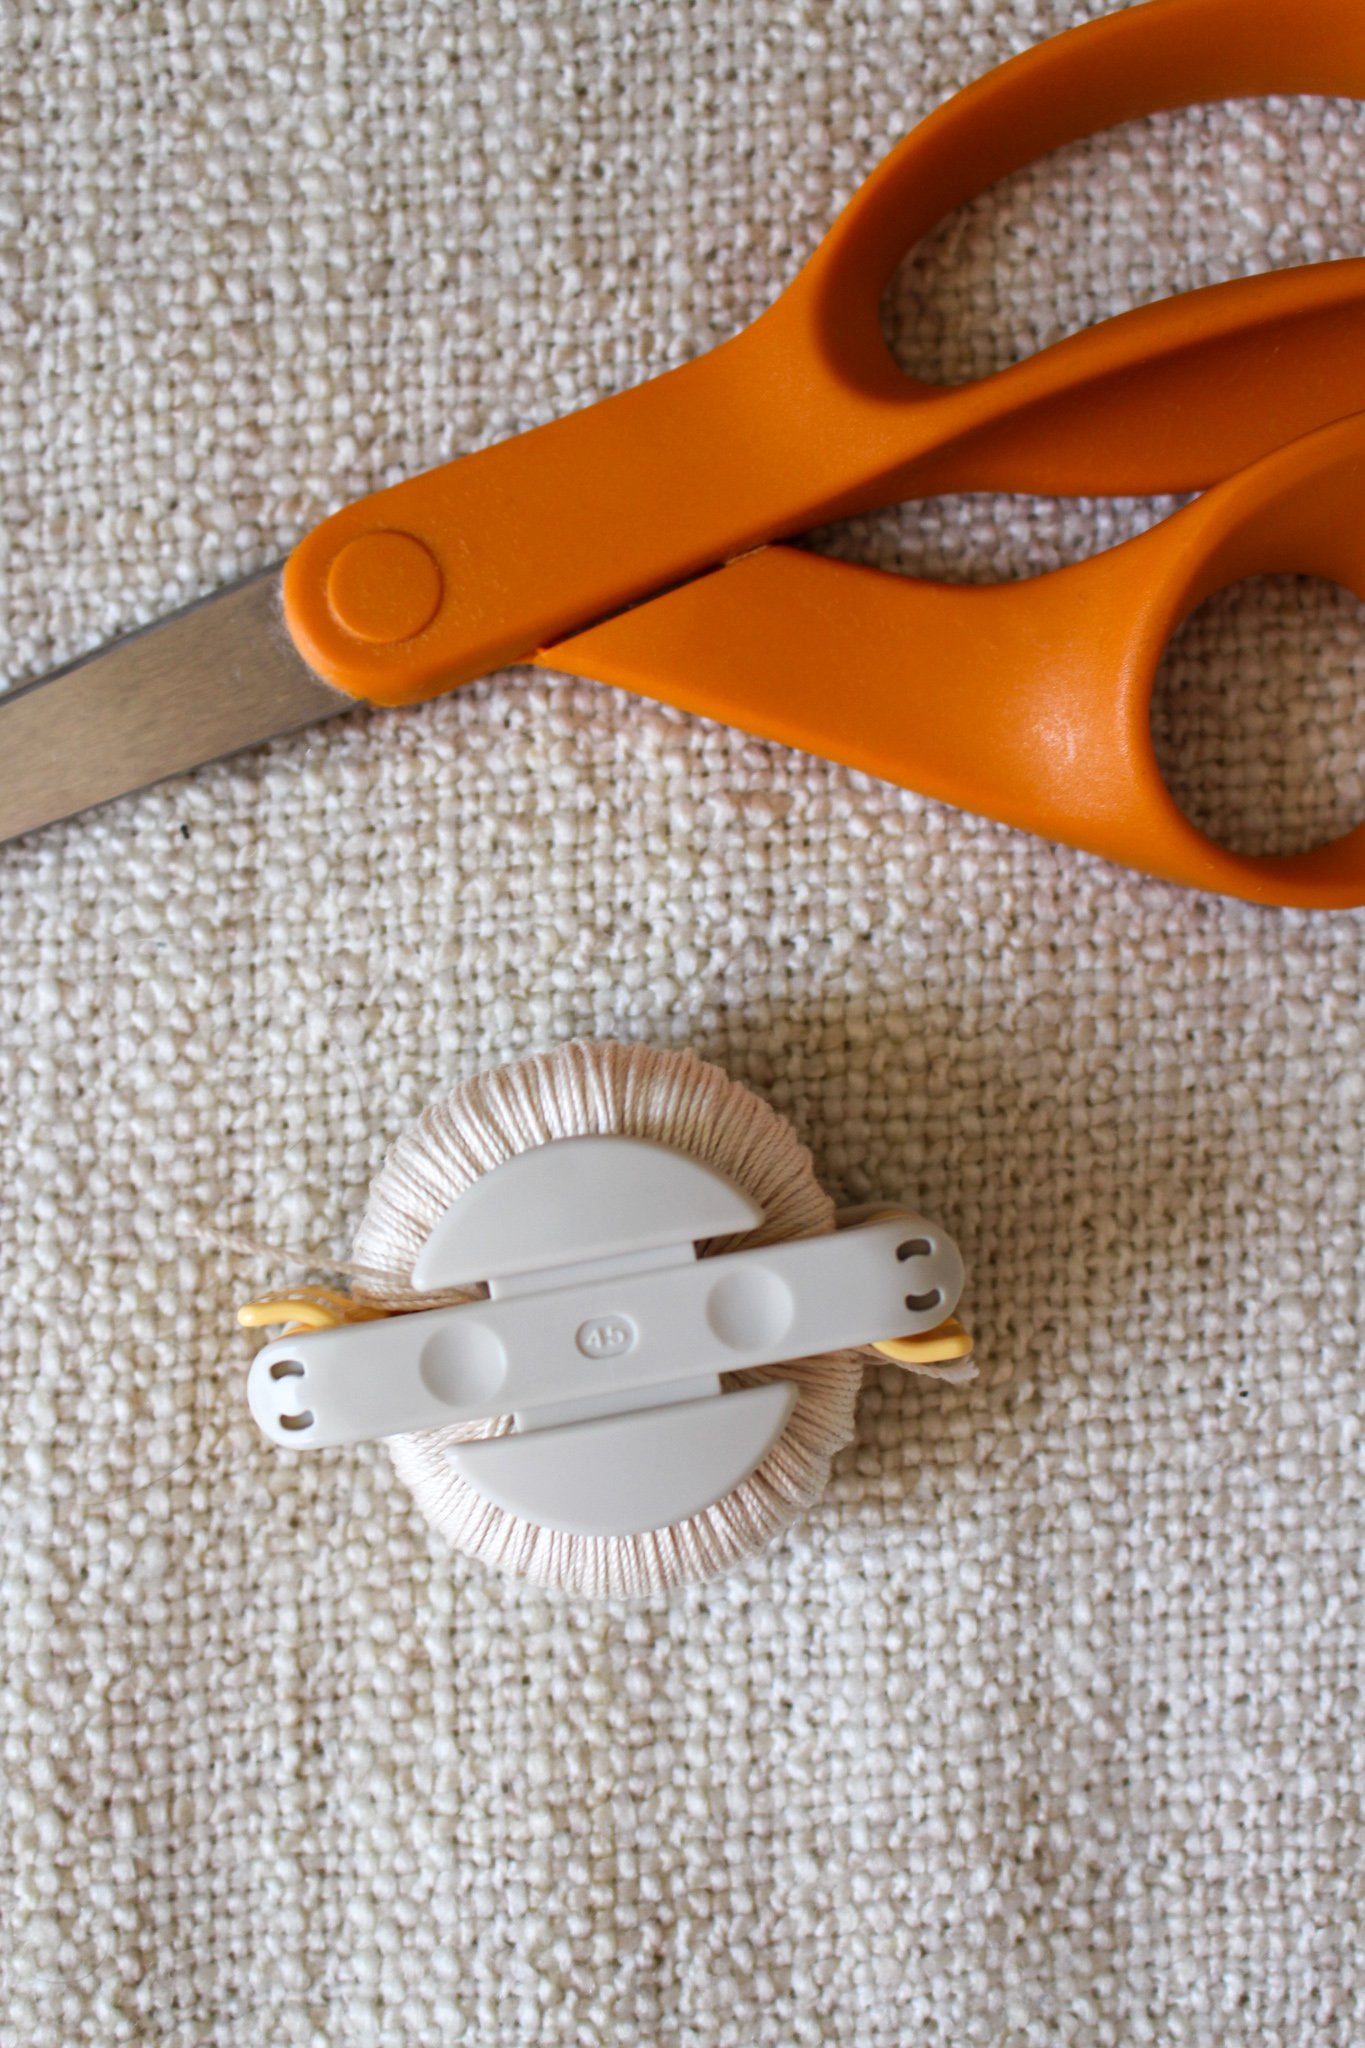
Sharp scissors
Clover pom pom maker (I used the yellow size - approx 1 5/8”)
E6000 glue
Draft tape or painter’s tape

STEP 1: Open the two arms on one side of your pom pom maker, but keep them together. Begin by wrapping the end of your yarn around the left side of the arm as shown in the image below. Hold the end of the yarn down with your finger as you carefully wind the yarn in an even layer.
Continue winding the yarn until the whole side of the arm has been covered. You will know you are done once the base of the arm is straight across with yarn instead of a semi circle. Make sure you end your last loop at the open side shown in the second image below.


STEP 2: Close the completed arms and bring your continued yarn strand over the pom pom maker hinge to the other set of arms. Open these arms and begin winding the yarn following the same directions in step 1. Once you have completed this side, close the second set of arms and trim off your spool of yarn.
STEP 3: Now, using your sharp scissors, cut the bundle of thread down the middle crack of the pom pom maker (shown in the right image below). Make sure every loop of thread has been cut so the gap is fully visible.

STEP 4: Cut yourself an additional piece of yarn about 10” long. Wrap the yarn around the gap in the pom pom maker and create a knot, pulling the yarn tightly so it passes through the gap, but not tight enough to break the yarn. Create a second knot to secure the string in place.
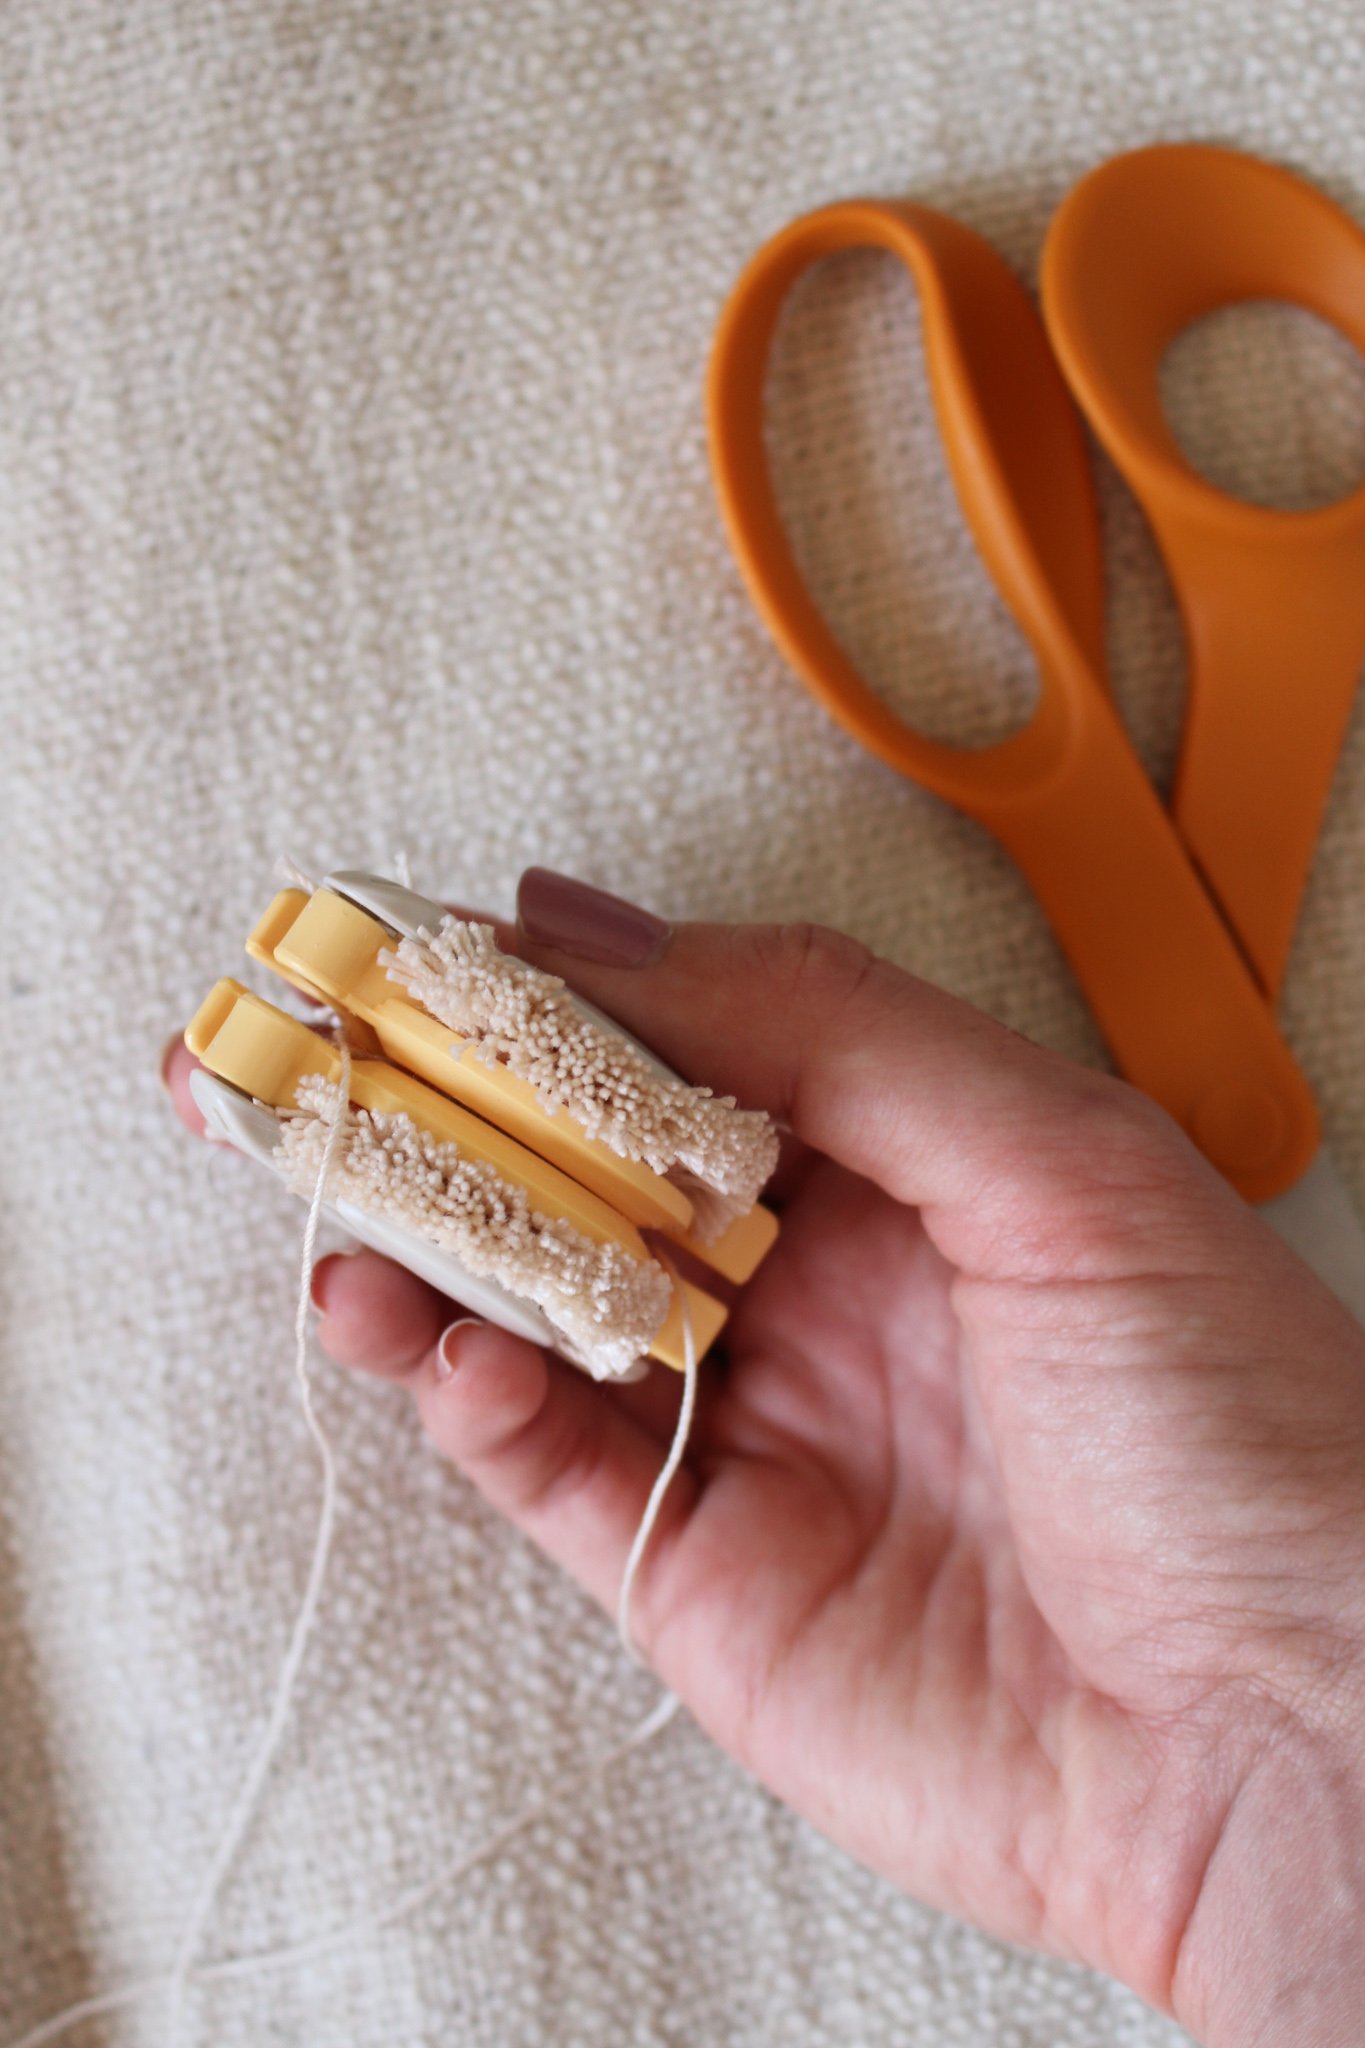

STEP 5: Open the arms on either side and pull the pom pom maker apart at the center into two pieces.


STEP 6: Once the pom pom is free, I like to do a second knot on the other side of the middle for extra strength at this point. So bring the ends of your additional piece of yarn around the bundle again and knot tightly.
STEP 7: Now it’s time to trim your pom pom down into a circular shape. Start by holding the pom pom flat and trim all the sides until you have a round shape. Then turn it perpendicular and trim into a circle again. Keep turning the pom pom as you trim until you’re left with an even ball shape.
**TIP: This is a messy step so I would recommend doing this with a plate or bowl underneath for easier cleanup

STEP 8: This may or may not be a necessary step for you, but from all my (frustrating) experience making pom poms I can never seem to get that center gap where your yarn is tied to stay hidden. It always seems to be visible, no matter how dense I make the pom pom (if you have any tips let me know)! I like to take a small line of strong craft adhesive and trace the yarn in the center then I push the Pom Pom flat like a hamburger to get the bottoms of the strands to stick together at the crease. I typically stick something heavy on this and let the glue set overnight.

STEP 9: Repeat all the steps above until you have 10 similarly sized round pom pom balls. Give them all a trim if needed to get them to be equal size.

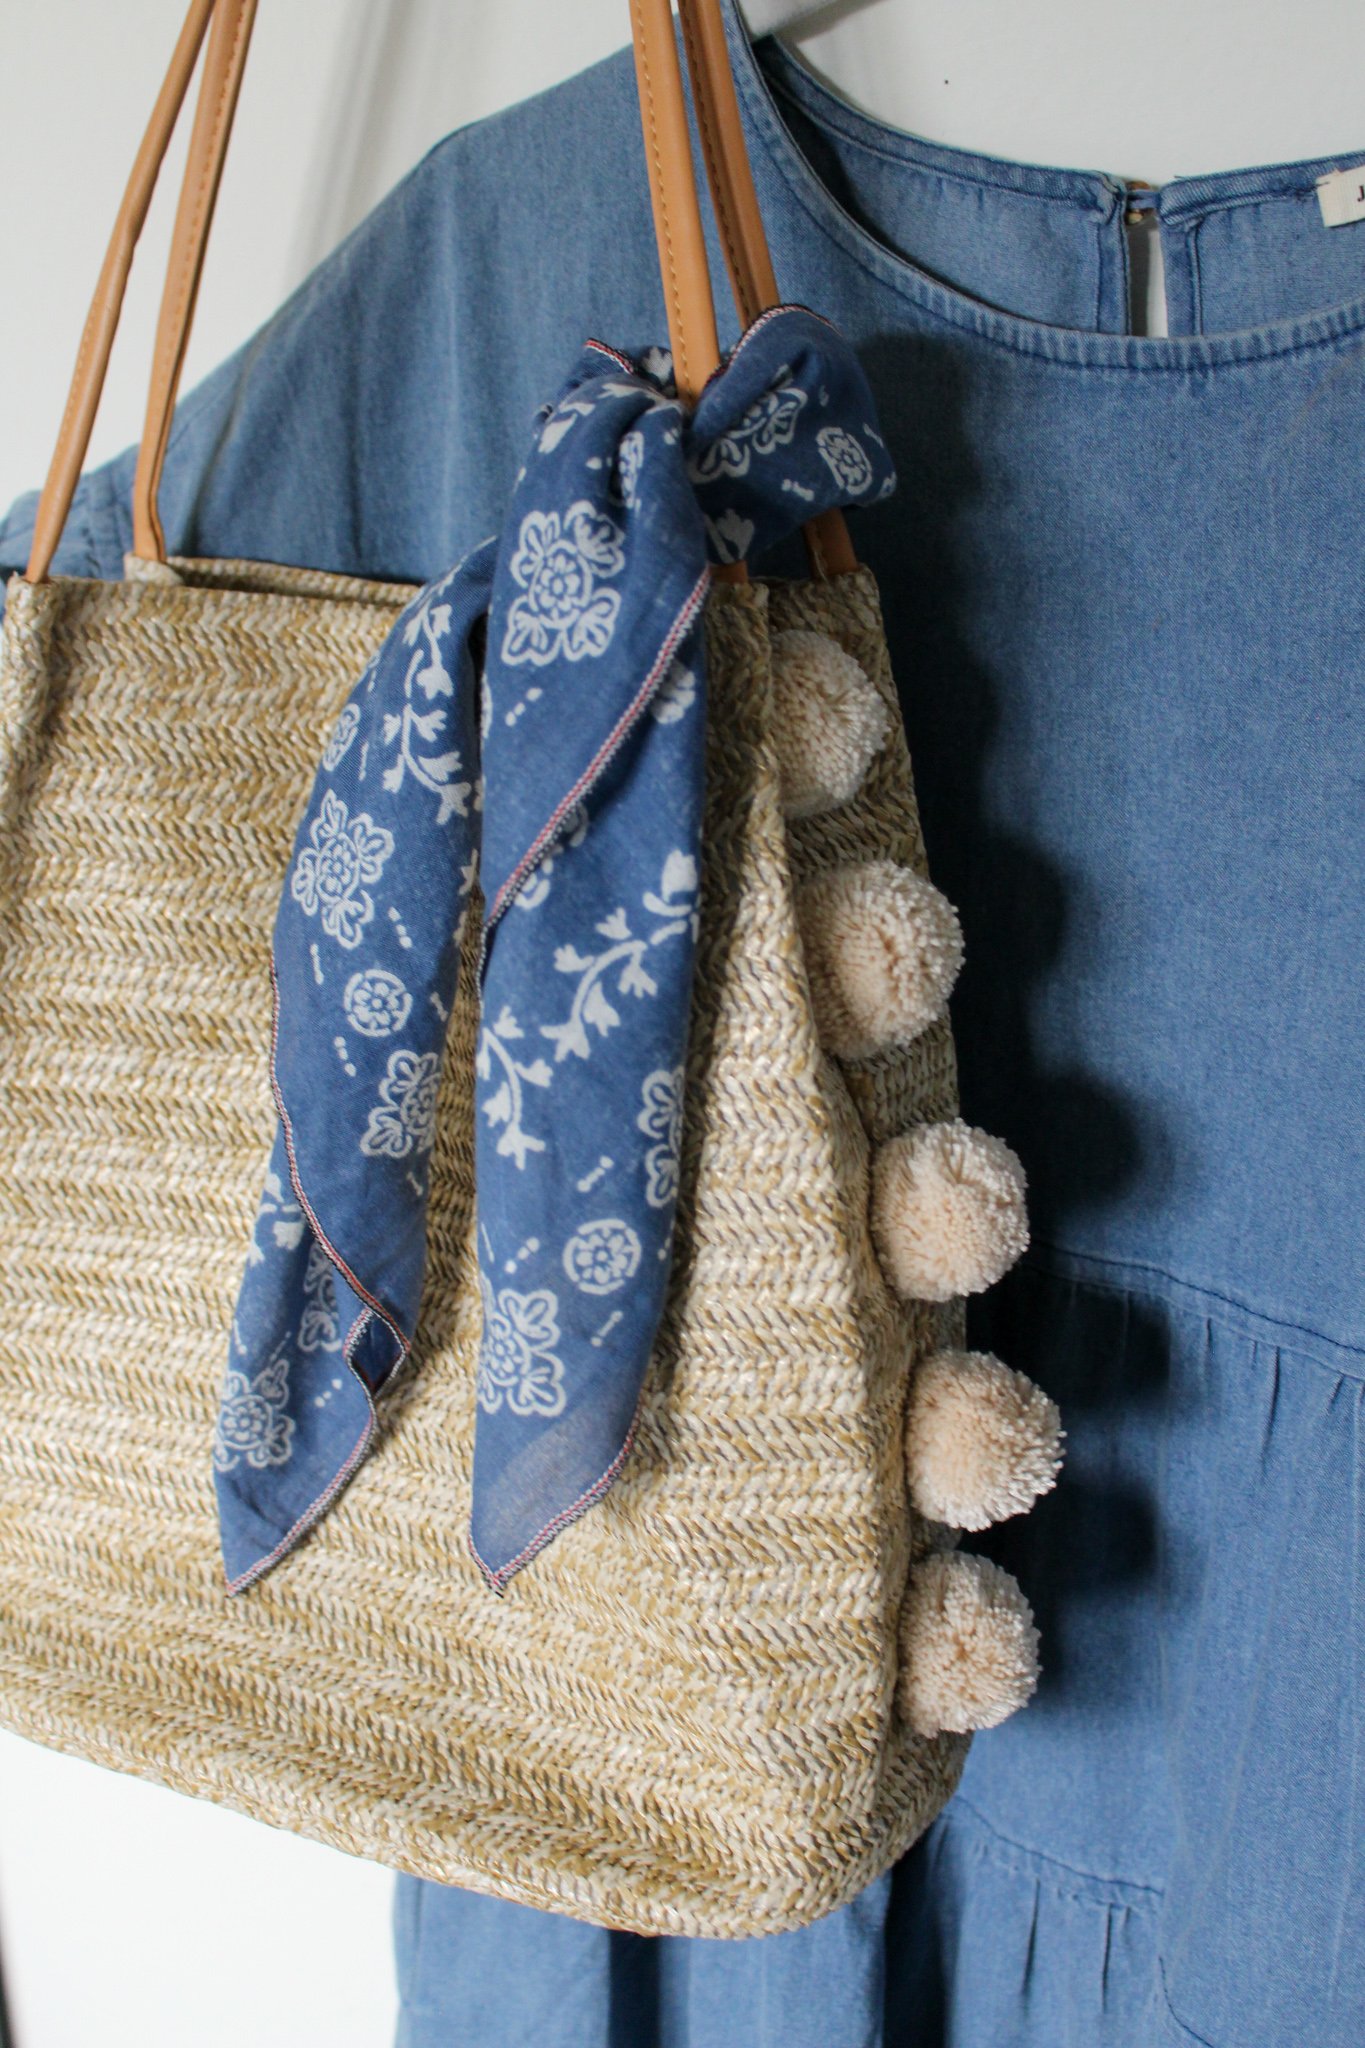
Step 10: Now lastly, use a dollop of your craft adhesive on one side of each pom pom (try to flatten one side and drop the glue right in the center) and stick the pom poms evenly down the two sides of your straw bag.
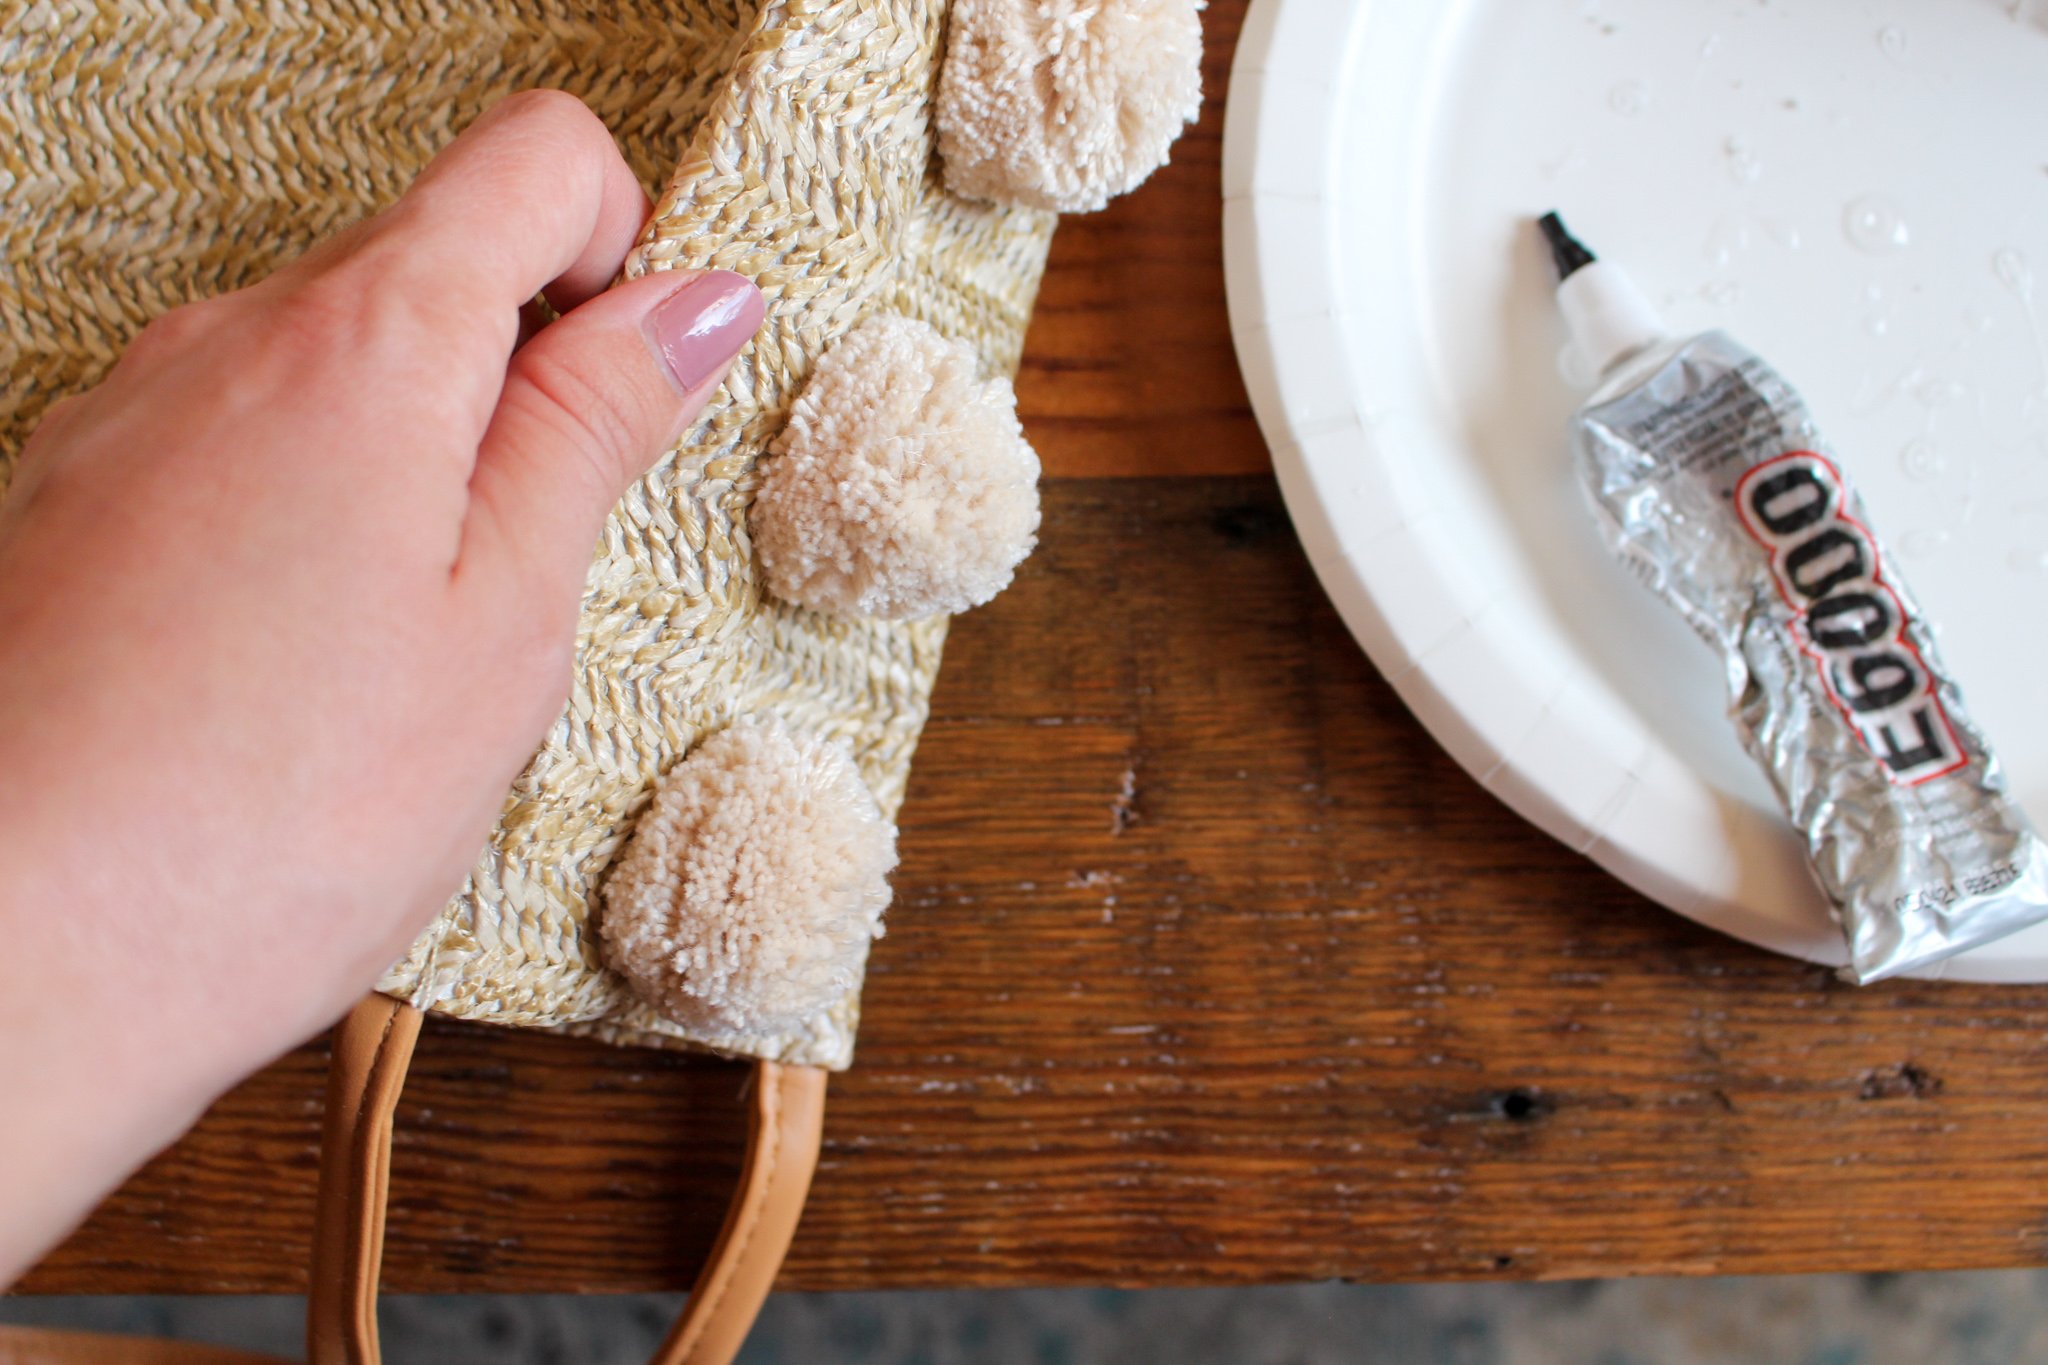
If you’re using E6000 glue, tape these in place using drafting tape or painters tape to keep them in place while your glue sets overnight. And that’s your completed pom pom embellished bag!


I can’t wait to stick my endless supply of beach reads into this new and improved tote bag! I hope you enjoyed this simple project. Send me a picture if you add any Pom Pom embellishments to your accessories this year!
xo Rachael

