
DIY Instax Picture Frames (with the Glowforge Aura)
I was so honored to be a bridesmaid in one of my best friend’s weddings this past spring. And as the designated “crafty” friend, I was tasked with the job of coming up with a fun craft project for all the bridesmaids to do on the bachelorette weekend. As I’ve mentioned before on here, I’m a little burnt out with all the typical “girls night craft ideas” that have been used over and over again on Pinterest and TikTok lately, so I wanted to come up with something really unique and fun that I knew the bridesmaids would actually want to keep after the bachelorette weekend.

And once again, my Glowforge Aura machine was the perfect tool for the job! I set out to design a cute wooden picture frame — with the help of my brilliantly creative and talented graphic designer & friend Lisee :) — that could be cut out of wood in pieces and then easily assembled with glue into a real 3D picture frame. And I had to include a trendy squiggle border, of course!
So I designed all my wood elements that would be needed in the construction and then I sent the design to my Glowforge to cut out a bunch of pieces. After many, many hours of the Glowforge doing it’s thing, I had about 15 sets of picture frame materials. Then, I packaged up the pieces into little kits that each bridesmaid could paint & construct at the bachelorette weekend.
These kits were a huge hit, and they make such a fun girls night or craft party activity. So I’m sharing all the steps & templates below if you have a Glowforge Aura machine or any type of craft laser and want to make these yourself. So follow along below for all the details.

Affiliate disclosure: This post may contain affiliate links. When you buy from these links, I may earn a small commission, at no additional cost to you. As an Amazon Associate, I may earn commissions from qualifying purchases from Amazon.com. Thank you for your support!
*The Glowforge Aura was kindly gifted to me by Glowforge. All opinions are my own.
DIY INSTAX PICTURE FRAMES (WITH THE GLOWFORGE AURA)

Supplies:
Glowforge Aura (*GIFTED)
Glowforge Craft Laser Filter (*GIFTED)
Acrylic paint
Paint brushes
ETI’s Squiggle Instax Picture Frame PDF (download below!)
STEP 1: To begin, plug in your Glowforge Aura and connect your Glowforge Craft Laser Filter. Place a piece of 12”x12” basswood into your Glowforge Aura machine.

STEP 2: Download the Squiggle Instax Picture Frame PDF file above. Upload the PDF file into your Glowforge app. You should now see a camera image of your wood in the machine. Rearrange the shapes in the app, if needed, so they are placed where you want them cut in your wood.
STEP 3: Select “Light Basswood Plywood” in the material list to set the Glowforge to the best settings for this wood type. You will also want to be sure that all of your lines are set to “cut” in the settings in the left column.


STEP 4: Click “Print” in the top right corner and then when the machine is ready the button will begin flashing. Press the button and the laser will start to cut!
STEP 5: Once the machine is done, open the lid and pull out your wood sheet. Carefully pop out all the cut pieces. You should have all of the following pieces to complete one picture frame:

**NOTE: I have labeled these with names above to help eliminate confusion when referring to the pieces in the construction process below.

STEP 6: Paint & decorate the front surfaces of the squiggle background and squiggle border pieces. Paint any visible edges as well.
Allow all the paint to dry for about an hour before you begin assembling.

STEP 7: Now you will construct your picture frame! To begin, line up the squiggle border piece on top of the squiggle background and glue in place (this will only line up one direction so confirm the squiggle border is placed the correct direction before gluing down). Allow this to dry for about 15 minutes or so before proceeding so it doesn’t slide out of place.

STEP 8: Next, turn your wood picture frame over and place your Instax photo face down on the back side of the squiggle background piece. Try to line up the photo so it matches the opening in the wood. You’ll have to turn it over to check, but only the photo should be visible from the front and the white border should be completely hidden. Temporarily tape down the Instax photo in place at the top.
STEP 9: Glue down the two side spacers on either side of the Instax photo, lining them up against the sides of the photo. Next, glue down the bottom spacer below the Instax photo, creating a U-shape with the spacers. Remove the Instax photo and set aside for now.

STEP 10: Add glue to the surface of all 3 spacer pieces and glue the frame backing on top of the spacers (with the kickstand notch positioned towards the bottom). I found it helpful to stack some heavy books on top of this to weigh this down while the glue dries for about an hour.
STEP 11: Add the kickstand piece into the notch on the back and glue in place if needed. Allow all the glue to fully dry for about an hour. Then, slide in your Instax photo in the top and it is ready to display!


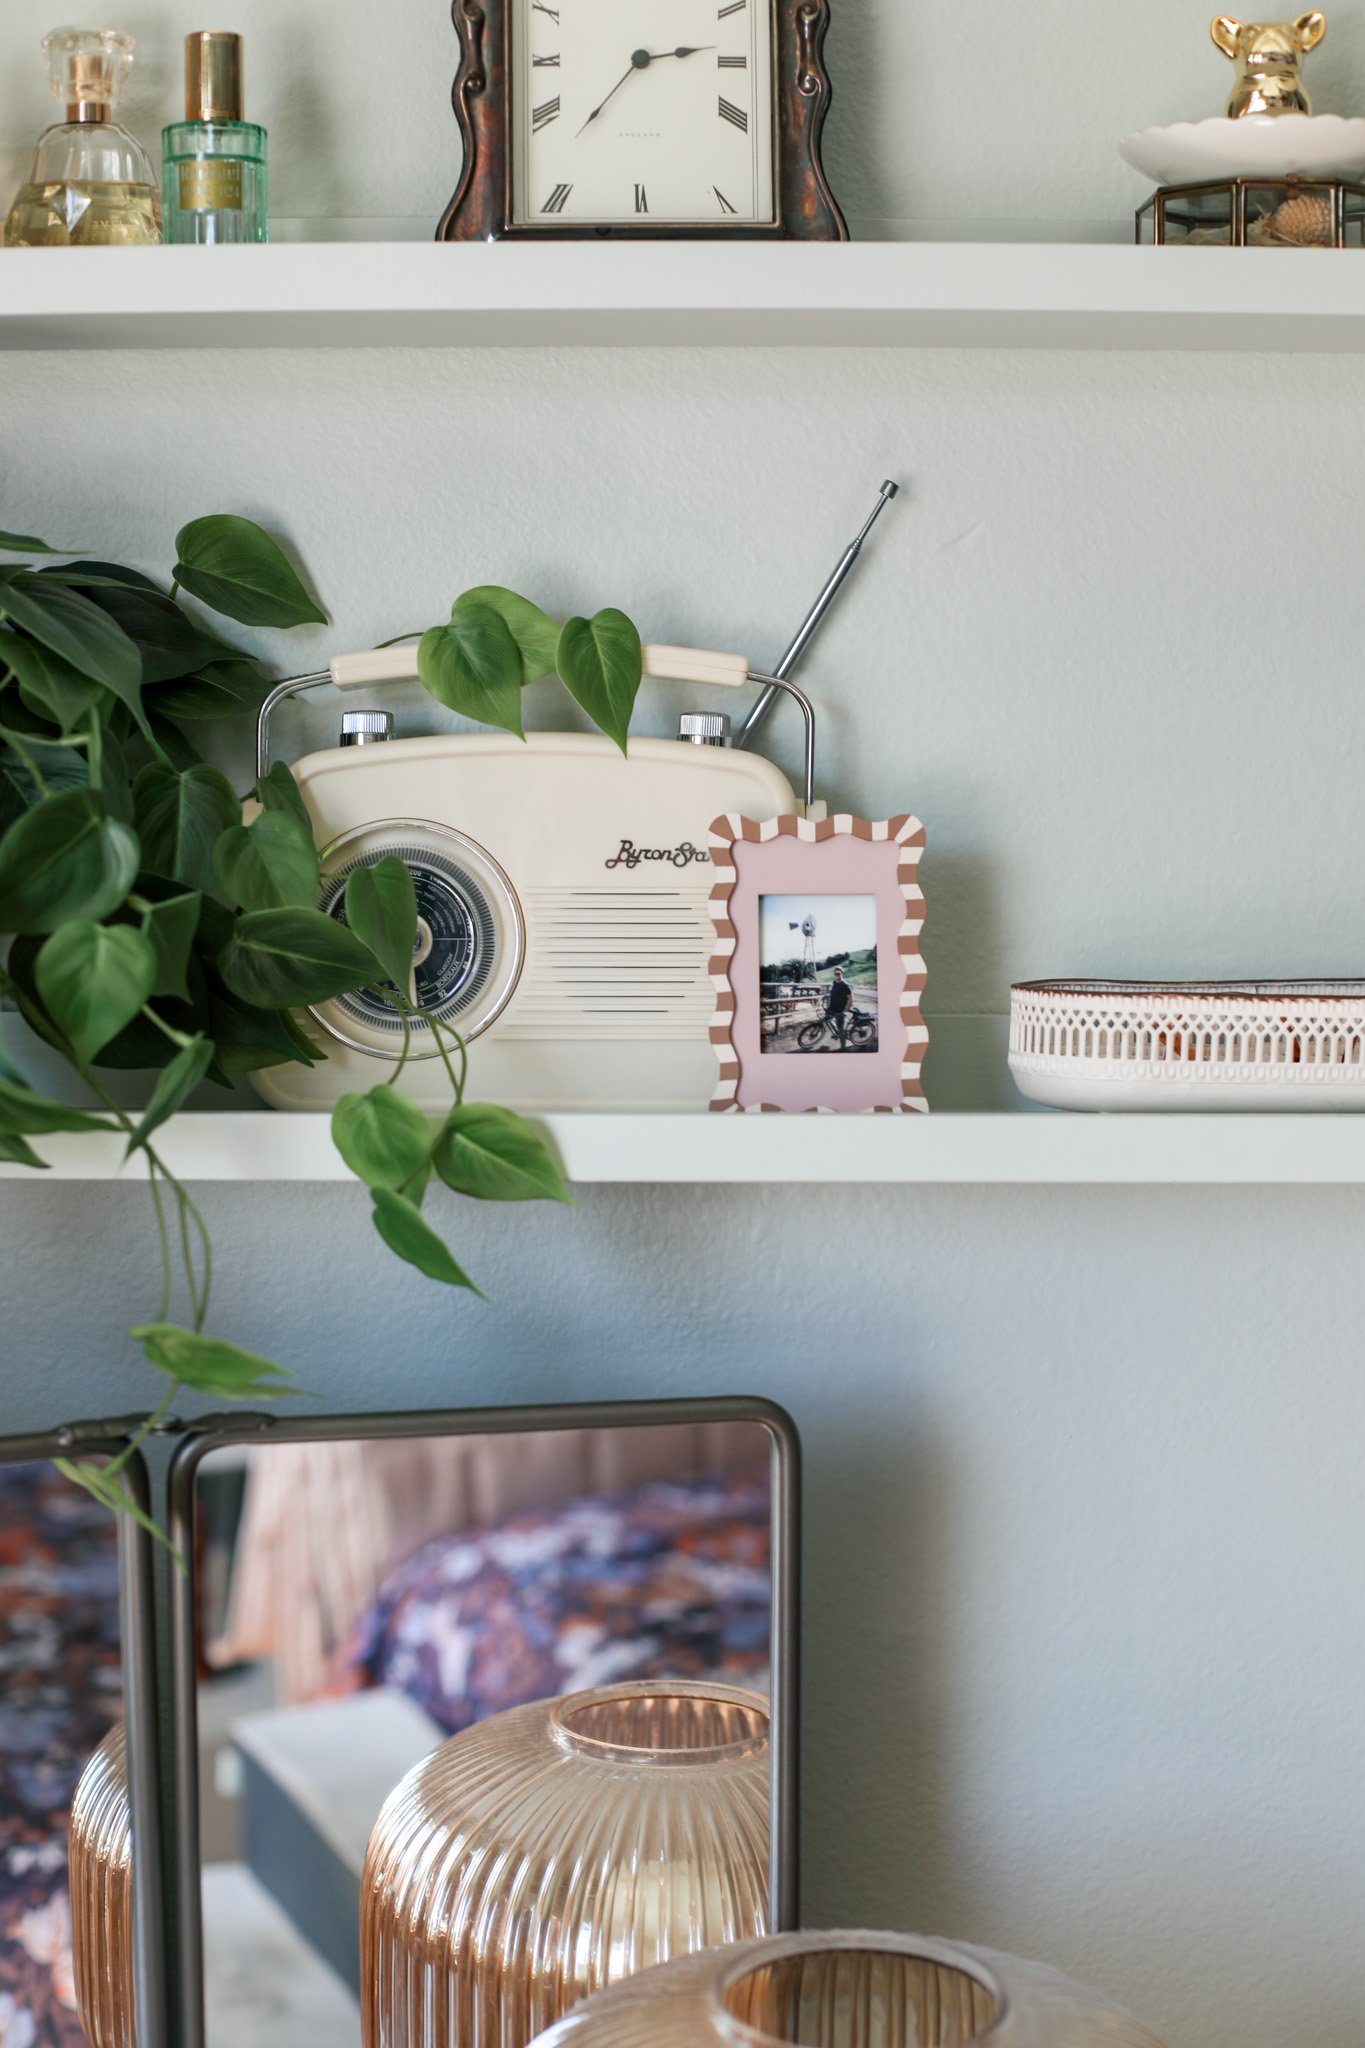
I’m so thrilled with how these turned out, and I love that I can now pop in different Instax photos whenever I want to change it up. And I love that you can fully customize the picture frame to fit your style and to match your room with any painted pattern or color palette.
I think all of the bridesmaids had a really fun time putting together these little picture frames, and now they have the perfect place to store photographic memories from this amazing weekend!

The Glowforge Aura is such an amazing crafting machine, if you are a DIY person, the possibilities are truly endless. I already can’t wait to brainstorm my next project.
xo Rachael

