
Upcycle Tin Cans with Metal Embossing
I love when I find a new craft to obsess over, and I have recently gotten very into the art of metal embossing! I made this super cute embossed metal butterfly wreath this past spring and loved how it turned out! It is also a very fun and satisfying craft with little to no mess… what more could you want!
So I thought it would be fun to come up with a project to do this summer utilizing the same materials & supplies.

I have always loved the antique look of tin ceiling tiles in interior design and thought it would be fun to incorporate the patterns into a metal embossing project. Also, we’ve had a lot of tin cans accumulating in our recycling bin recently thanks to my husband’s recent obsession with spudtok and cheesy bean jacket potatoes. He is very into Heinz baked beans at the moment lol anyone else?
So I thought I should combine these beautiful TIN ceiling tile patterns with my own TIN cans to create a fun upcycle project! Follow along below to see how I gave these basic tin cans some new life.

Affiliate disclosure: This post may contain affiliate links. When you buy from these links, I may earn a small commission, at no additional cost to you. As an Amazon Associate, I may earn commissions from qualifying purchases from Amazon.com. Thank you for your support!
HOW TO UPCYCLE TIN CANS WITH METAL EMBOSSING

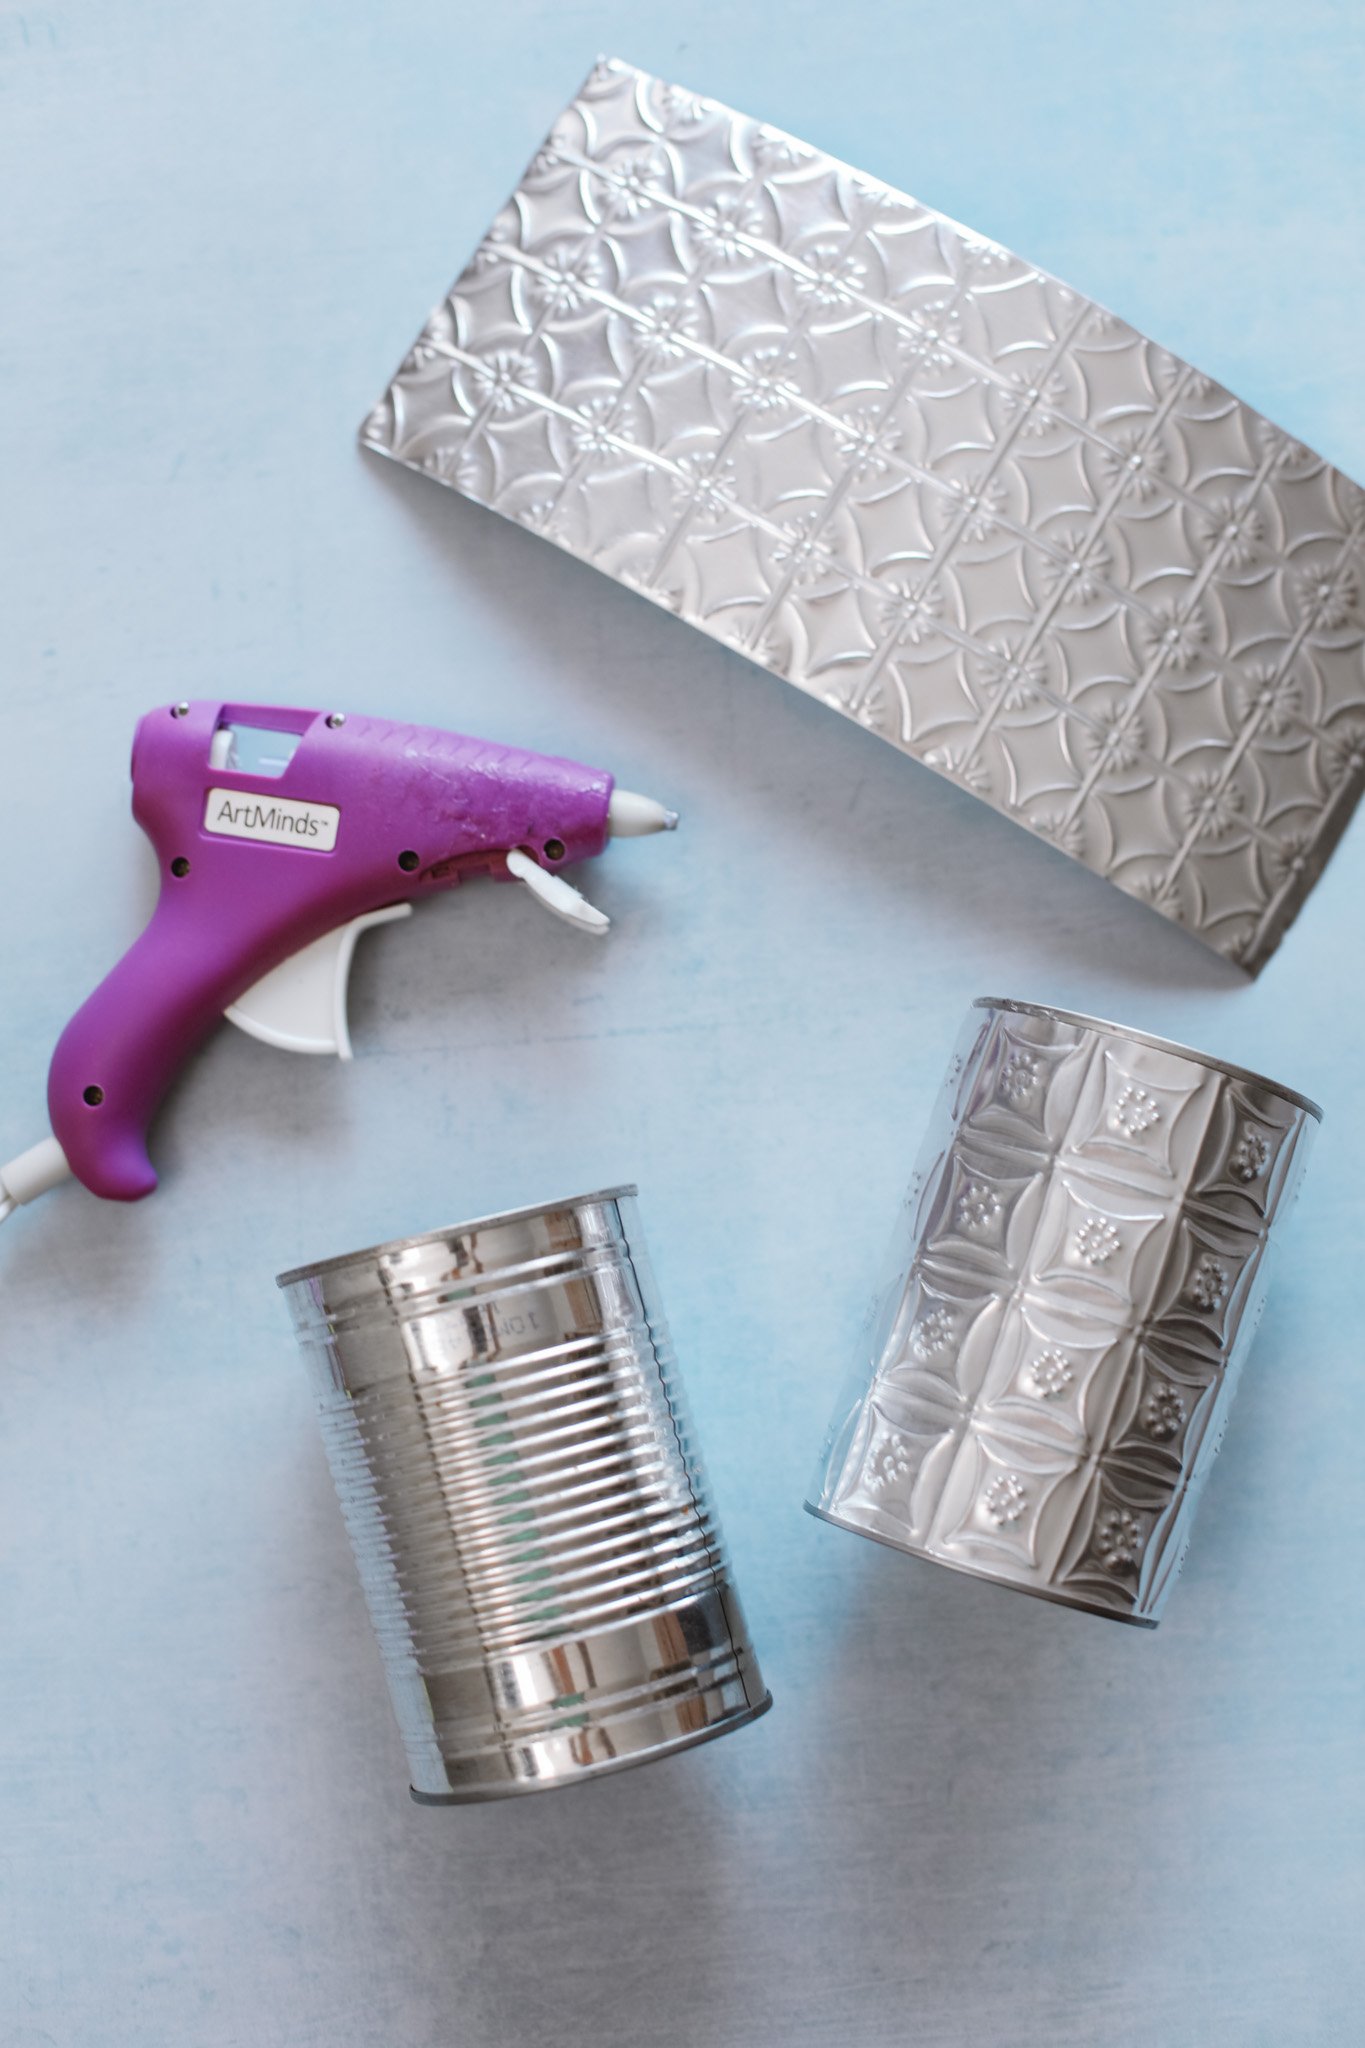
Supplies:
Tin cans (empty & cleaned)
Ruler and/or tape measure
Pencil
Scissors
Hot glue gun

STEP 1: I started out by emptying and thoroughly cleaning my tin cans. Then I used a tape measure to measure the height and circumference of each can. The smaller can was 9-1/4” circumference and 4” tall. And the larger size was 12-1/2” circumference and 4-3/8” tall.
STEP 2: Next, I carefully unrolled my aluminum crafting foil (trying my best not to make any creases in the metal). And I measured out a rectangle that was the height of my tin can and the length of the circumference of the tin can, since this is going to be wrapped around the can in the final step. I cut this out with a pair of scissors.

STEP 3: Then it was time to come up with my design. I did some google searching of tin ceiling tile patterns and found some ideas of ways to decorate my squares. I started out by lightly sketching a grid of 1” squares on the metal to use as a guide when I start embossing.

STEP 4: And here is the fun part — embossing ! I placed a sheet of craft foam under my metal piece to work as an embossing mat. Then, I used my embossing stylus (which come in many different thicknesses) to carefully trace my lines.
For my personal design, I made dots in the places where the lines intersected and then lines to create my tile grid. You use the embossing stylus just like you would a pen or pencil, but there is a dull round tip that works to make an impression on the thin metal. The amount of pressure you use when drawing your lines will determine how raised the design will be on the other side of the metal.

Once I was happy with my grid, then I went back in with a pencil to sketch my design on the metal. It makes it easier to draw out your design first so you can carefully follow your pencil lines while embossing, since there is no way to “erase” your embossed lines as you go.
STEP 5: Once I was done embossing all my designs, I turned the metal over to reveal the final product! Then, all that was left to do was attach this sheet of metal around the outside of my tin can. To do this, I found there was a line drawn along the side of my can. I followed this line with a line of hot glue and then I lined up the edge of my metal to the existing line.
Then I carefully rolled the sheet of metal around the circumference of the can, stopping frequently to add some more hot glue to the top and bottom edges of the can’s surface.
Once I got to the start again, I did another line of hot glue and pressed down the edge.

And there you have it, some vintage-inspired vessels to use all sorts of ways! I originally wanted to create a little tabletop herb garden with these cans, but upon further research I was too worried that the cans would just become a rusty mess after a while.
So for now, I’m going to be using these little pot/vases to hold faux plants and faux florals around the house. But here are some other ideas of ways they could be used:


Work from home or headed back to school? Use an upcycled can as a pencil holder to store all your desktop pens, highlighters, scissors, etc.
Make a candle! Since this is a sealed tin can, you could adhere a candle wick to the bottom of the can and then pour melted wax to make your own candle! Better yet, you could add some citronella to make some outdoor bug repellent candles.

Store your makeup brushes for easy access on your bathroom counter or vanity. And the tin can doubles as a beautiful piece of decor!
Make a cute flower arrangement with dried florals. I wouldn’t recommend doing real flowers in water because of the possibility of rusting, but you could maybe find a small glass or plastic container to put inside the tin and you could put water in that.
Let me know how you would use these upcycled tin cans around the house. Hope you enjoyed today’s upcycle project. Happy crafting!
xo Rachael

